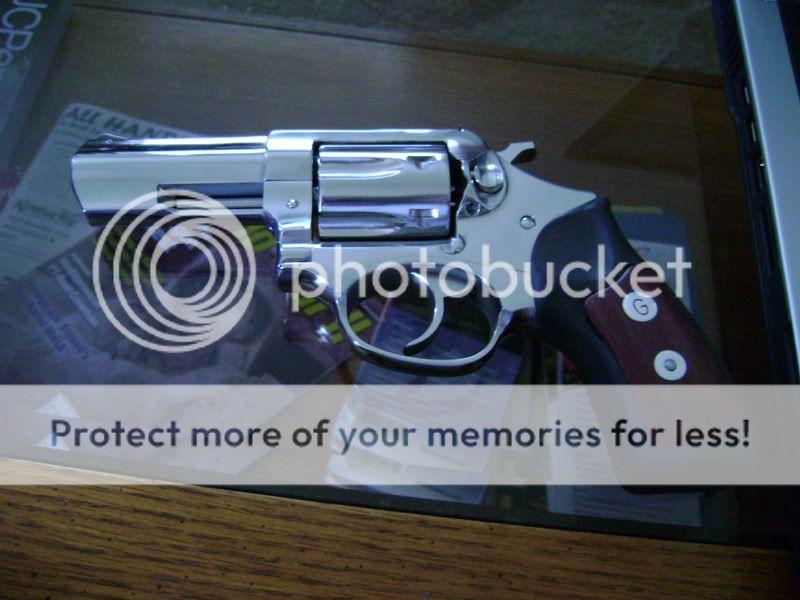
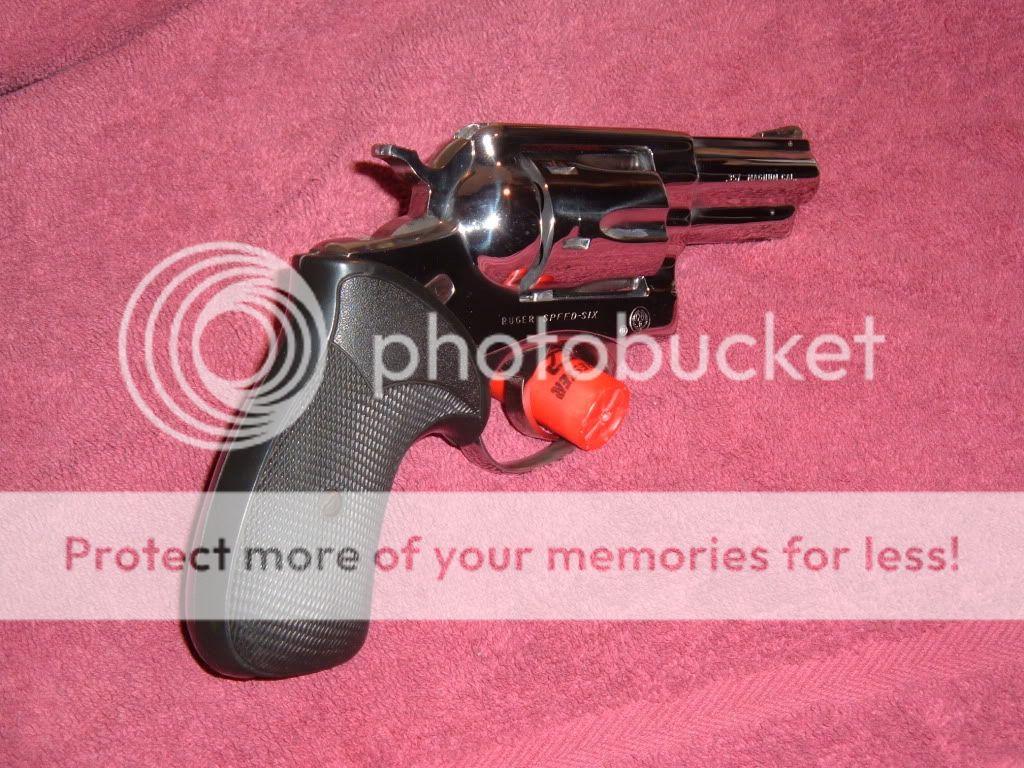
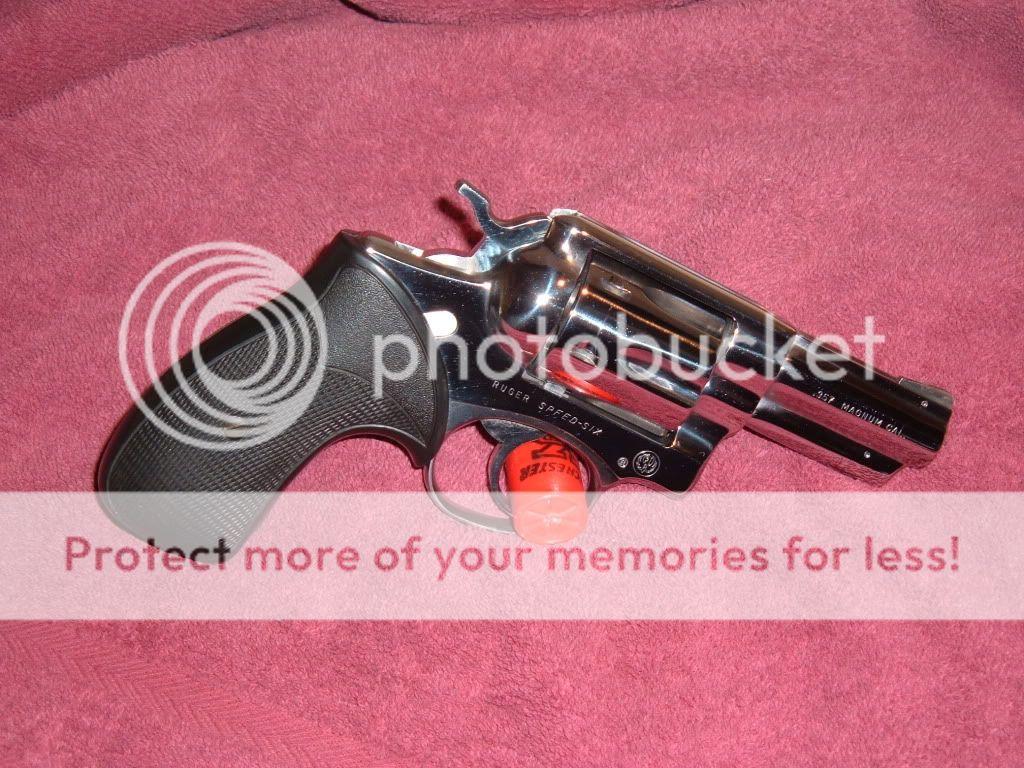
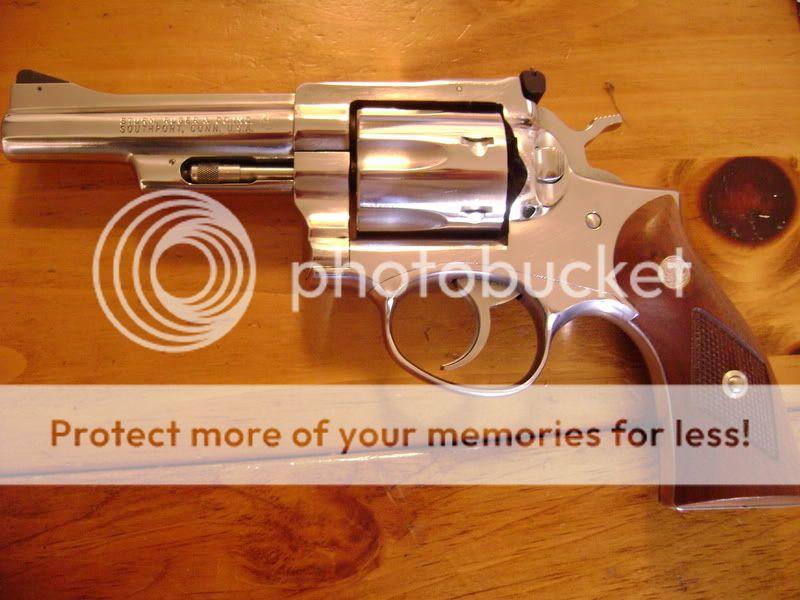
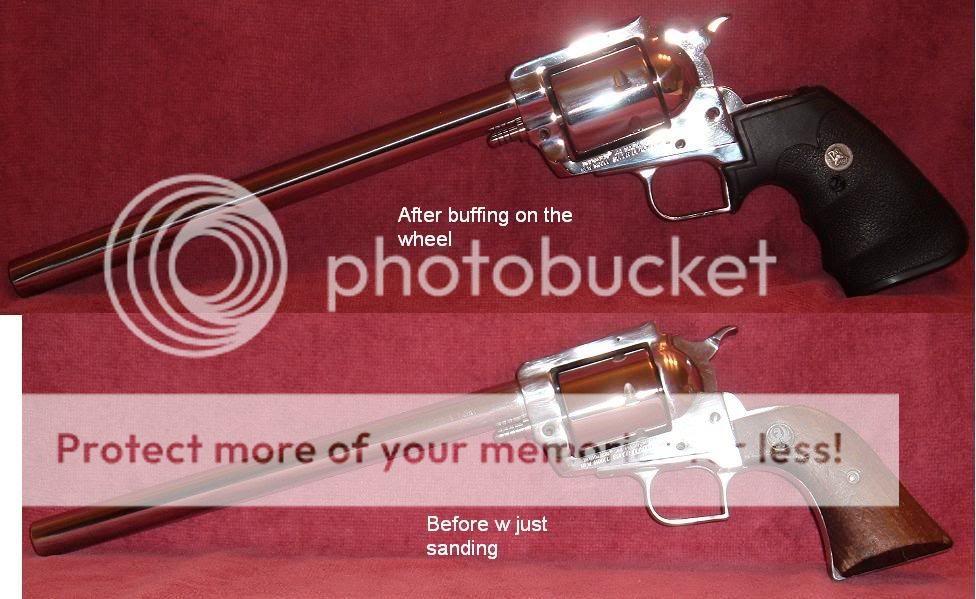
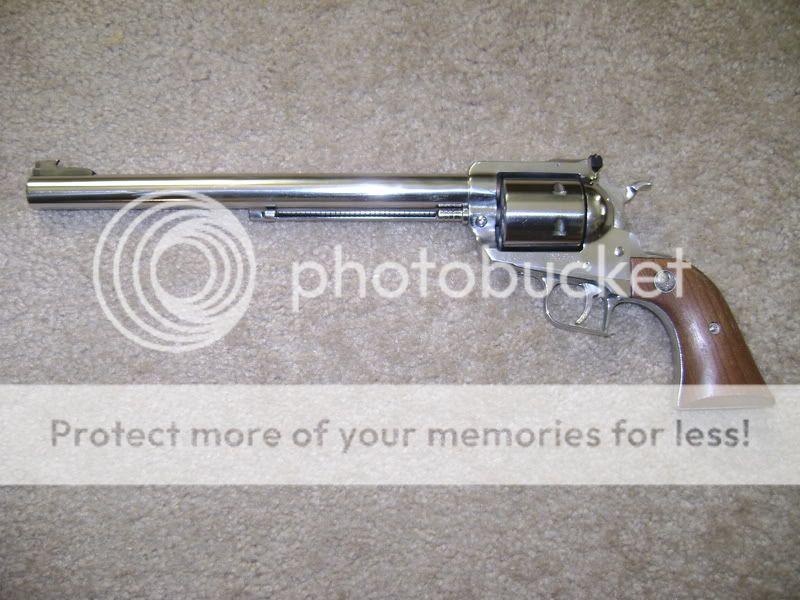
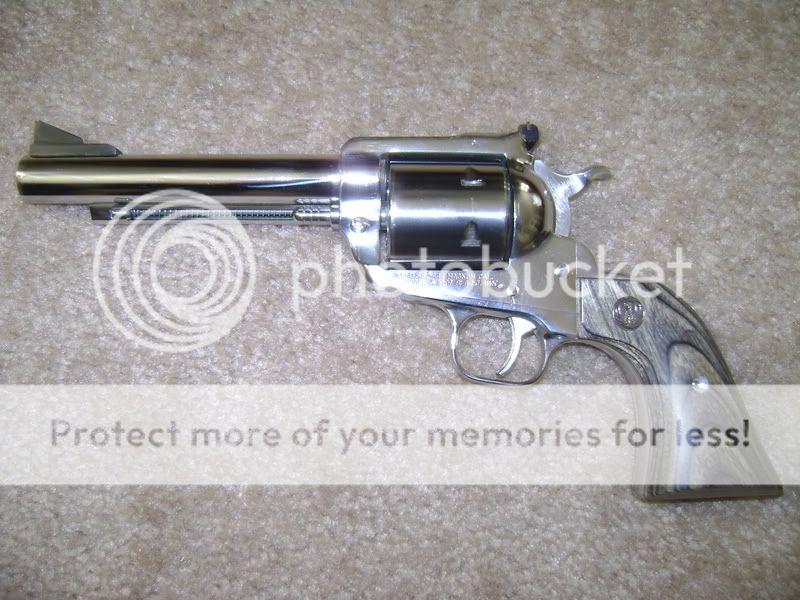
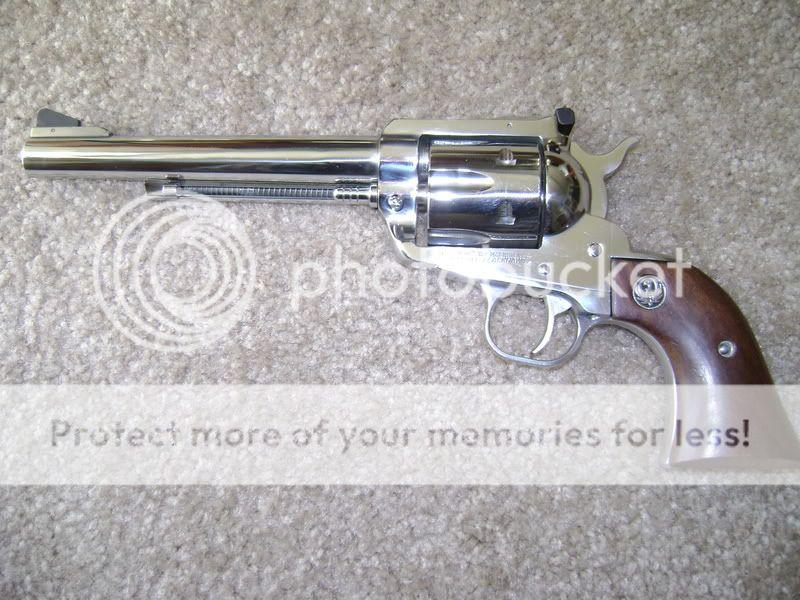
Here is a really nice polish job by Flash.
...and I found this about polishing Ruger stainless revolvers after doing a search. I'm sure the process would also work for re-blue prep.
Polishing Stainless Steel
You'll need a well lit area to work. A work bench would be a good area. You'll want a comfortable chair because the process takes quite a while. You'll need to set aside some time and be patient. It's not an easy process, but the rewards are worth it.
A couple warnings before you get started. It's probably NOT a good idea to sand or polish the front of the cylinder or the rear of the barrel by the forcing cone. The width of the gap between the cylinder and the barrel is critical to the proper operation of the revolver. Sanding or polishing these areas will increase the gap and may adversely affect the operation of your revolver. Be gentle with the cylinder when it's flipped out. Applying too much pressure could loosen the cylinder (I didn't have this problem). I recommend removing the grips before you get started.
Where to start… First you need to judge the depth of the existing scratches in the steel. This will help you decide what grit sand paper to start with. Deeper scratches will require a lower grit sand paper. Unfortunately this requires some experience. If you don't have any experience, then you'll have to make an educated guess. On my new Ruger GP-100 revolver I started with 800 grit sandpaper. Some of the scratches were pretty stubborn and I probably should have started with 400 or 600 grit.
You'll want to start wit the lowest grit sandpaper and work up to 1500 or 2000 grit. I've heard that generally you should double the grit every time you switch sandpaper, but investing a little extra time and sandpaper with intermediate grit papers will probably produce a better final surface. I used 800, 1000, 1500 and 2000 grit paper.
Find the areas with the deepest scratches and begin to sand them out. Tear off a small piece of sandpaper. Smaller pieces will make it easier to get in the smaller areas. Larger pieces are better for the larger, flat areas. Use a circular motion with light pressure. Periodically switch to a back and forth motion with quick, light strokes. This will clean up the area so you can check your progress.
The sandpaper will periodically load up (small particles made of metal powder will build up on the sandpaper). When the paper gets loaded up its ability to cut the metal is greatly reduced. This can be used to our advantage. When the paper begins to load up, switch to quick, light strokes in a back and forth motion. This will polish the area much nicer than a new piece of paper because the paper won't be cutting nearly as deep. After the paper is loaded up, it's best to get a new piece.
After a few minutes the original scratches should begin to disappear. When the scratches are gone, finish the area with quick, light strokes in a back and forth motion. This should leave the area without any scratches and a dull shine.
If the original scratches aren't coming out after sanding for a while you may need to start over with a lower grit sandpaper. Alternatively you can just continue to sand, eventually the scratches will come out.
Moving on… When those deeper scratches are all sanded out, your surface should be left with a dull shine. Now switch to the next higher grit paper and repeat the same procedure until you reach 1500 or 2000 grit sandpaper. Before switching sandpaper check and make sure there are no scratches left in the surface (other than the ones made by the sandpaper of course). Don't rely on the next grit sandpaper to take out the smaller scratches. Don't move onto the next grit until all the scratches are completely out. Those little scratches will become more and more visible as you move to smaller grits. Don't rely on the polishing paste to magically remove scratches. The polishing paste is not made to remove scratches, just to remove the haze and produce that mirror shine. When you start a higher grit, your basically sanding down the scratches you made with the pervious grit sandpaper. Sanding perpendicular to the previous grit will help you see when all the previous scratches are gone.
By the time you reach the 1500 or 2000 grit paper, the surface should almost have a mirror finish. Remember the polishing cream is just meant to take the haze out.
After you finish your highest grit sandpaper it's time to switch to the polishing paste or liquid. Get your electric drill, attach the buffing wheel, apply a little polishing paste to the surface of your steel and begin to buff. It only takes a little bit of polish, especially after the first time using the buffing wheel. Use light pressure and moderate speeds. It's best to use an assortment of buffing wheels that will help you get into all the smaller spaces. Start with the tighter woven wheels and buff the entire surface a few times. Next switch to the looser wheels and repeat the process.
After buffing you should have a mirror shine. If you find a scratch or a dull spot then you'll need to go back to the sandpaper and sand them out. For scratches start with lower grit papers and work back up to higher grits and then buff. For dull spots try the 1500 or 2000 grit paper with light pressure, then buff again.
...Jimbo