NM Blackhawk steel grip frame install

I spent hours on the phone with my GF, read books, caught snakes and chased my sisters with them. The usual stuff....
 
As an Amazon Associate we earn from qualifying purchases. Product prices and availability are accurate as of the date/time indicated and are subject to change.
All great answers. And yes- there was never boredom before that high octane internet gave us a taste of sensory overload. Honestly- the internet is great for things like this forum…but there’s equally and probably greater harm done.

When I was parts manager for Ford, all systems were internet based at our dealership. Couldn’t look up parts, take payment, or print receipts without it. On day the internet was down- not only was there no way to work, but having to talk to each other seemed to be uncomfortable after about 30 minutes. It was sad…
 
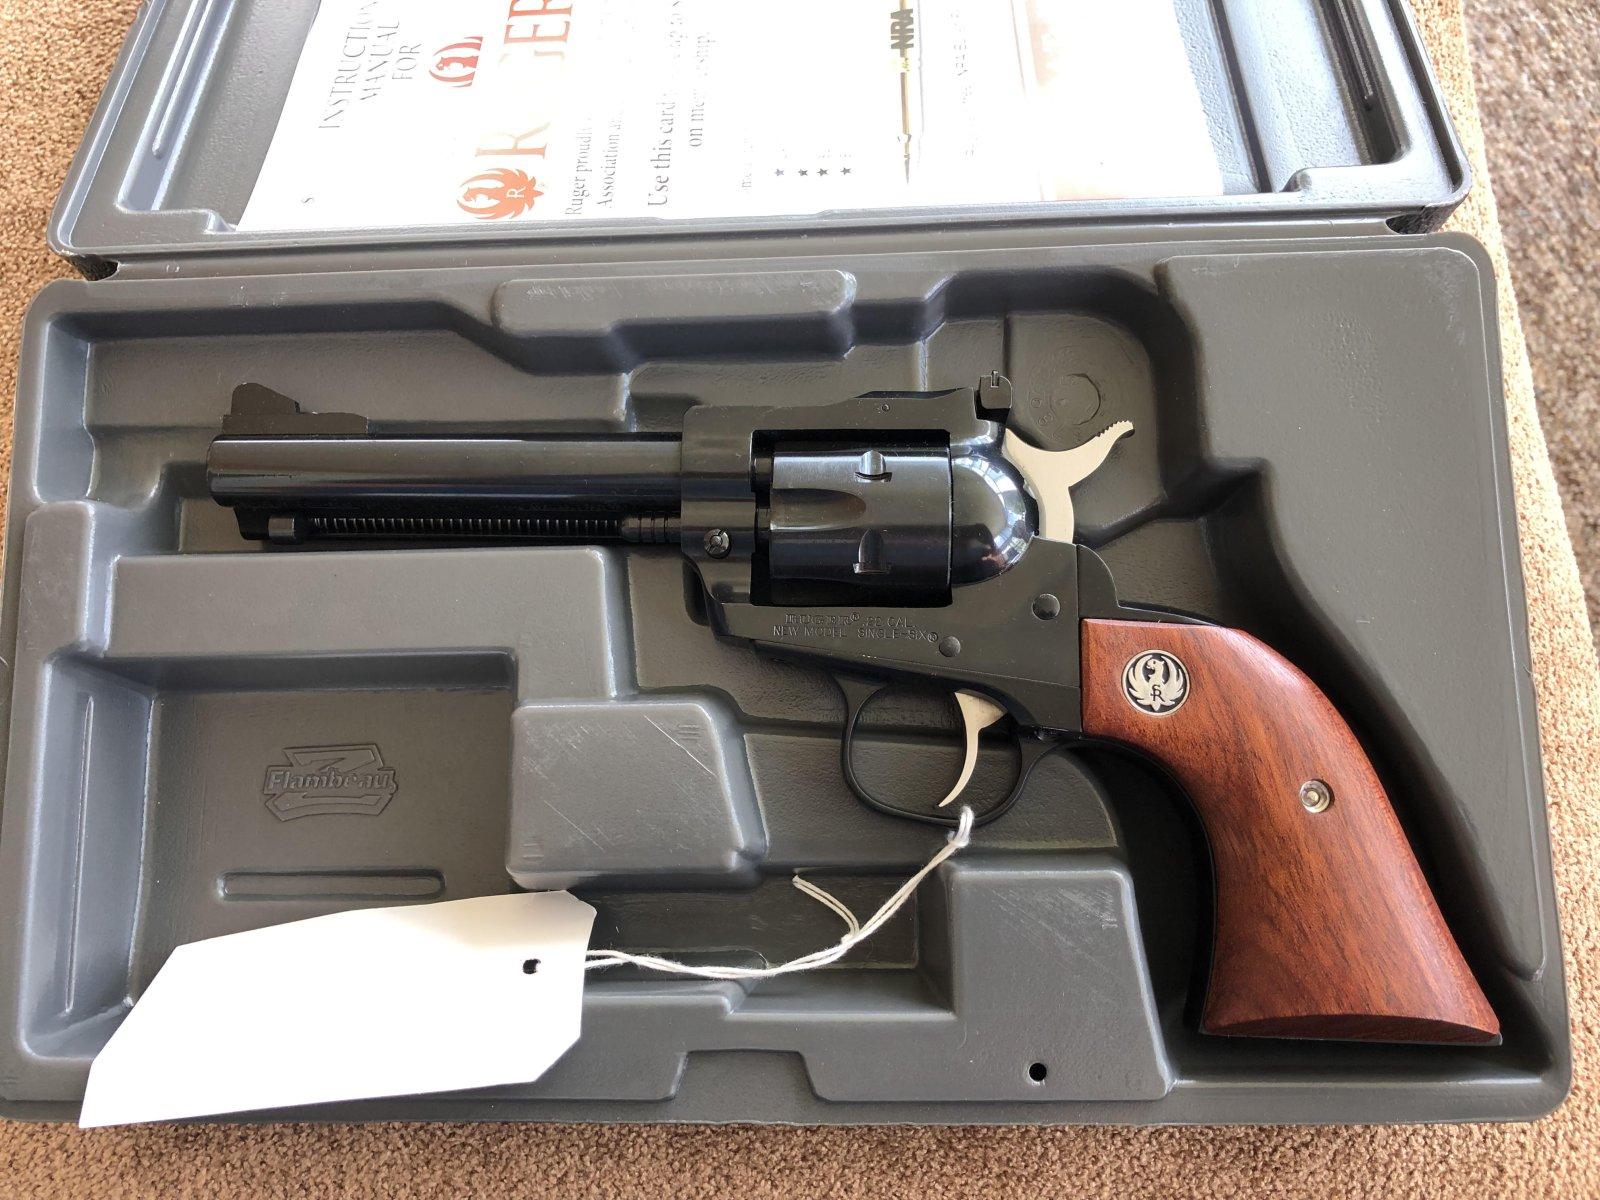
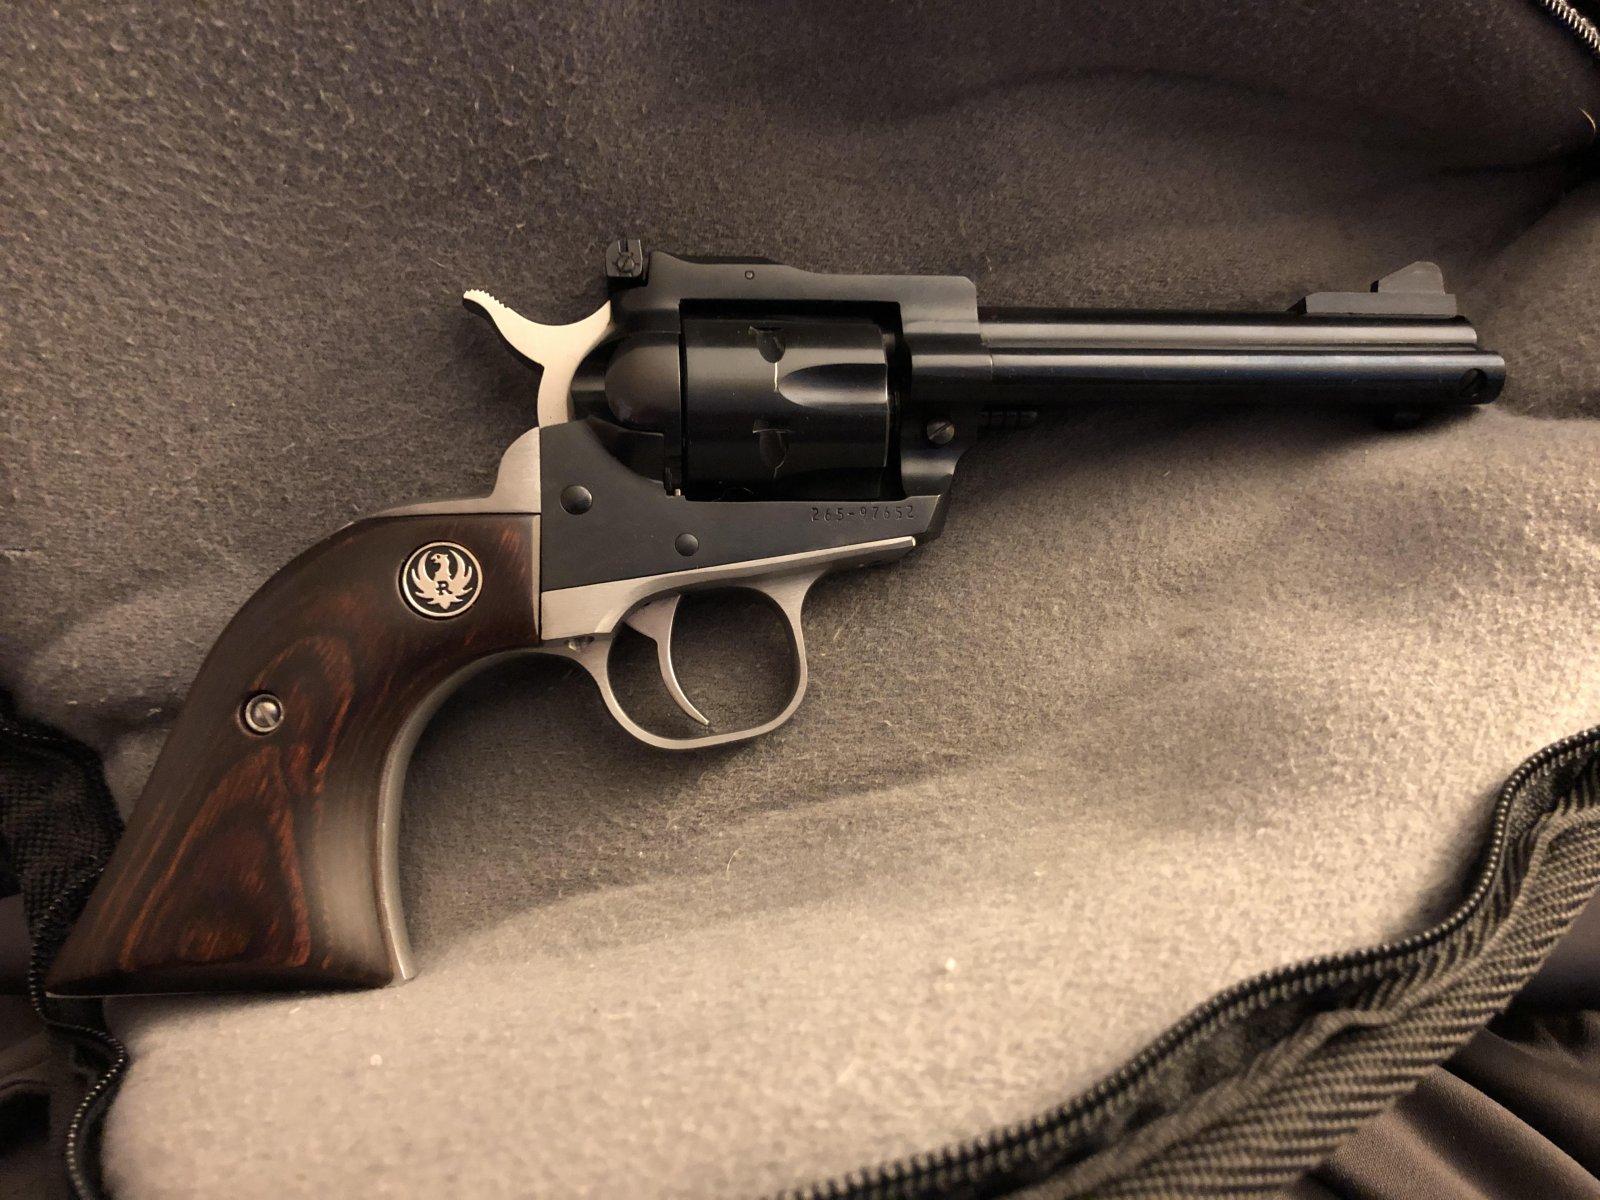
I bought my LNIB Ruger Single-six 4 5/8 in bbl Ruger and it was new condition and needed nothing. However, I always liked the two-tone single-action revolvers and wanted to make mine. First thing I did was strip the paint on the original grip frame. I was surprised to find the grip frame had flaws on it that were not visible with paint, but were when bare metal. I then ordered a stainless steel frame from Brownell's and was surprised to find that it was significantly oversized. I only have basic tools and minimum skills, and it took tons of time to get the grip frame sized to an acceptable fit. Pictures below are of original revolver and of the 90% finished stainless steel grip frame. I have spent a ton of time fitting this grip frame. Was it necessary? No. But, I'm retired and have plenty of time, and just wanted to do it.
 

Attachments

  • Single-six & box.jpg
    Single-six & box.jpg
    265.3 KB
  • My single-six.jpg
    My single-six.jpg
    270.9 KB
I bought my LNIB Ruger Single-six 4 5/8 in bbl Ruger and it was new condition and needed nothing. However, I always liked the two-tone single-action revolvers and wanted to make mine. First thing I did was strip the paint on the original grip frame. I was surprised to find the grip frame had flaws on it that were not visible with paint, but were when bare metal. I then ordered a stainless steel frame from Brownell's and was surprised to find that it was significantly oversized. I only have basic tools and minimum skills, and it took tons of time to get the grip frame sized to an acceptable fit. Pictures below are of original revolver and of the 90% finished stainless steel grip frame. I have spent a ton of time fitting this grip frame. Was it necessary? No. But, I'm retired and have plenty of time, and just wanted to do it.
My position as well. Retired and take care of my mom. Leaves me with a lot of time, would rather be doing something, right or wrong.
The steel frame is going to the shop to be finished. Hope to start the stainless in a coupla' days.
I bought both used, someone else had done the hard part. I just did some touch-up fitting,, hope the stainless is as easy. I like the two tone look as well. Hope to do one in brass when these are finished.
 
Got the stainless fitted to my .357 today. Just had to file the ears down about 4-6k. got it polished and it looks good. Just waiting for a stainless trigger and hammer, should be here Thursday. I have a stainless ejector shroud for it. I will post some pics when it is all together.
 
My Single-six is blued steel per my previous picture, and it was of 2015 production and one thing that I was pleased to see was that it came with a stainless steel trigger and hammer. That really makes sense to me, no more staining and dis-colorization of those parts.. (y)
 
My Single-six is blued steel per my previous picture, and it was of 2015 production and one thing that I was pleased to see was that it came with a stainless steel trigger and hammer. That really makes sense to me, no more staining and dis-colorization of those parts.. (y)
Now to stop this from happening. This is my .357 NM I am putting ss on. Every BH I have has this, on the left side of the hammer. This is the worst. Even my OM have it to some degree. Whether to file down the hammer channel or work down the thickness of the hammer. Has anyone else had this problem, and if so, how did you cure it. Thanks much.
 

Attachments

  • thumbnail_IMG_0473.jpg
    thumbnail_IMG_0473.jpg
    208.9 KB
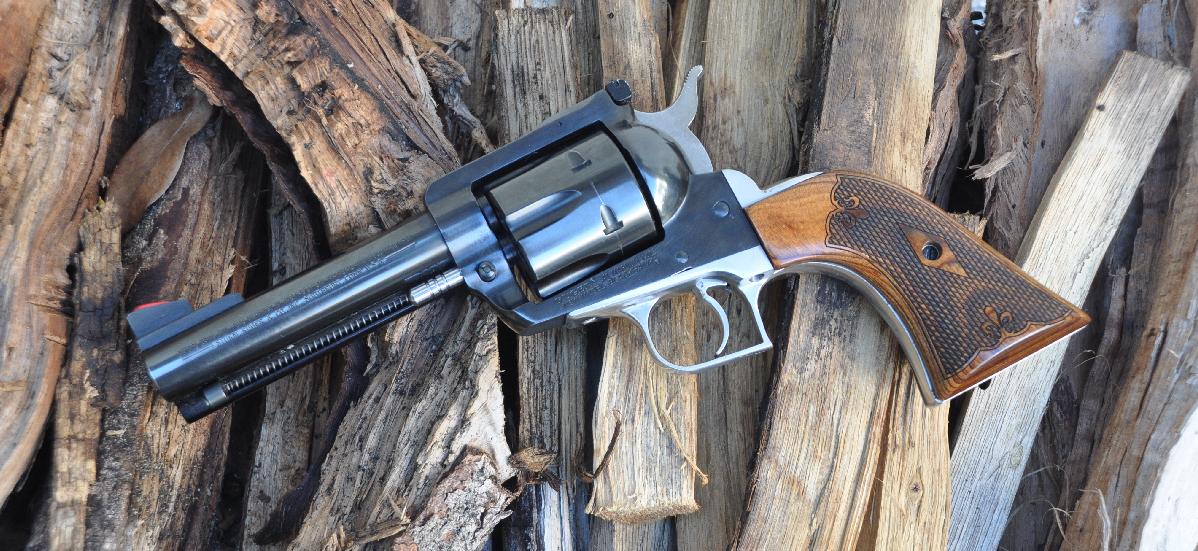
I shot the 4 5/8" .41 today with the SS Dragoon gripframe, what a difference it made over aluminum. The longer grip makes for more control, and the weight helps keep the muzzle down with better balance. On the down side now I'm going to keep my ear to the ground to have a spare stainless gripframe around just in case I need it.
 

Attachments

  • ruger_blue_41mag_new_gf.jpg
    ruger_blue_41mag_new_gf.jpg
    155.8 KB
Last edited:
I shot the 4 5/8" .41 today with the SS Dragoon gripframe, what a difference it made over aluminum. The longer grip makes for more control, and the weight helps keep the muzzle down with better balance. On the down side now I'm going to keep my ear to the ground to have a spare stainless gripframe around just in case I need it.
A good looking revolver. Haven't got mine together, some parts are being delivered today. I ordered some trigger and hammer shims, should be in next week. My .357 really scratches the hammer, got some advice from other members about shimming, rather than just honing the hammer channel. The steel gf is off to be finished. A new finish called Spartan Shield. Similar to Cerakote, but goes on in one application. Supposed to be real durable and withstand temps to 1300 degrees. I will post pictures when I get it done. Comes in a number of colors. I went with black. has some sheen to it.
 

Latest posts

Back
Top