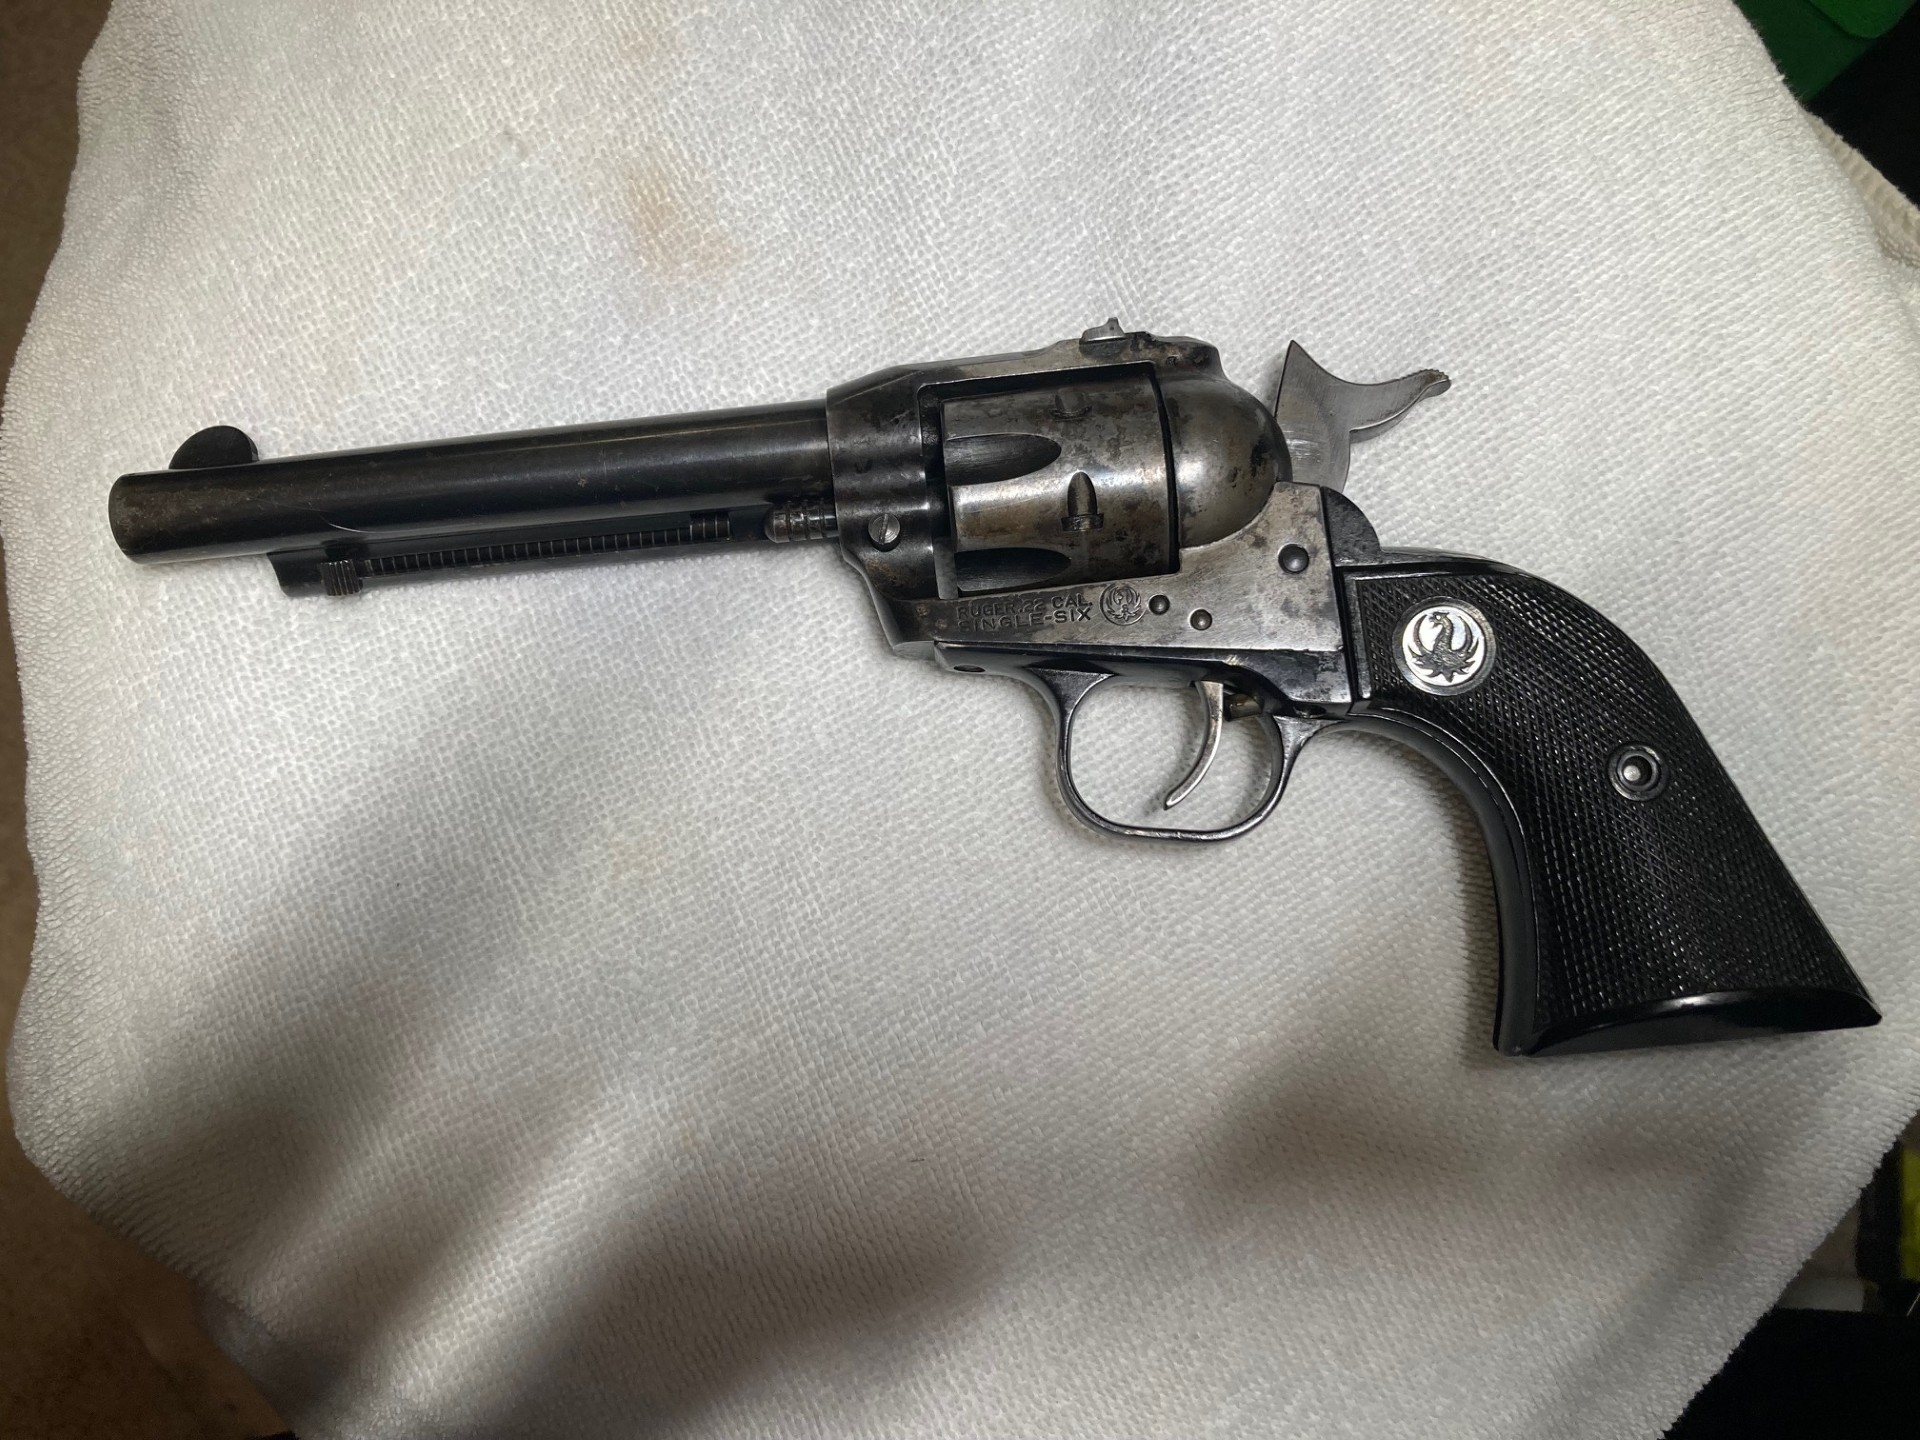
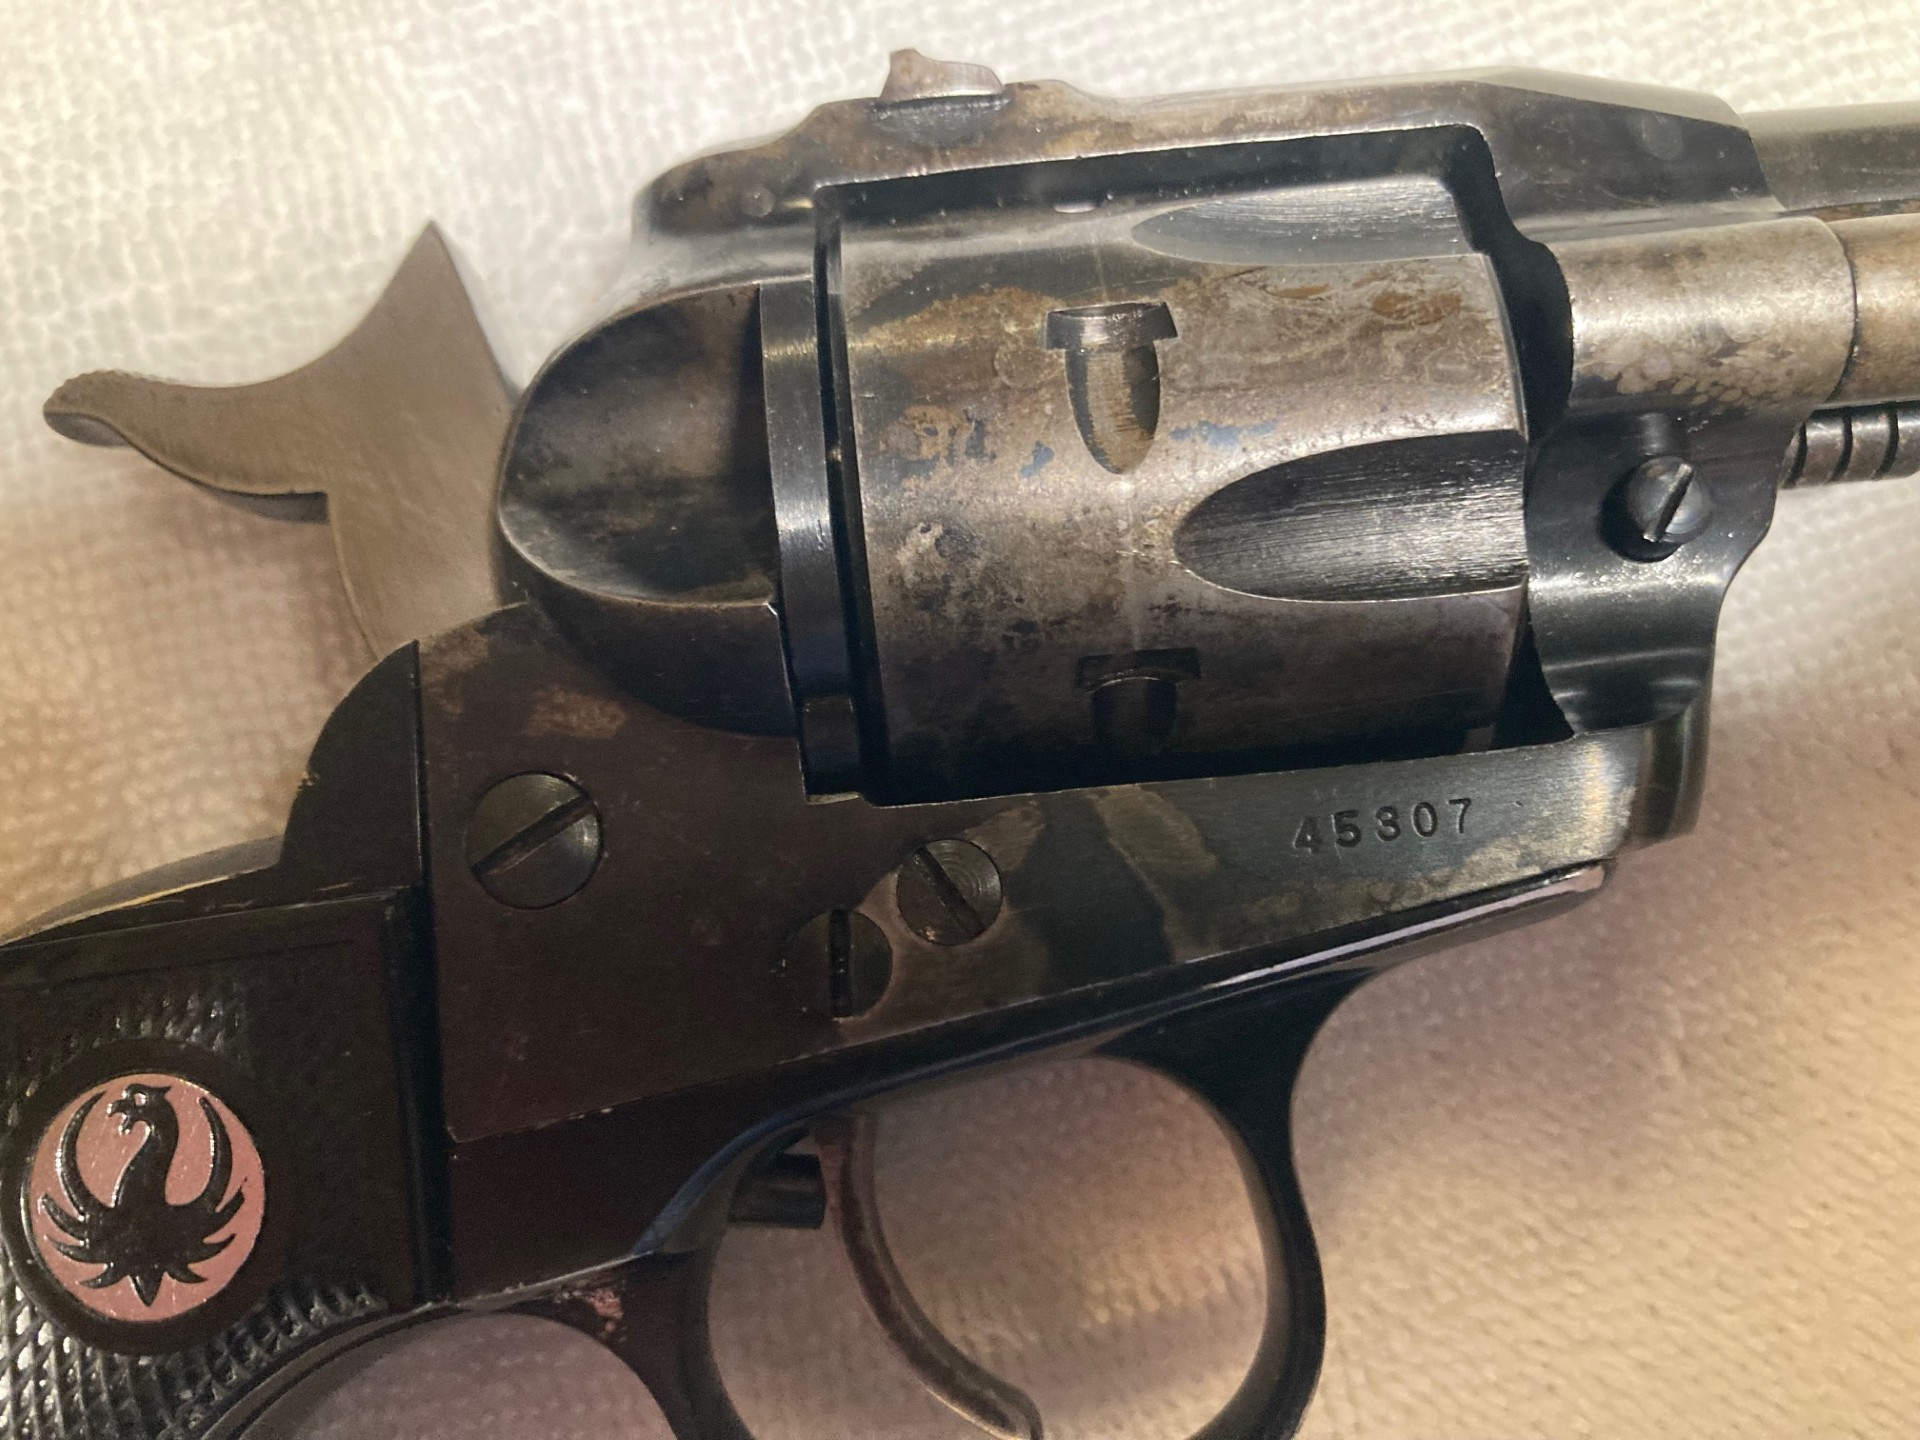
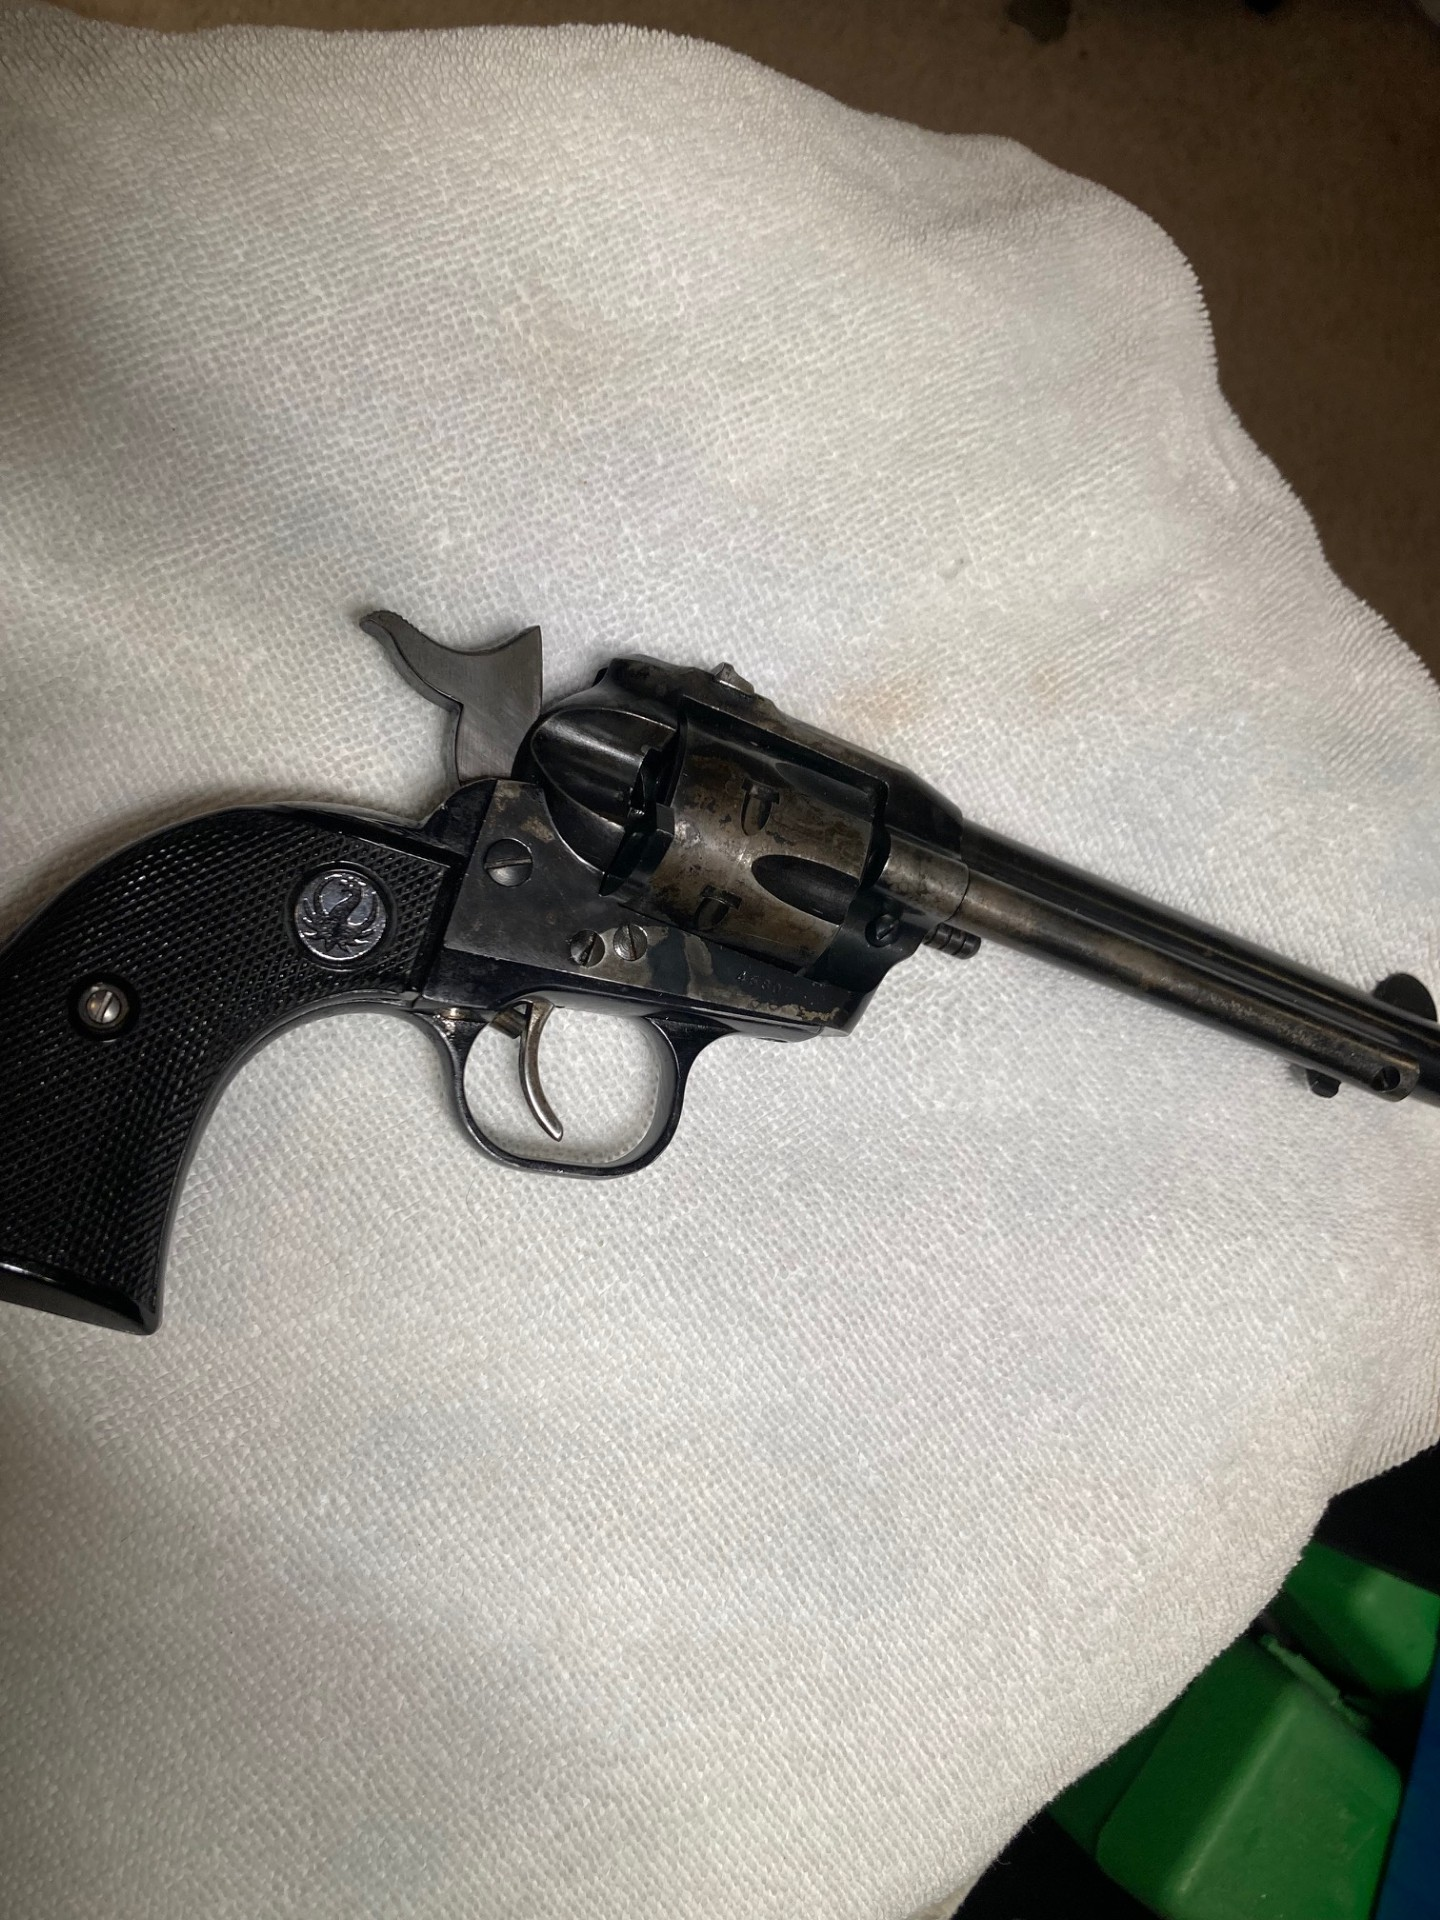
blackhawk conversion

CLP. Cleans and lubes, leaves a protective film on the metal. Soak parts in a zip lock baggie with enough to cover the parts and main frames/barrels and you will be amazed at what comes off! I then take small patches and Q-tips to screw holes, hard to get areas. I always fill screw holes with oil and run the screws in 2 or 3 times to clean the threads of any dirt or rust. I use special screws for this to save my screw heads. When I put it back together it screws up like a new gun!
 
Got it back together. Will take it to the range, then probably re-blue. Got the original flat gate and grips on it. Had a hard time at first getting the base pin out until I took the base pin latch apart and cleaned it real good. Has the original base pin latch.
1766949991090.png

1766950142073.png
1766950052904.png

This si why you NEVER store a gun in a holster............
 
Last edited:
"I'll have to check the grip frame to see if it is stamped..."

The grip frame is NOT marked. It's the main frame,, on the bottom, and the mark is hidden by the grip frame when assembled.

Sorry for any confusion.
 
"I'll have to check the grip frame to see if it is stamped..."

The grip frame is NOT marked. It's the main frame,, on the bottom, and the mark is hidden by the grip frame when assembled.

Sorry for any confusion.
Then I will not be checking to see if mine is stamped ;)
 
Hey, Adam
The kit will be on it's way today, went to the post office Saturday, they closed at noon. Being new to OM SA, I feel compelled to go over 1 point in particular. Always load the cylinder with the hammer resting on an empty chamber. I would advise getting some snap caps and practicing this. In it's current configuration, the firing pin is not visible when the hammer is full down. When the re-conversion kit is installed, the firing pin protrudes and rest against the primer when hammer is down. With the cylinder out push the hammer in, you will see the firing pin protrude even further.
To load, insert 1 bullet, skip a chamber, load the other 4, the cylinder should be on the empty chamber when the hammer is released. Practice this until it becomes second nature. You probably already know this, but now I feel better about it!

There are some stories of old-time SA carriers putting a rolled up bill, 1, 5, 10 dollar or whatever in one chamber to remind them when loading of the empty chamber, and if they needed a little ready cash, they had it as back-up!

Enjoy, and be safe!
 
Important: when doing the "load one, skip one, load four" procedure always pull the hammer to full cock after loading the final chamber and then carefully lower it fully down onto the now-aligned empty chamber. If you lower the hammer from the half-cock position you will get the "cylinder ring" wear from the bolt. :oops:
 
Important: when doing the "load one, skip one, load four" procedure always pull the hammer to full cock after loading the final chamber and then carefully lower it fully down onto the now-aligned empty chamber. If you lower the hammer from the half-cock position you will get the "cylinder ring" wear from the bolt. :oops:
Thanks much Ale. I forgot that part.
 
Got a text from the OP last night, got the kit this weekend and installed it yesterday. He said it would cock without the cylinder in, but with it in, it would not cock. There are only 3 things this could be., a long screw installed in the front grip frame, cylinder latch not working properly, or the pawl.
I called him immediately, as I didn't want him messing up his cylinder if it was the first one. We eliminated the screw, the cylinder latch worked properly, main spring was installed properly, or it would not cock at all. I suggested he install the pawl from the conversion kit, as they are the same part. He texted me a while later and said it was working properly, called and went thru the timing routine with him, everything passed. Again, I owe my thanks to this forum and its members, without whom I would not have been able to take care of this problem. You all have taught me so much! I appreciate you all.

The thing I love about working on an om vs a NM, individual components can be removed without tearing the whole gun down. If this had been a NM the entire guts would have to be torn down to remove the hammer/pawl. The om, remove the hammer screw and hammer/pawl drop out.................
 
Back
Top