Taking 3 screw Blackhawk back to original status

Help Support Ruger Forum:

Joined
Nov 16, 2022
Messages
135
Location
Tennessee
Thanks to advice on this forum (and especially to Ruger Guy) I have the original parts needed to convert my 1967 Ruger Blackhawk "3 screw" back to it's original state.

Only challenge is I my lack of confidence to do the job myself. I tried a search on YouTube for a video of this process but did not find one.

Do any of you know of a good step-by-step video or tutorial that might help with this?

thanks,
 

Johnnu2

Hunter
Joined
Jun 26, 2003
Messages
2,932
Location
NYS
If I recall correctly, somewhere in the forum here, one of the members posted specific, step by step directions. Hopefully someone will remember and re-post (?). There may be some who would be willing to try a telecon to guide you through it. I understand your feeling; I remember my first attempt. It's simple compared to assembling New Models (they are VERY DIFFICULT). Hopefully, the original poster will know where his post is and bring it to the top for you.... Good Luck... it's really simple (after you've done one or two).
J.
 

contender

Ruger Guru
Joined
Sep 18, 2002
Messages
25,473
Location
Lake Lure NC USA
As noted above,, it's actually not very hard to do.

The best thing is to get a correct manual and it shows how to disassemble & reassemble the gun. And if you don't have a manual, Ruger sends reprints out, for free, or heck, I'm sure I could dig a reprint out for you. (If I haven't given them all away or lost them in the mess of my stuff.)
One VERY important step; USE CORRECTLY FITTING SCREWDRIVERS to avoid marring the gun, the screws etc.
From memory;
Remove the grips.
Cock the hammer.
Insert a pin in the mainspring strut bottom, to capture the spring under tension.
Pull the trigger, and you will have a "floppy" hammer, as the mainspring is now removed from the hammer.
Remove the (5) screws holding the grip frame from the main frame.
Remove the g/f & mainspring assy from the frame.
The 3 screws in the side of the main frame hold the trigger, the hammer & all in place in the frame. Remove them, and the parts will easily come out. Pay attention to the way the parts come out, and just reverse the procedure to re-install the replacement parts.
You can check operation by manually operating it all together once reassembled w/o the g/f & all. Just realize that the hammer doesn't have anything to move it. Do so manually. Once you have the internals replaced, and they move as they should, you can re-install the grip frame & mainspring assy.
Cock & remove the capture pin, and if all was done correctly, it'll operate just fine. Put the grips back on.

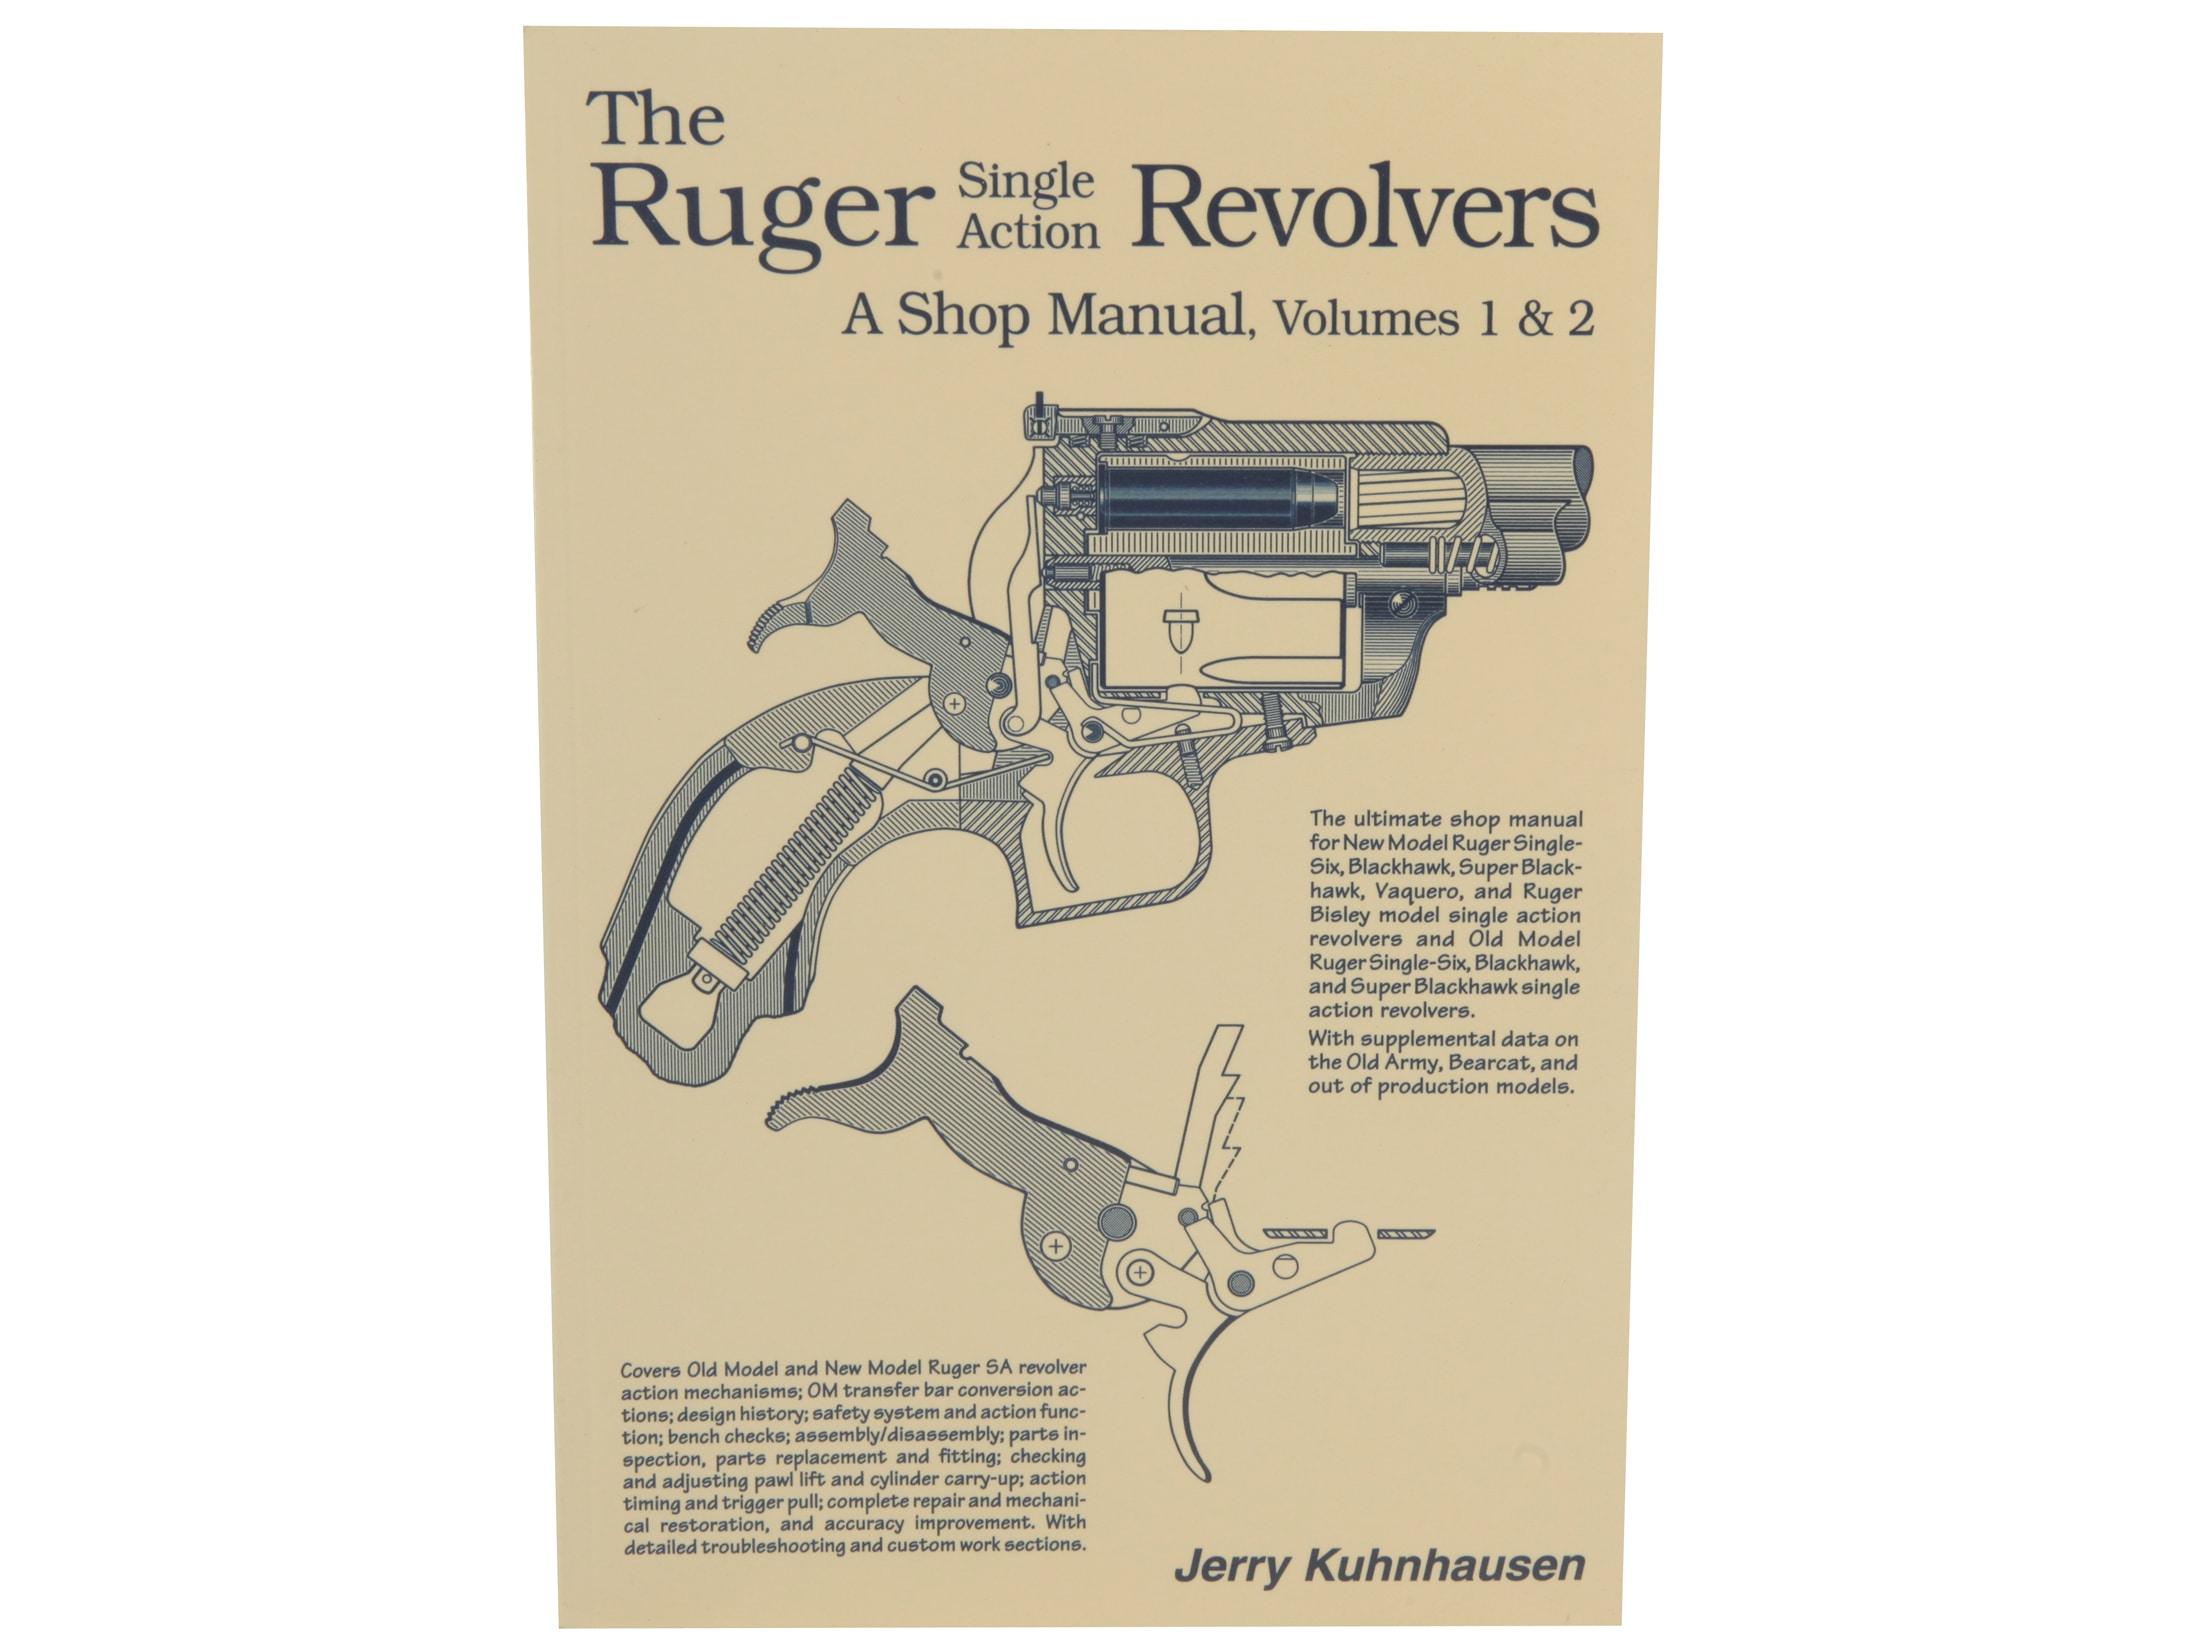
A manual has this info as well, and shows the parts etc. Having a manual would be very helpful.
 

weaselmeatgravy

Moderator
Staff member
Moderator
Joined
Mar 28, 2001
Messages
3,132
Location
Colorado native, Vermont transplant
Ty overlooked a key early step that flatgate always made sure to mention:

1. Unload gun :D

Then:
2. Remove cylinder

Also, after removing the grip frame screws, sometimes the grip frame will bind a bit on the internals and that can generally be overcome by partially cocking the hammer as you wiggle the grip frame free.

The 3 pivot screws can generally be removed in any order and when reassembling, they can be installed in any order as long as the components are placed.

The trickiest part is the cylinder latch spring, so study that before pulling the conversion kit one out. The pawl, trigger return spring, and cylinder latch spring could all be reused from the conversion kit as they are generally the same parts, but I think the kit's springs may be stiffer, so you may want to use originals.
 

SBHRSSSSS

Bearcat
Joined
May 22, 2017
Messages
90


Try this link. As I recall, when I unconverted a Single Six, this helped me with the basics of disassembly and reassembly. Its easy to do, and if you look at the parts side by side, you should be able to understand what parts get swapped.
 

Johnnu2

Hunter
Joined
Jun 26, 2003
Messages
2,932
Location
NYS
A couple of additional thoughts:
1) that video: I NEVER remove the hammer first; I remove it last, after first removing the cylinder bolt spring, then removing the 3 'pivot screws in order from front to rear with the hammer screw being the last. Note how the cylinder bolt spring/cylinder latch spring is not only held in place by it's 'pivot' screw, but also is "hooked" into a small hole in the frame itself. Take pics before removing so you can see how to orient it when putting it back in. This is tricky as pointed out by weaselmeatgravy. I believe that this spring does double duty i.e. runs the cylinder bolt (latch) that pops up thru the frame to go into the leades on the cylinder flutes AND also runs the trigger i.e. trigger return spring.
2) that video: Once you have put a small nail in the hole at the bottom of the main (coil) spring. LEAVE IT THERE and do not take it out again until you've completed all step in reassembly and are essentially finished and ready to shoot. The video wastes a lot of time playing around with a spring that doesn't need to be played with. I would ignore that video completely. ALSO, a tip: I use a small nail to put into the hole to capture that spring; I put the nail in with the head of the nail sticking out from either the left or right side of the grip frame. When comes time to reassemble, it helps to know which way to put the coil spring back in so that the top of the strut captures the bottom of the hammer slot in the same position (note its bent somewhat) that it was when you took it out. The nail HEAD helps if you put it back with the head on the same side that you originally put it in.
3) There is a LITTLE surprise in store when you remove the grip frame from the main frame. Looking at the grip frame from the rear (where you hold it and see the back of the hammer), you will see the TWO screws on either side of the hammer. Underneath the LEFT screw, when you pull off the grip frame, you'll see a TINY spring sticking out from the back of the main frame. This is the spring that actuates the pawl; it also has a small 'detent' thingie that rests inside of it and rests against the pawl (to push it forward). Do notice how it comes out and do notice the little detent thingie (a tiny steel pin if you will). This will be easy to forget to put back and be somewhat a PIA to compress and hold while putting the grip frame back in place and essentially over it...to hold it in place. More pics will help.
4) Remember to start with the forward pivot screw after you have the grip frame off and work you way back to the hammer spring.
5) I always leave the pivot screws sticking in the holes of their corresponding parts so I don't have to remember which is which.

WHEW....did all this from memory in a 79 year old brain....

GOOD LUCK,

J.
 
Last edited:
Joined
Nov 16, 2022
Messages
135
Location
Tennessee
A couple of additional thoughts:
1) that video: I NEVER remove the hammer first; I remove it last, after first removing the cylinder bolt spring, then removing the 3 'pivot screws in order from front to rear with the hammer screw being the last.
John, thank you so very, very much for all of this good info. I am so impressed with all of the support on this forum to help a fella out when he's in the deep weeds. You and the others, are so kind.
 

maxfam

Bearcat
Joined
Jan 13, 2013
Messages
82
Location
Tennessee
In the video, what brand of gunsmith screwdriver was dat? What kind of screwdriver are you going to use to remove/replace the grip frame screws? Stanley or Craftsman?
 
Joined
Dec 11, 2002
Messages
9,019
Location
Ohio , U.S.A.
Please ,do NOT use hardware, home supply, everyday "screwdrivers" to work on ANY firearm, use hollow ground ( straight shank ) drivers, NO flair at the 'working' end of the driver.....flaired drivers will hog out the surrounding area around any given gun screw hole.........at times even a replaceable tip type driver handle if the tips are too short, the body of the driver will rub against the trigger guard or frame sides adjacent to the hole you are going into...neatness counts....class dismissed:rolleyes:

...and Lt Choate if you'd be around here, nearby, the job would have been done already, good luck to you Sir..........:cool:;)
 
Joined
Nov 16, 2022
Messages
135
Location
Tennessee
Thanks Rugerguy. Now that you have provided me those excellent parts, I will get it done. I just acquired a copy of the old "pre-1973" Blackhawk owners manual. That, coupled with all of the good instructions provided here, I think I can do it. Just getting ducks in a row.

Glad you mentioned about the gunsmith screwdrivers. My son got me a nice set of Milwaukee drivers for Fathers day and I was gonna use those.
 

contender

Ruger Guru
Joined
Sep 18, 2002
Messages
25,473
Location
Lake Lure NC USA
As Dan has mentioned,, if you were closer to him in Ohio,, it'd be done already.

I just realized you are in Tenn. If you are in East Tn.. I'm in WNC,, and I too would be glad to help if needed.
 
Joined
Nov 16, 2022
Messages
135
Location
Tennessee
As Dan has mentioned,, if you were closer to him in Ohio,, it'd be done already.

I just realized you are in Tenn. If you are in East Tn.. I'm in WNC,, and I too would be glad to help if needed.
Very kind of you to offer that.

As a matter of fact, late yesterday I spoke with a friend of mine that I haven't talked with in years. He does some gunsmithing out of his home and has all the tools and is familiar with this conversion. He has said he will help me with it, so I feel like I will have some guidance along the way.

Y'all have sure been a supportive group, even though I've not met any of you.

Thanks so much.
 
Joined
Dec 11, 2002
Messages
9,019
Location
Ohio , U.S.A.
Amen to that,,,,,,we enjoy trying to help as well as save YOU some time and money,,,good luck with your friend if he has done ANY gunsmithing, we have found over the years the Ruger single action is "dream", no nonsense, just take your time, and remember "neatness counts" see all too many Rugers over the years the screw holes, as well as the screws themselves are "boogered" wish I had a nickel for every DOZEN screws we've had to redo, requalify, or replace since the mid 1960s...yikes:cool::rolleyes:;)
 
Joined
Nov 16, 2022
Messages
135
Location
Tennessee
Amen to that,,,,,,we enjoy trying to help as well as save YOU some time and money,,,good luck with your friend if he has done ANY gunsmithing, we have found over the years the Ruger single action is "dream", no nonsense, just take your time, and remember "neatness counts" see all too many Rugers over the years the screw holes, as well as the screws themselves are "boogered" wish I had a nickel for every DOZEN screws we've had to redo, requalify, or replace since the mid 1960s...yikes:cool::rolleyes:;)

Ok folks..... the journey is over..... Thanks to all of you on this thread, and especially Rugerguy (Dan), we have installed the original parts into my 1967 Blackhawk and we are back in original shape! I have already taken it out and ran several rounds of both .357 as well as .38 special and could not be happier with the performance, look and process.

Below are a couple of pictures. Notice absence of the transfer bar.

Thanks again for everything!!

Mark
Ruger Blackhawk 3 screw a.jpg
Ruger Blackhawk 3 screw b.jpg
 
Top