10 ROA's get HAMMERED !!!

45 Dragoon

Bearcat
Joined
Dec 22, 2024
Messages
80
City & State/Province
Ga
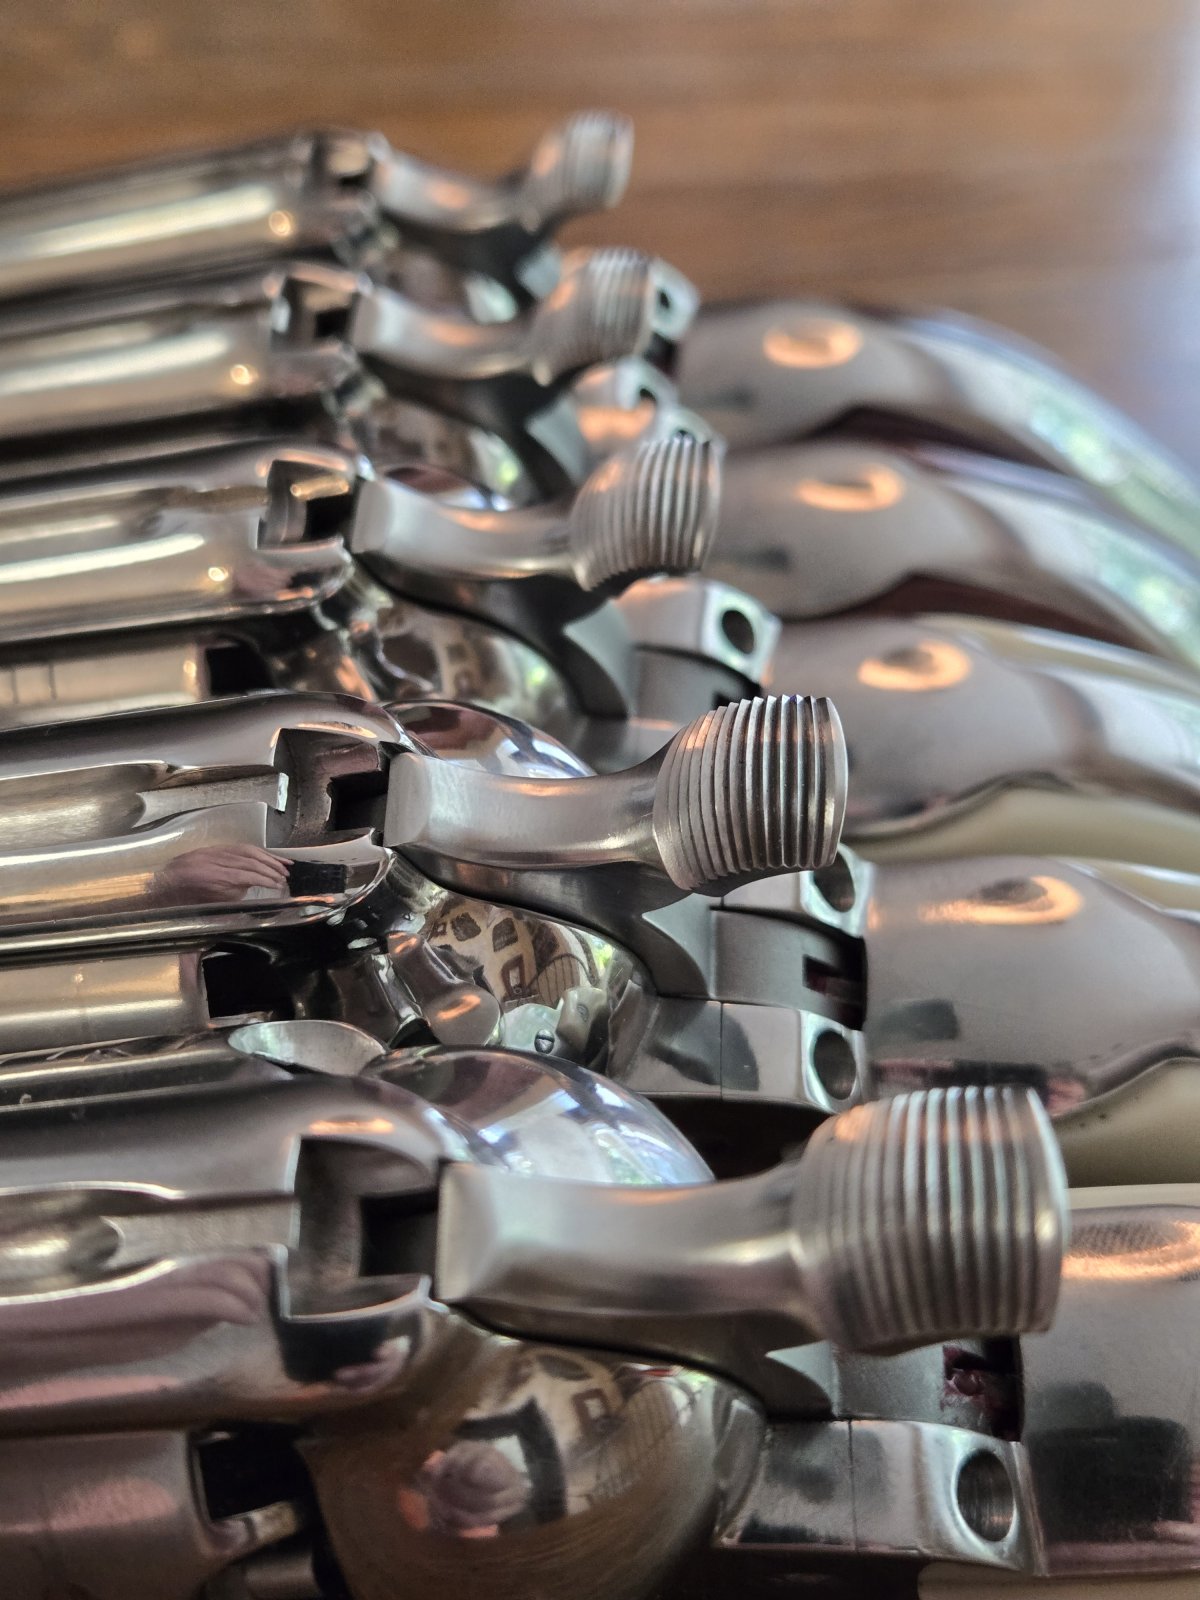
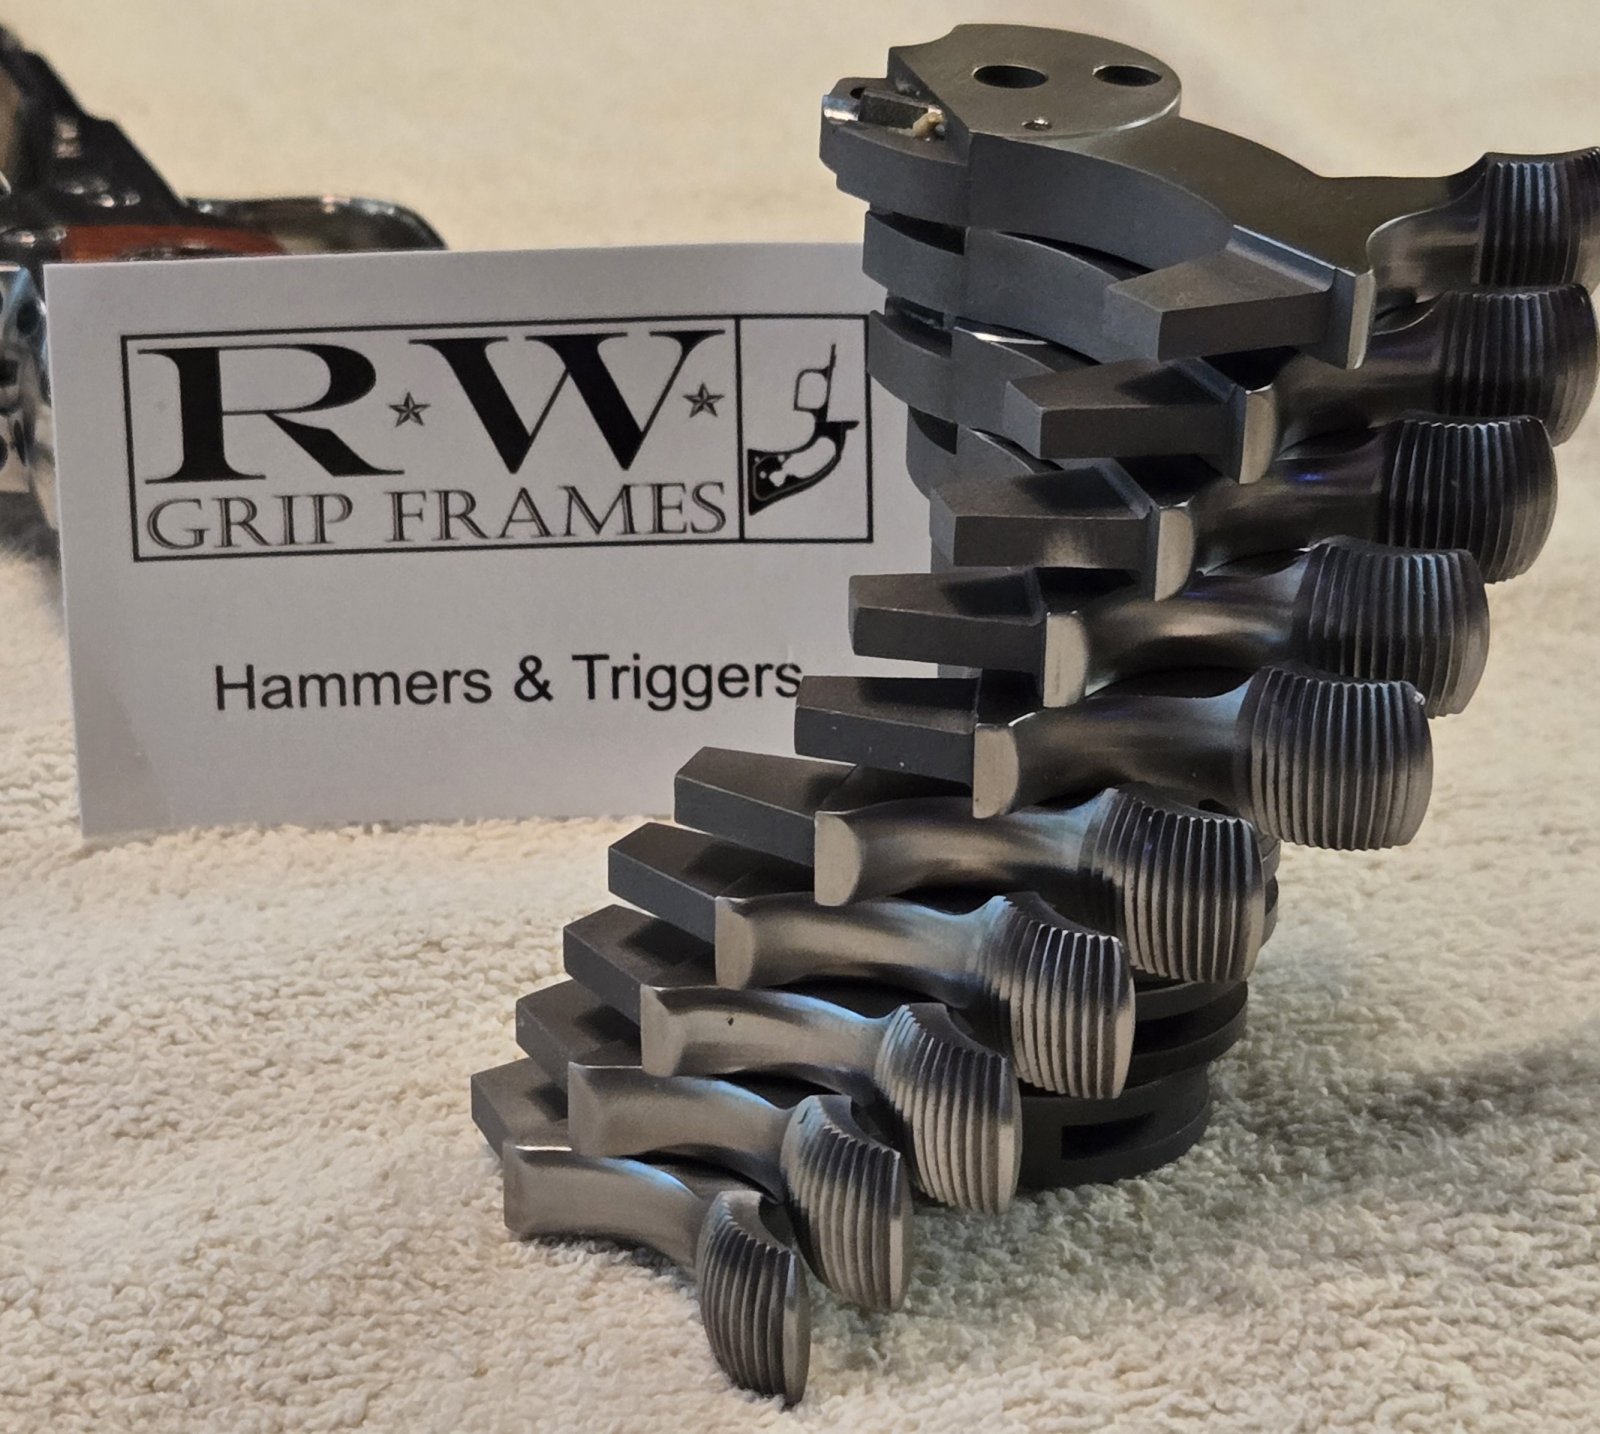
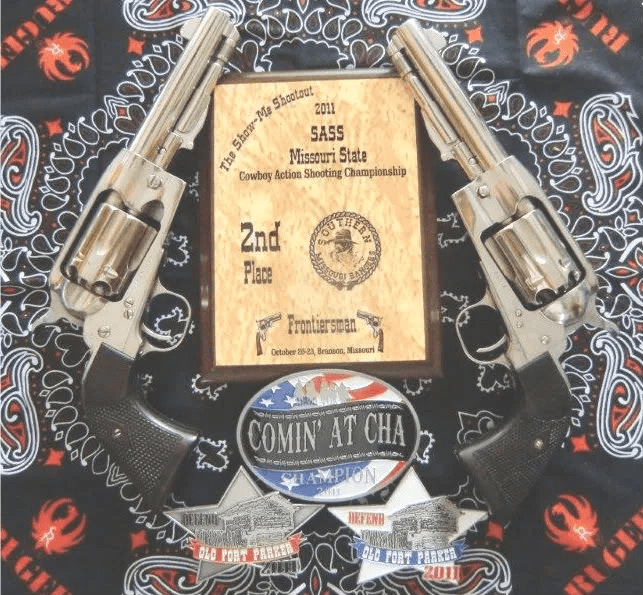
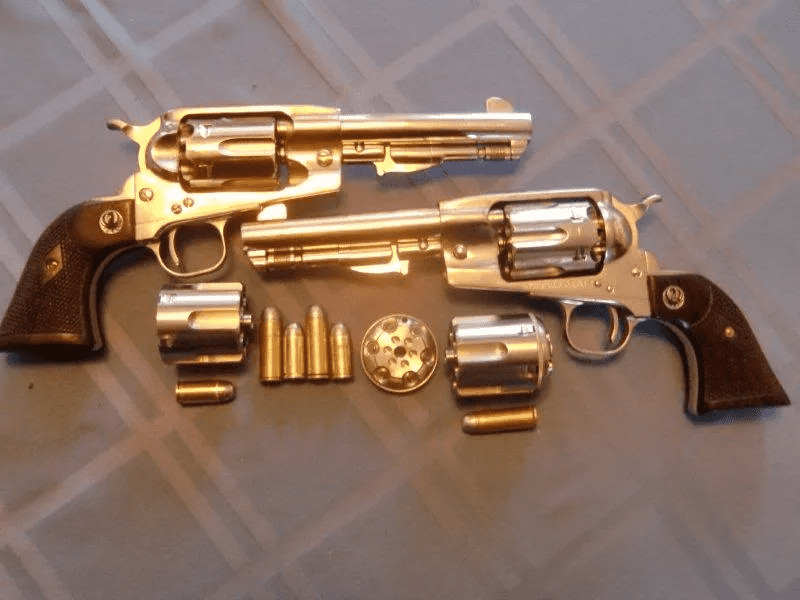
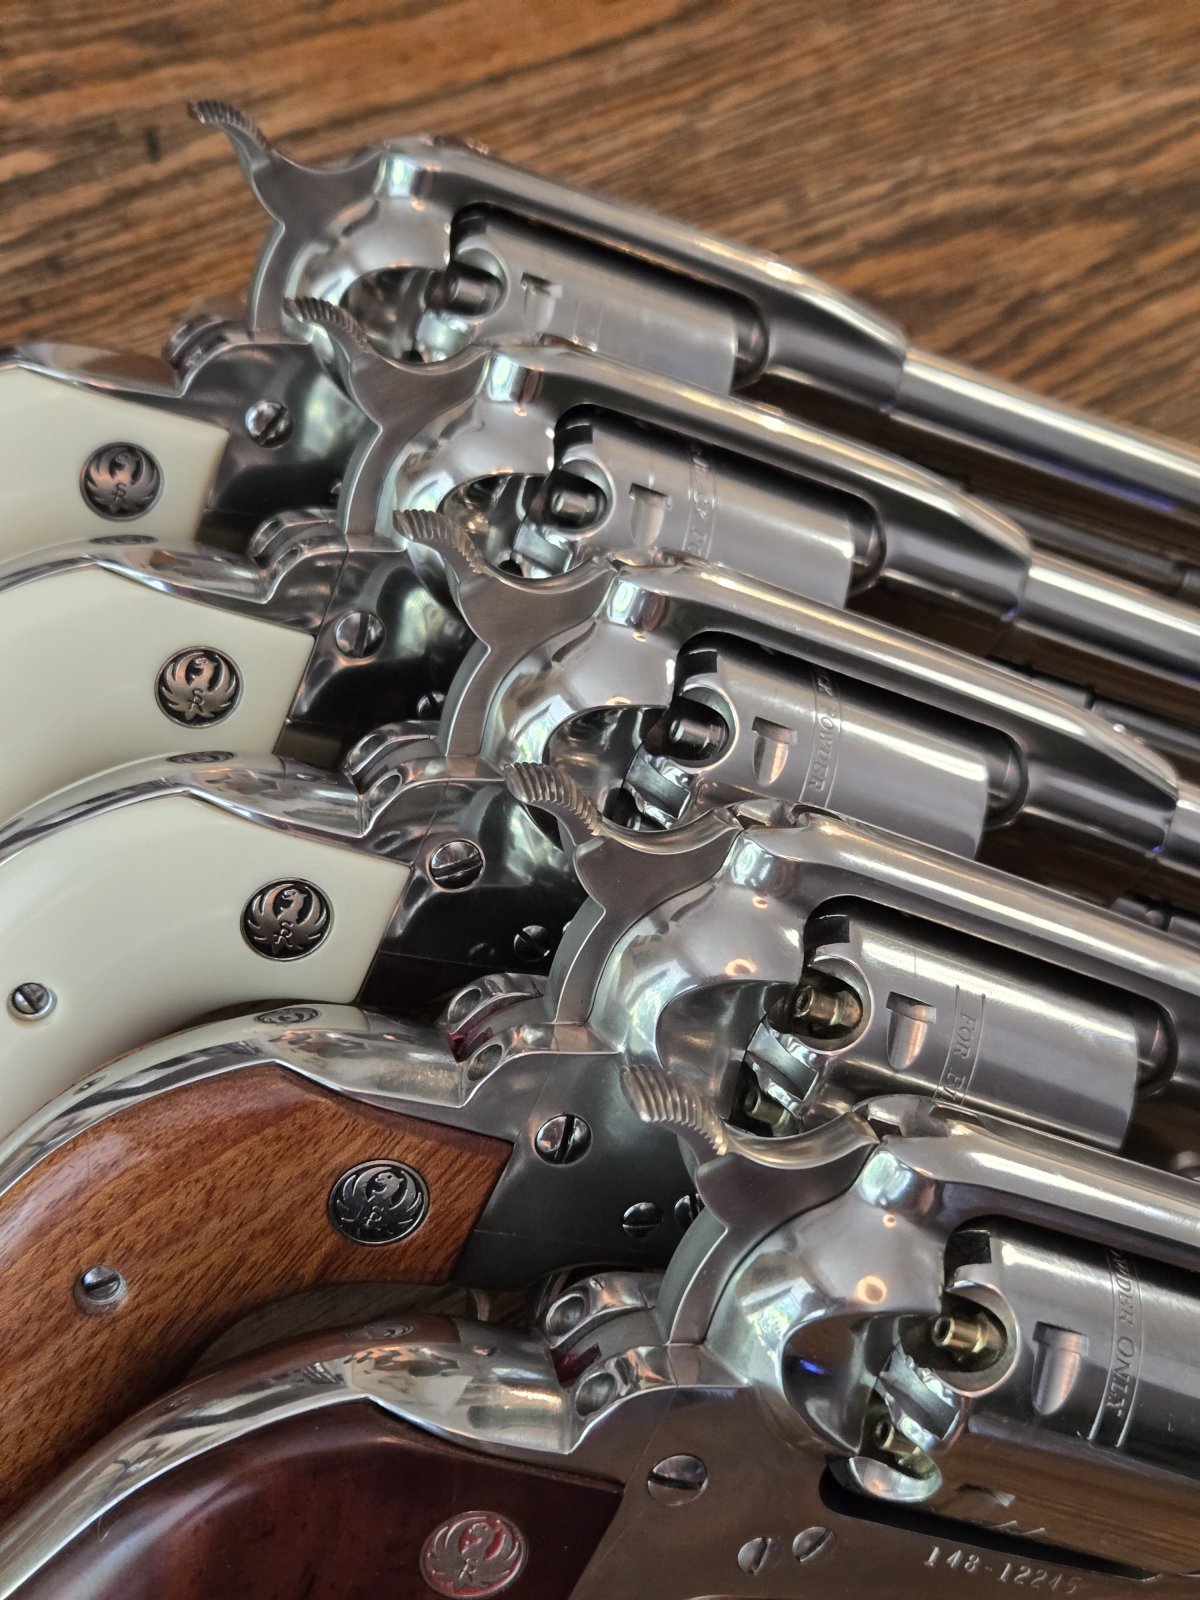
Here's a "study" of Ron Wells Hammers for ROA's. They are a Premium hammer complete with plunger, the sides are back set so there won't be any "unsightly" scratches and the curve of the spur is perfect!! The serrations on the spur are a work of art as each one has its own arc !! And that thing works!!!! Easy to grab with your thumb shooting single handed or thumbing with the off hand!! They are simply put "PERFECT"!!
20250506_103552.jpg


20250506_103304.jpg


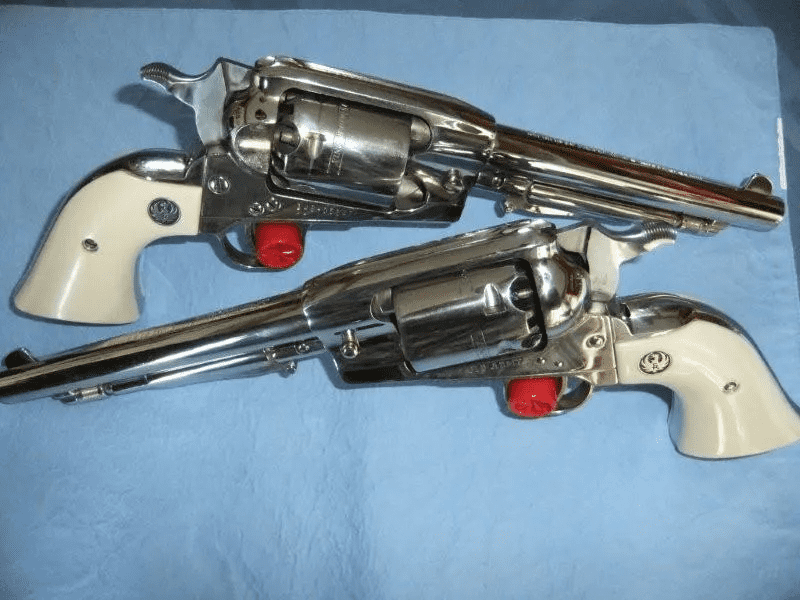
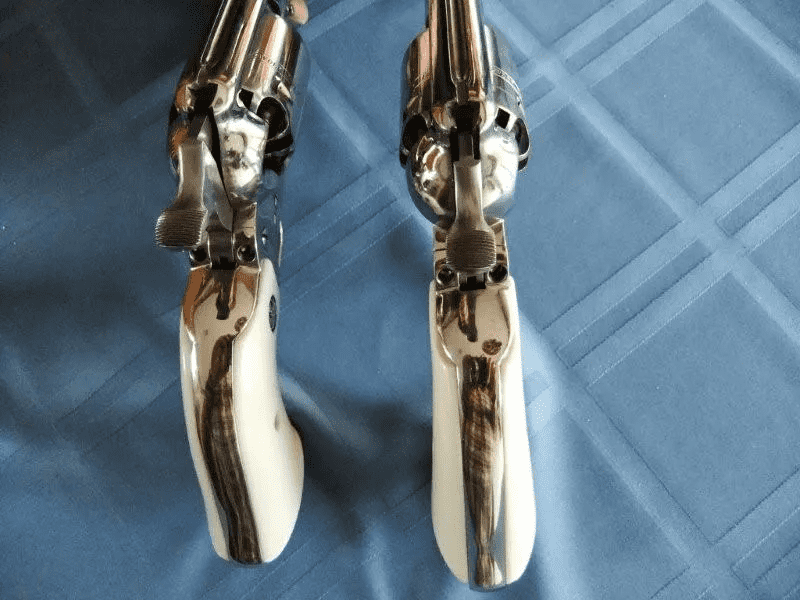
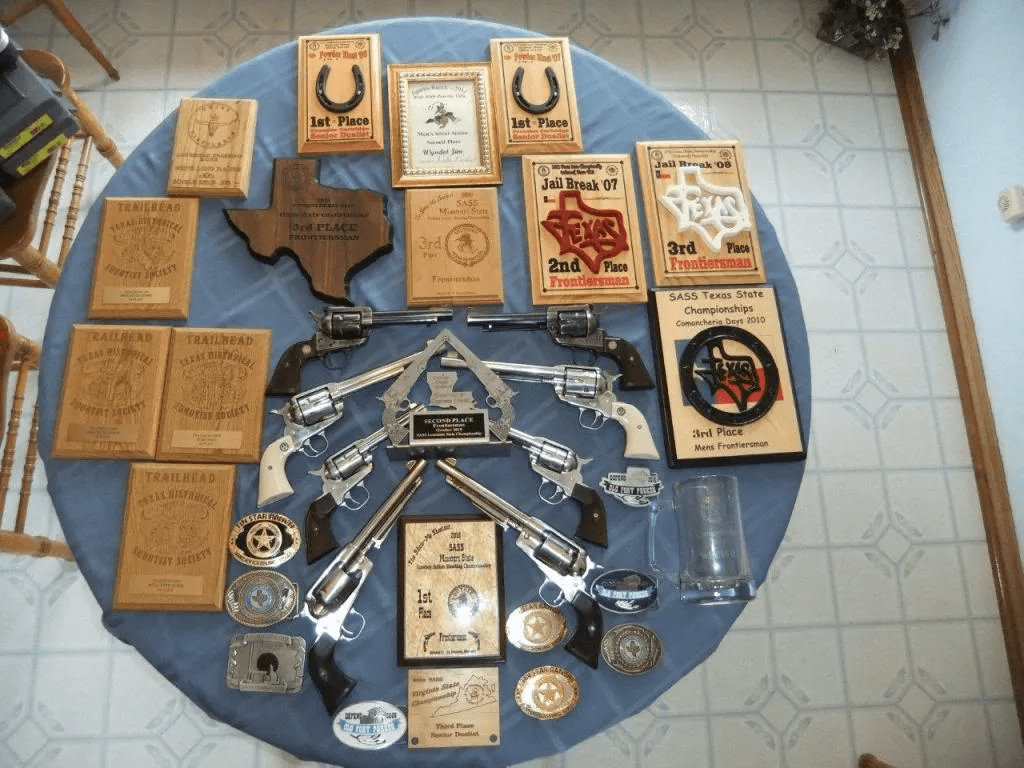
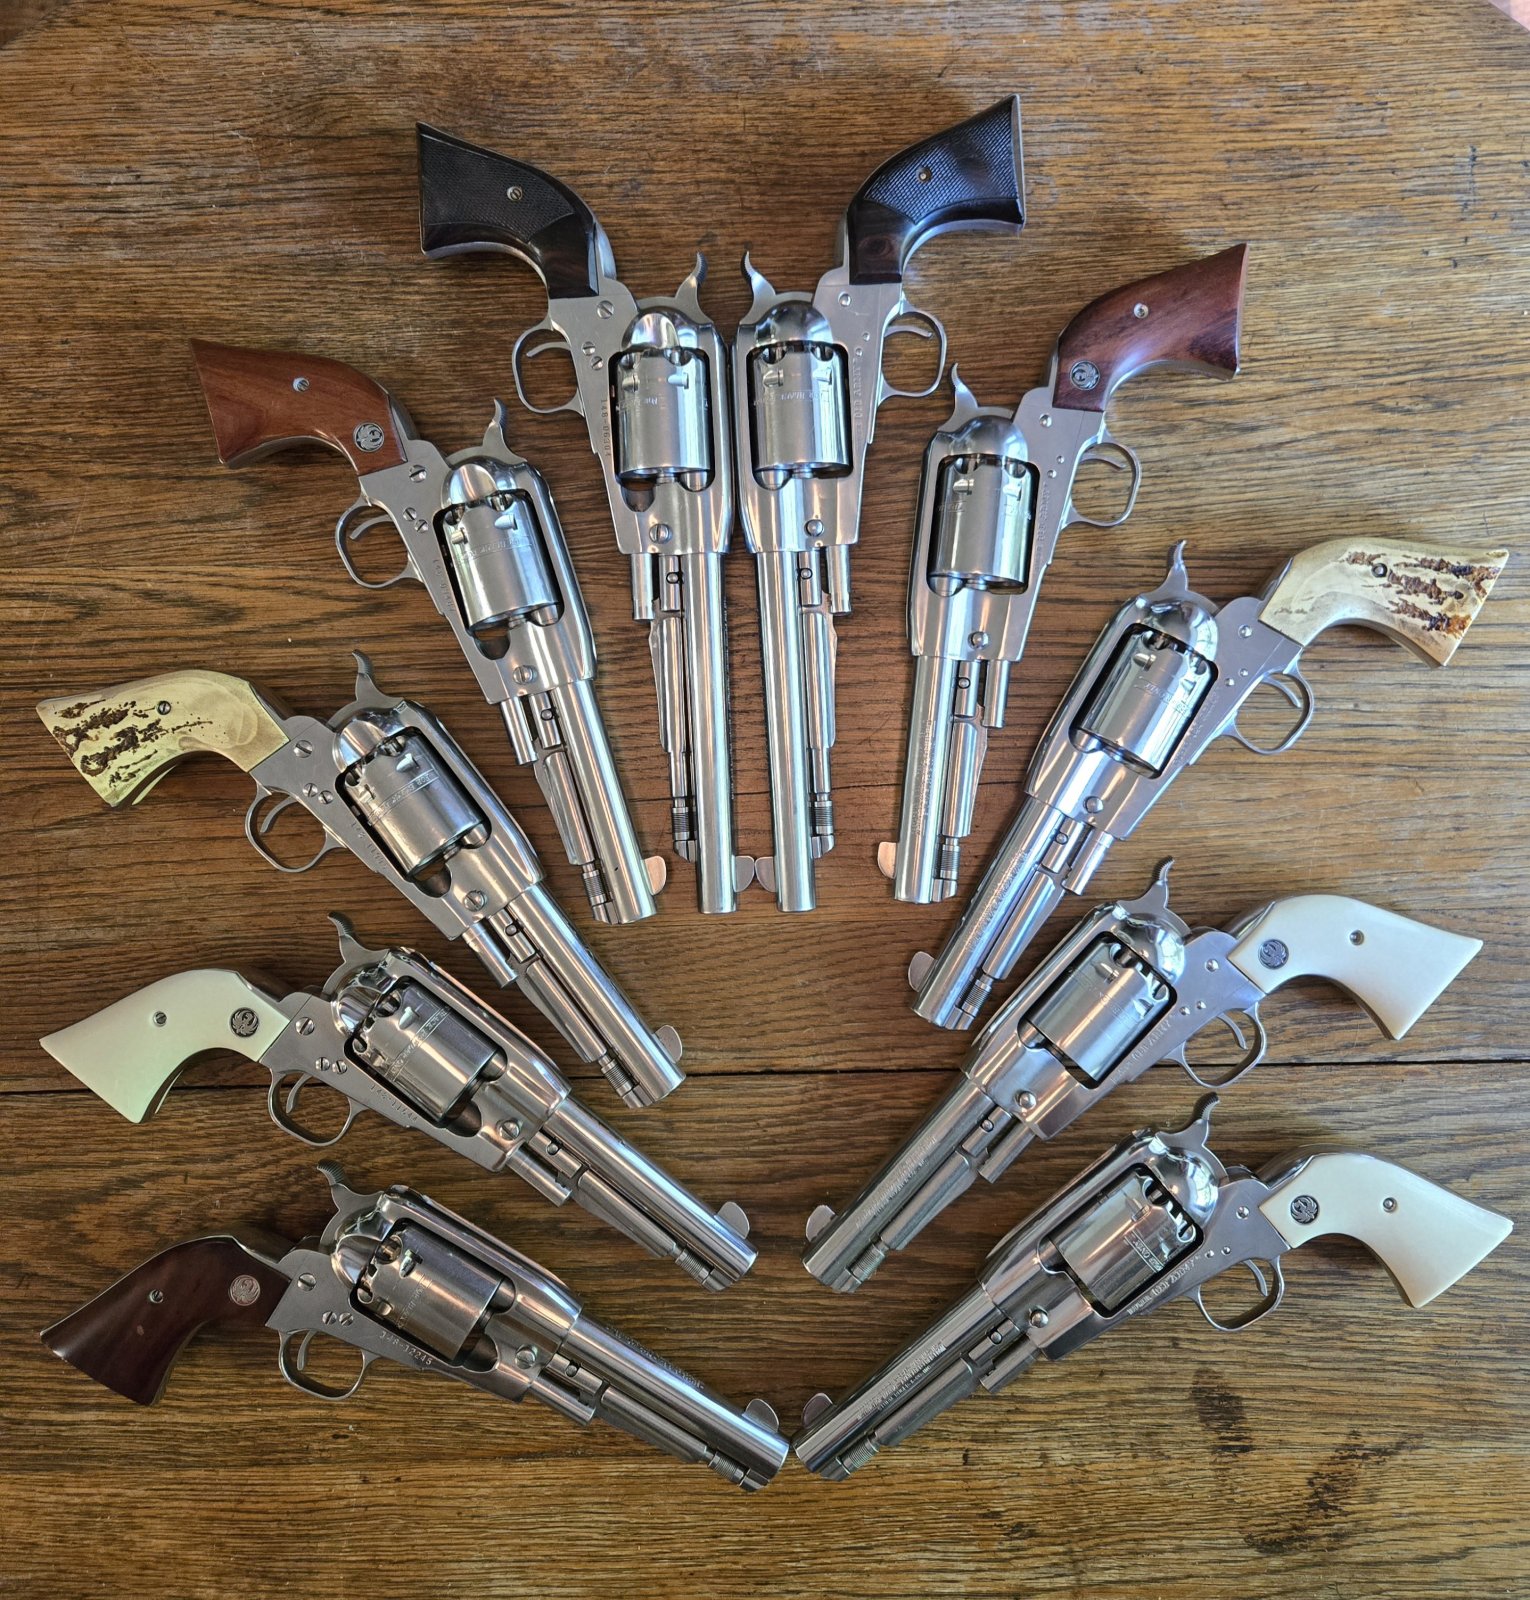
And here's the gang of 10 that got HAMMERED !!!!
20250506_113915.jpg


20250406_143957.jpg


Mike
 
Ooh I need to go look I need a couple of blued ones. Those all look amazing would love to have those in my collection. Great work
 
I love to see Ronnie's work. I only have one thing from him that I jumped on as soon as I saw that he made them...
The Third Hand tool..... a miracle!!! Thanks Ronnie Wells.

J.
 
I've got a couple grip frames coming and expecting to have a hammer or two in the package also. I'll be sure to post up plenty of pictures. Ronnie's work is beyond amazing.

Those hammers look perfect on the ROA's. I really like how the serrated end tapers smoothly instead of being chunky like Ruger factory hammers. Great design.
 
Ok "weenies" !!!! 😆😆😆

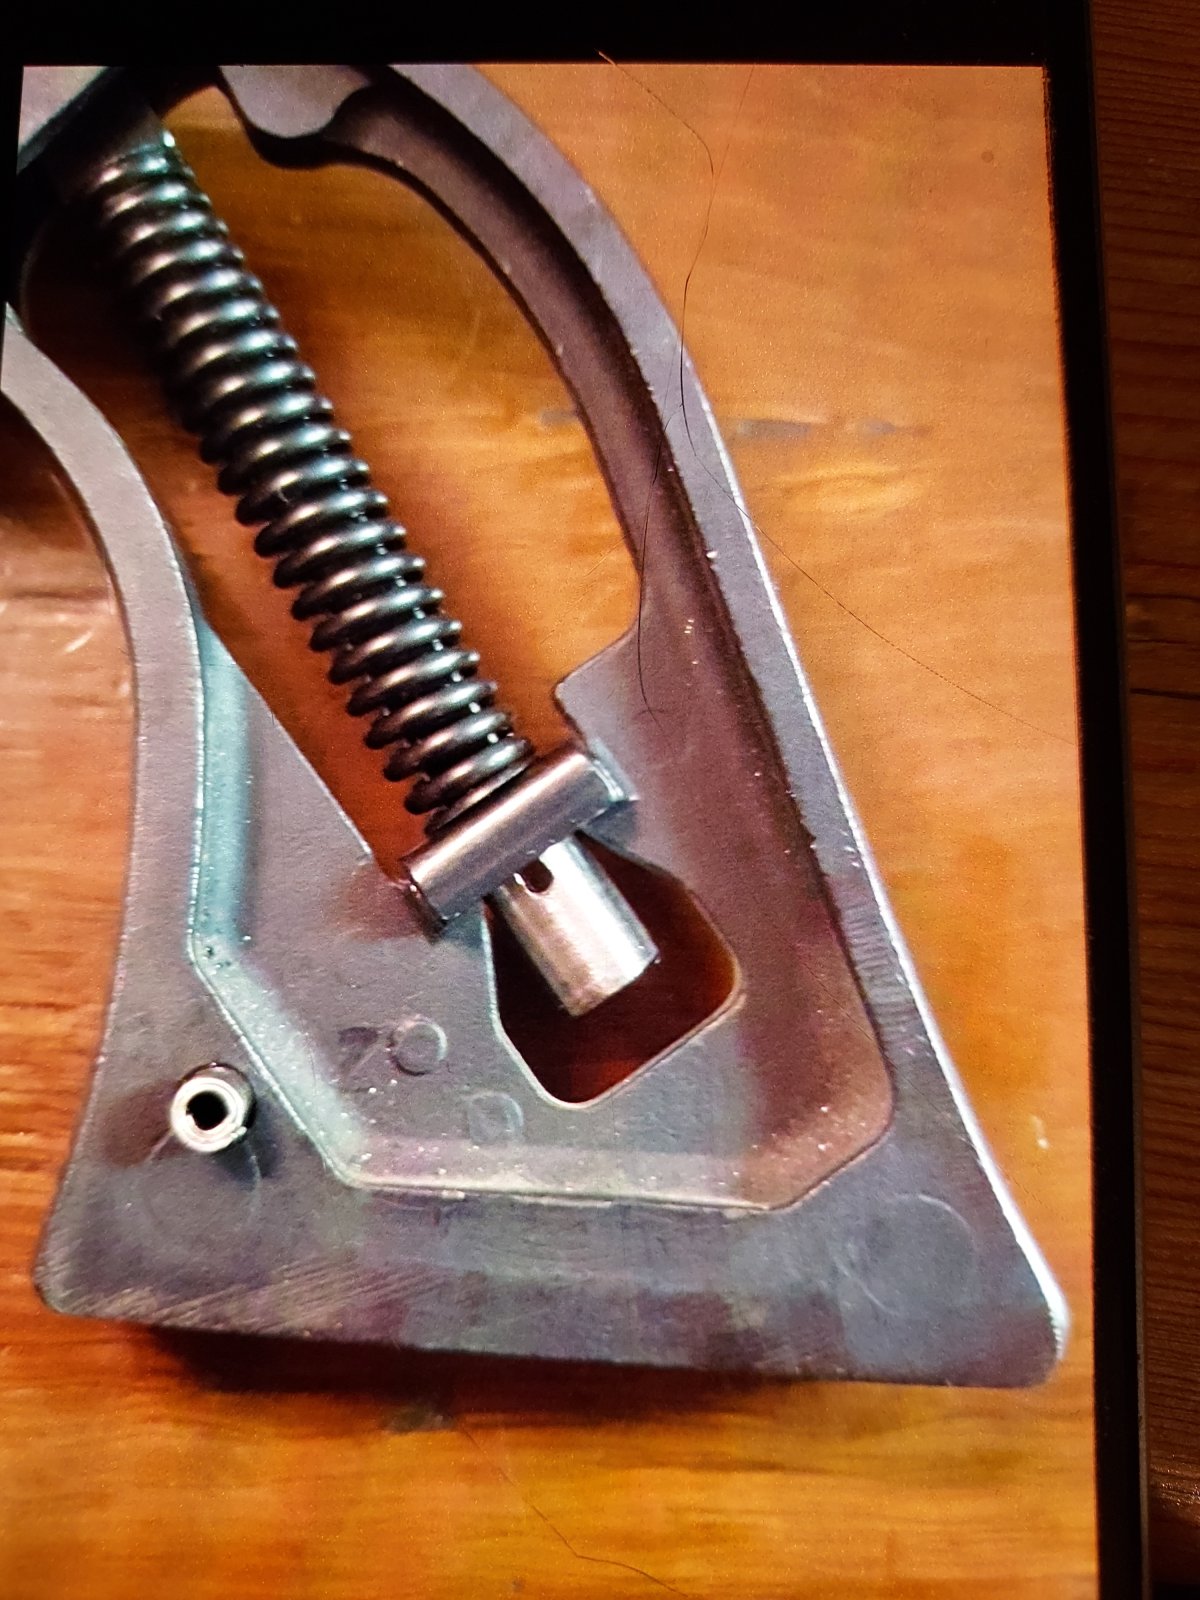
There's no trigger return "spring and plunger's" in any of them!! (Zoom in"!!!)

Mike
 
WOW Great pictures by the way!!!!!!!
Those look great and yes it makes it much easier shooting one handed in SASS.
I had these done about 18 years ago by my friend and gunsmith he cut and welded on Super Blackhawk spurs.

These started life as blued 71/2": I had the barrel cut to 51/2" and all markings removed along with fluting the cylinders and black powder bevels

1747272965302.png


1747273116191.png


What they now look like.
1747273367764.png

1747273628329.png


I shoot black powder in all pf these guns. 357/38, 45Colt. 32Mag, and the Old Armies
1747274055539.png
 
I'm with Jim,, WHY???
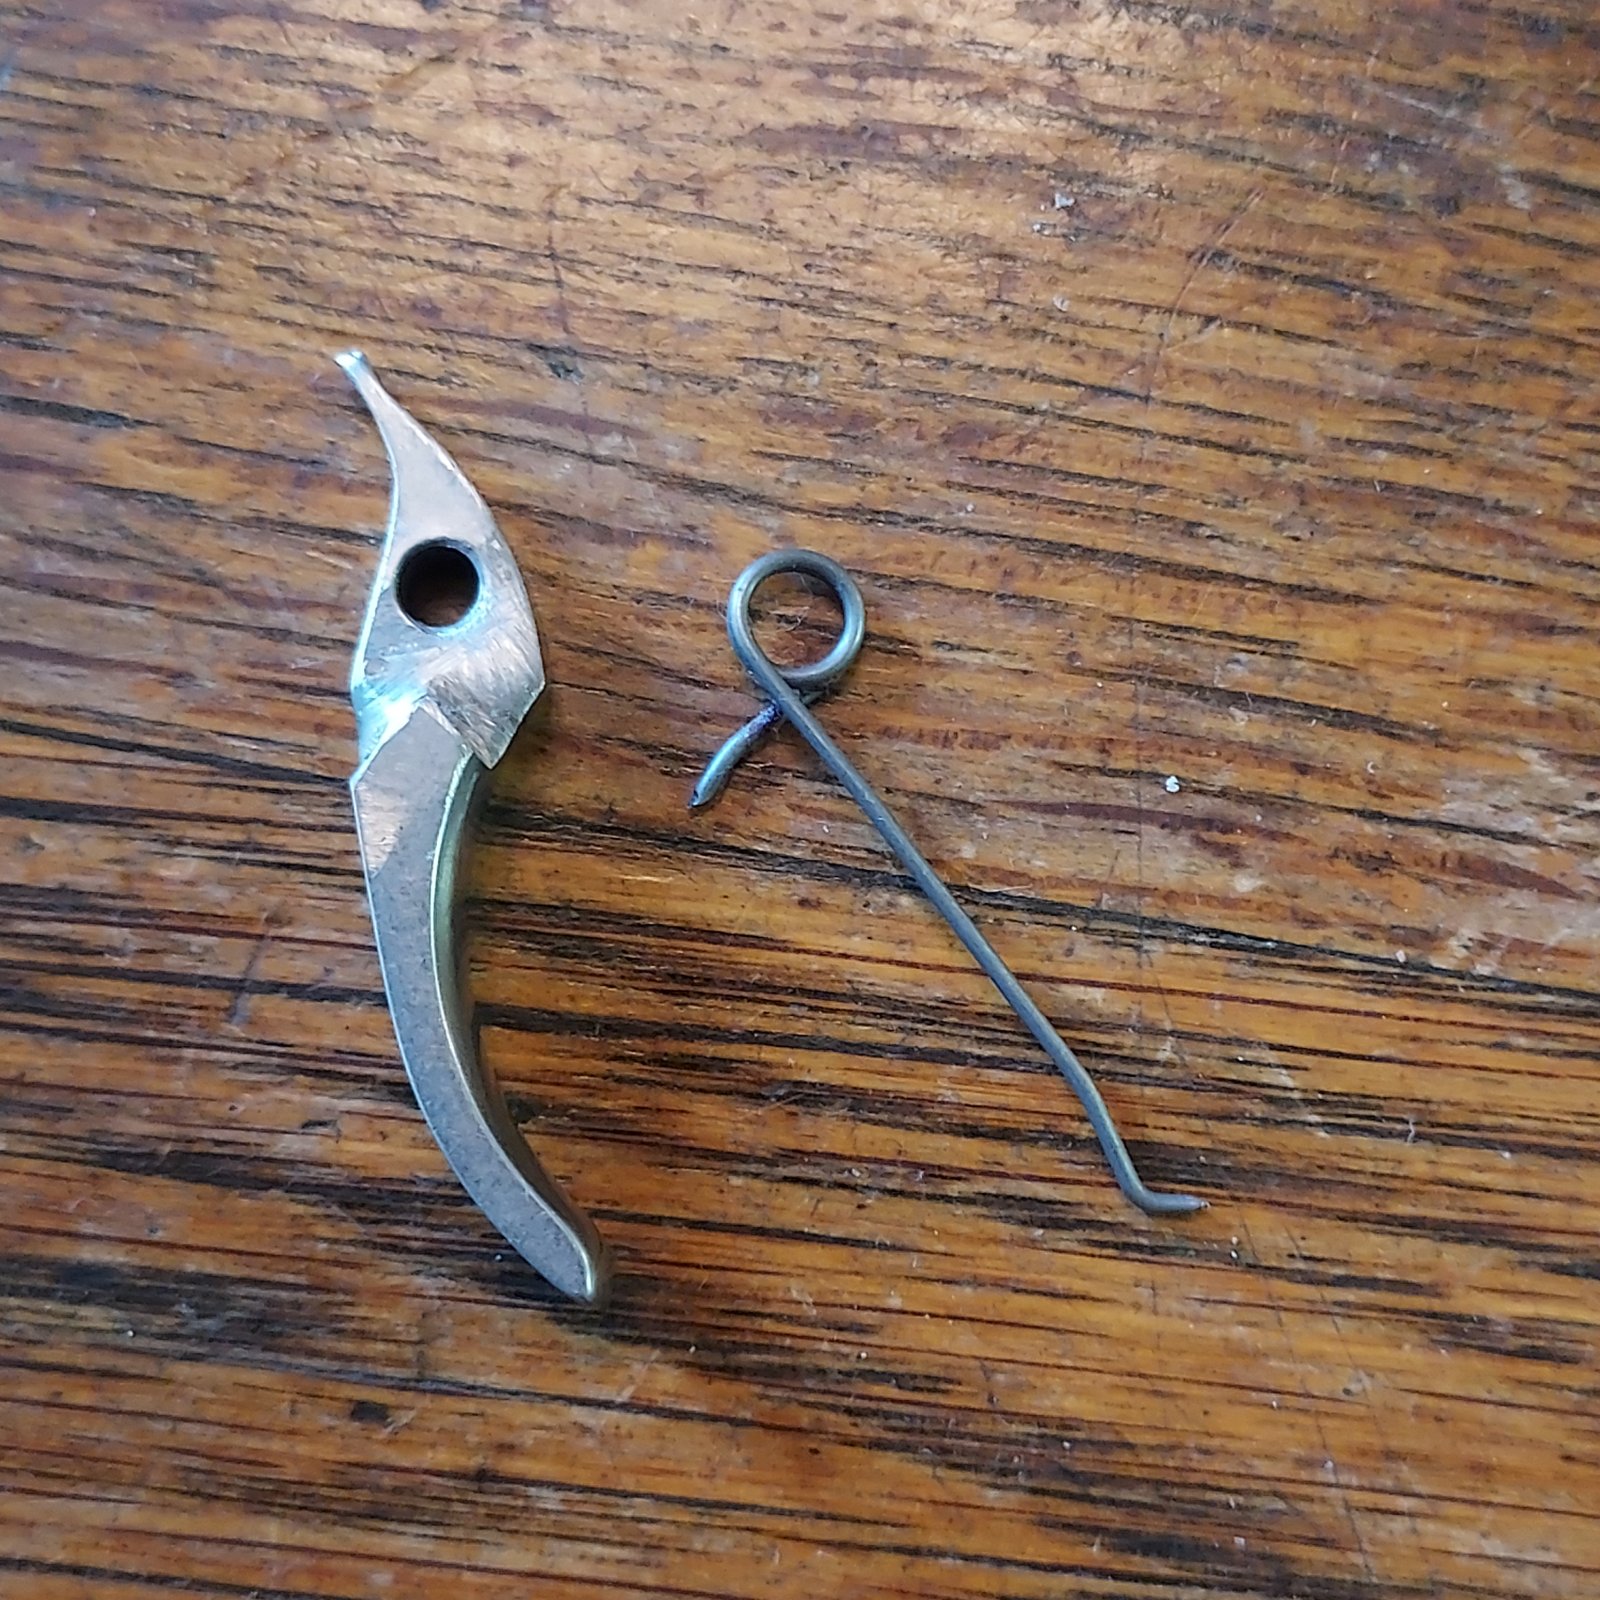
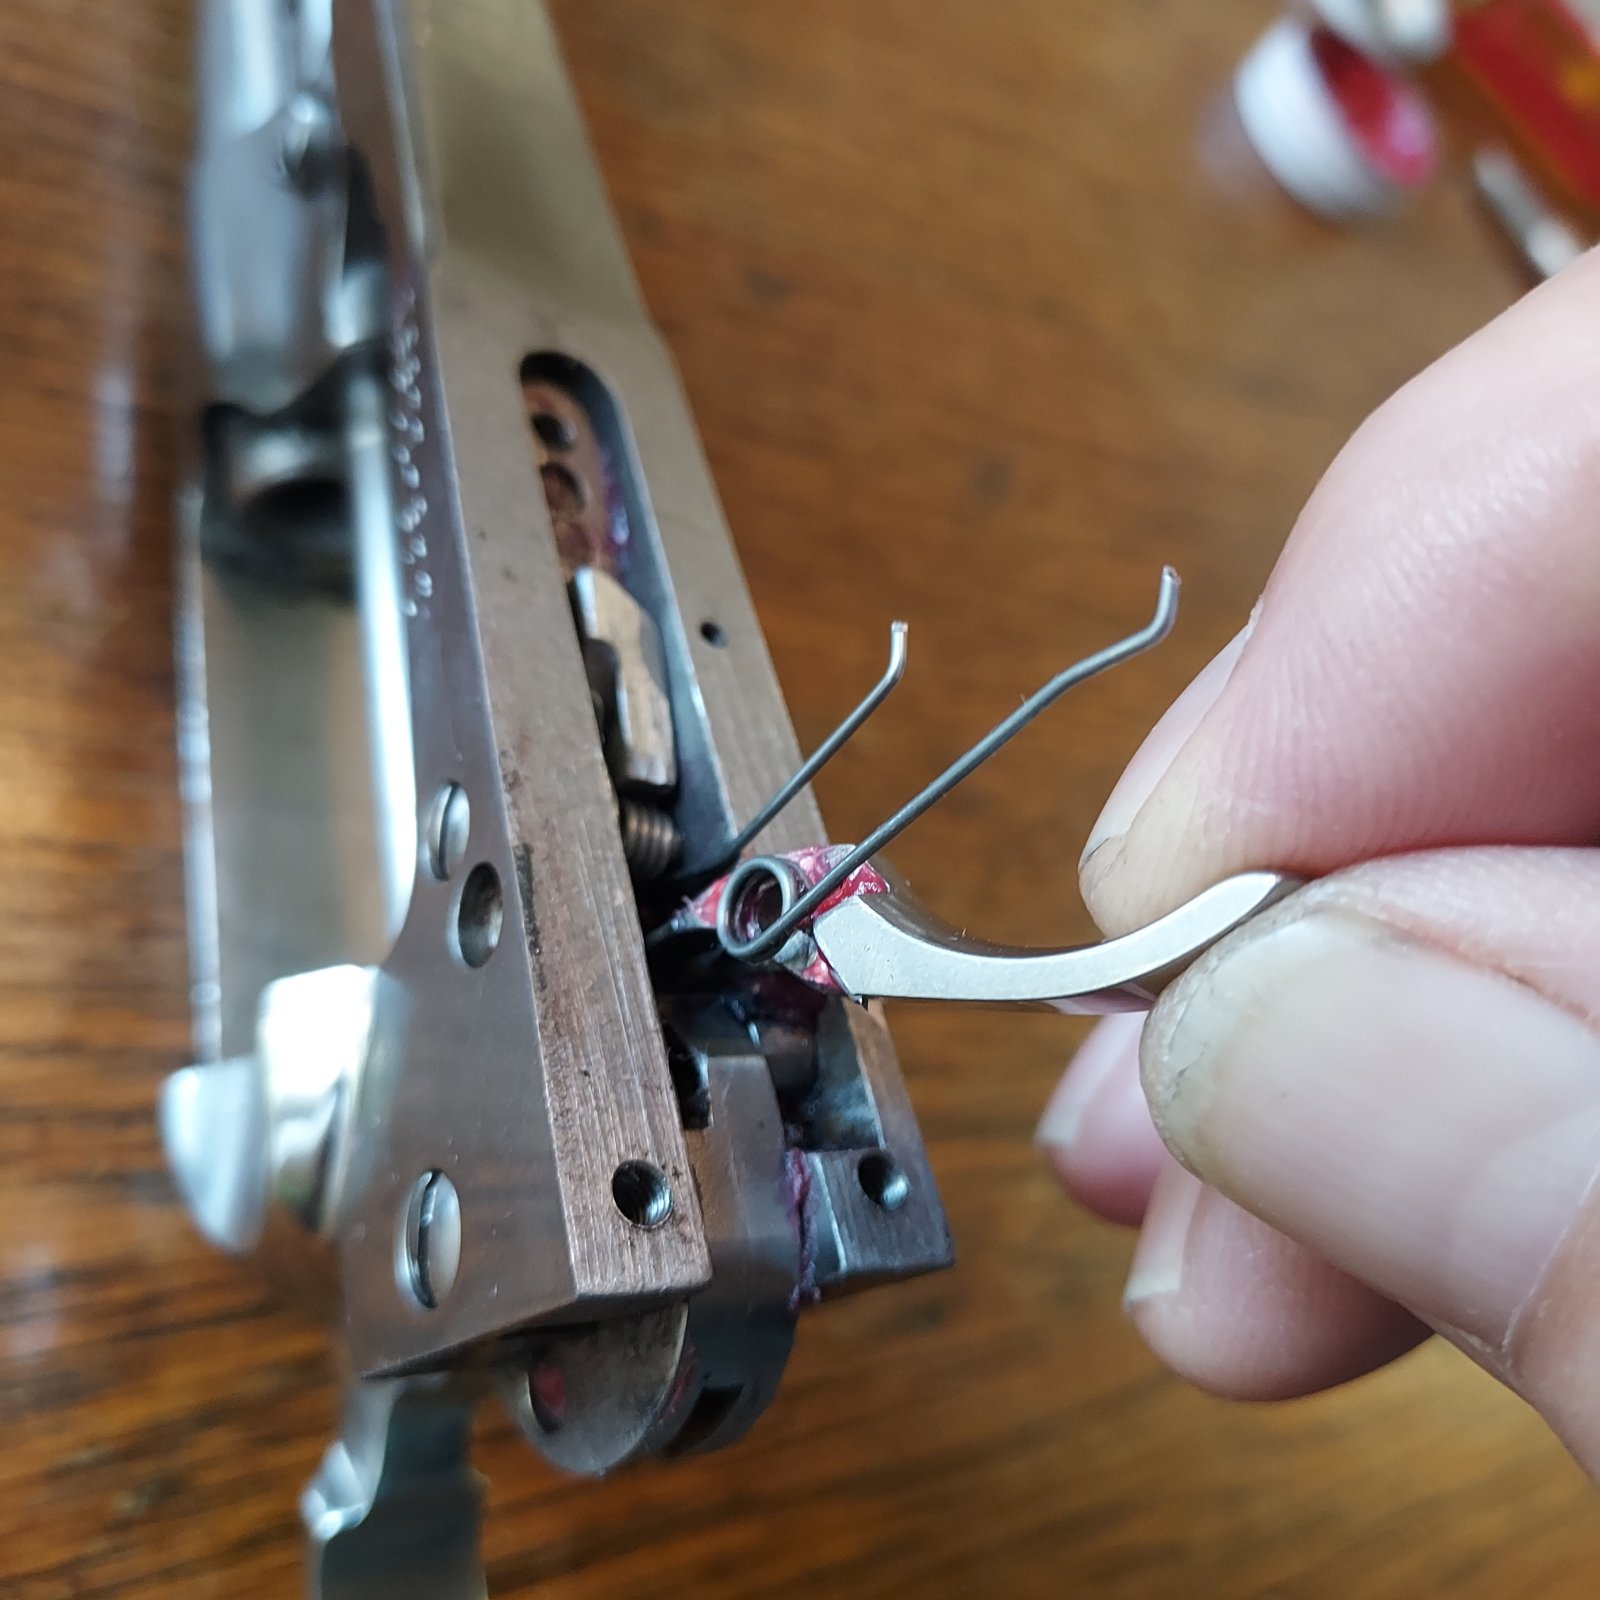
Because I've had a llllllllot of ROA's through the shop and early on it was apparent that many folks cleaning habits were lacking at best!! Corrosion of the trigger spring and plunger was the "norm" and no matter how well you polish all of it (and the back of the trigger) in about a dozen pulls you'll be able to "feel" the plunger scrubbing on the trigger.
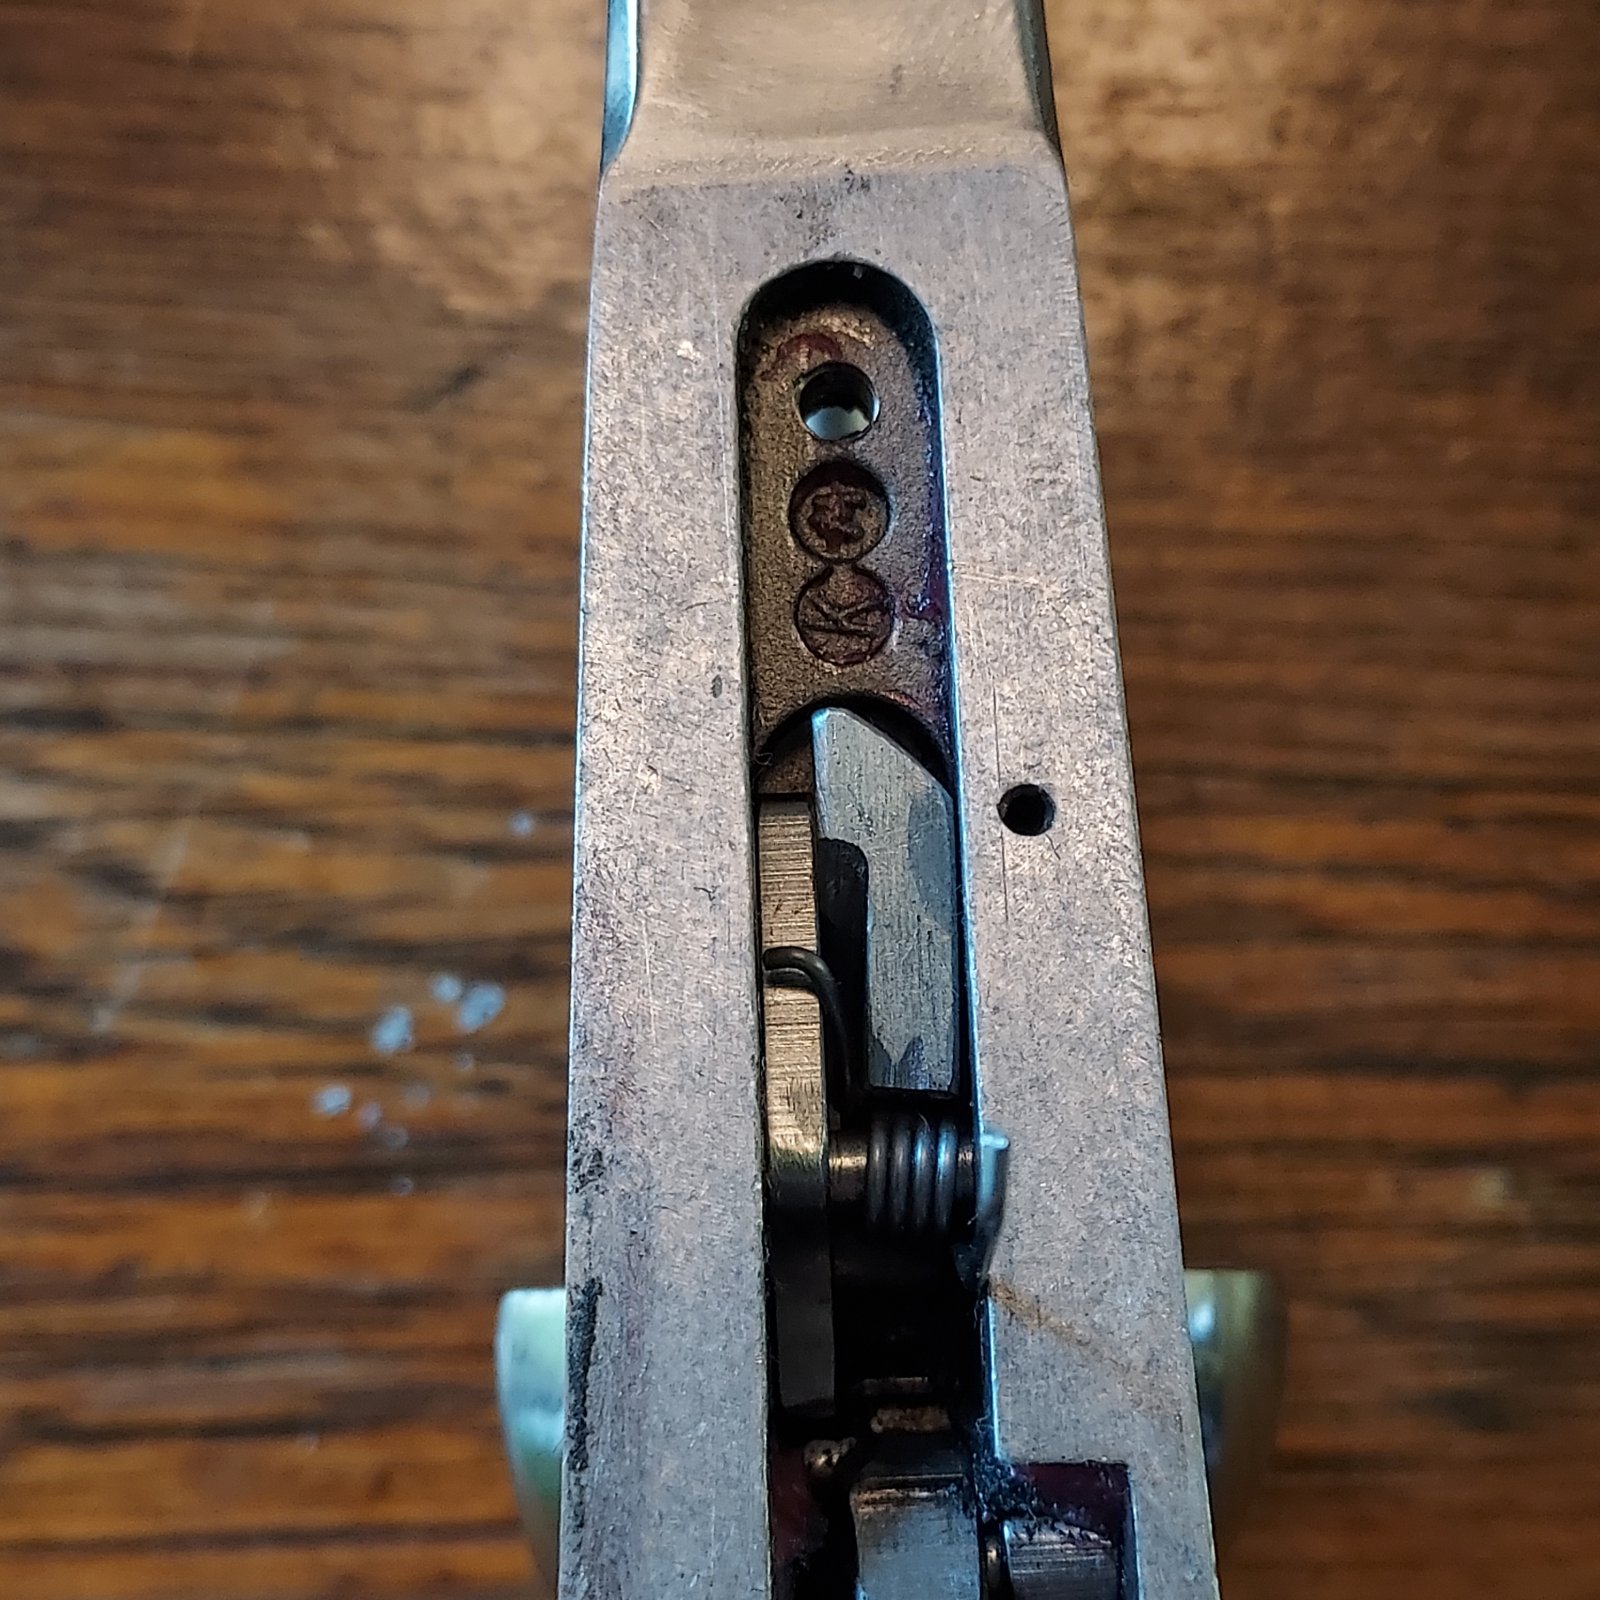
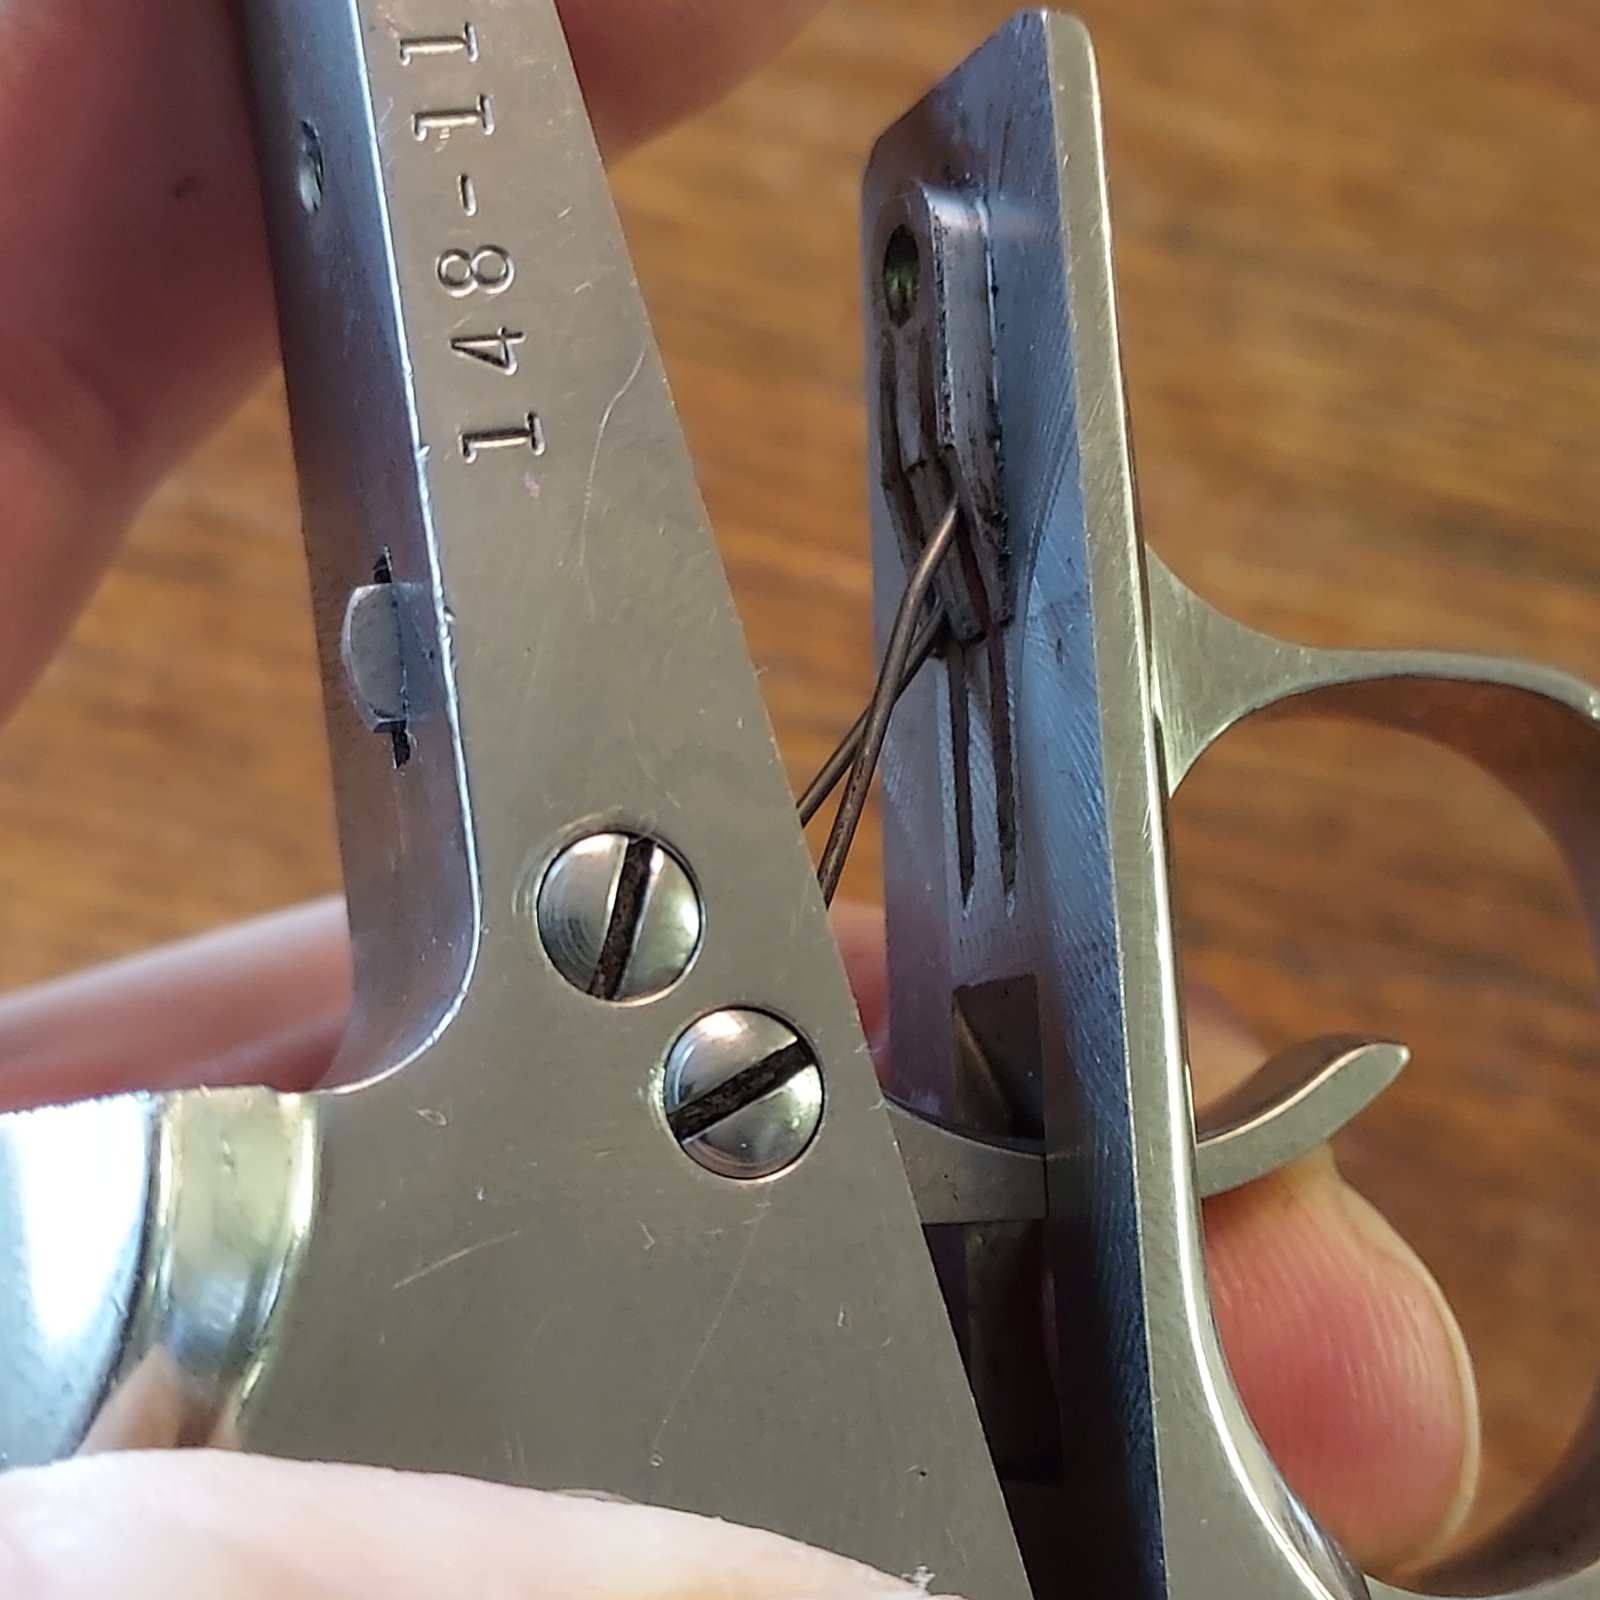
So, I've taken the liberty of relocating the trigger spring to mount on the trigger screw . . . up in the frame . . . where it should be!! 😆
There, it's protected, stays lubricated and gives the smoothest trigger pull a 3-screw Ruger ever had!!!
It also helped that since I had to re- engineer the "bolt" spring to allow the installation of a bolt block, I may as well figure out the trigger spring.
Here's the trigger spring and install -
20221202_144124.jpg

20221202_144751.jpg
 
Here's the bolt block install -
20221202_143615.jpg

So the stationary end of the bolt spring locates in a groove in the bolster in the grip frame as does the trigger spring. The result is a much easier reassembly of the revolver.
20221202_145529.jpg


I've done it this way for years.

Mike
 
Vey interesting
In the heat of battle I have not noticed the plunger scrubbing on the trigger..:):)
Thanks,
Jim
Understand, it's something you have to be feeling for. The MAIN reason for the change is (as I mentioned) to keep corrosion away. You may notice Ruger didn't carry over the spring and plunger to the NM, and Freedom Arms or Magnum Research didn't "latch" onto it either.
I think for the time period is was "new and innovative" but it just didn't make a whole lot of sense. Exposed to the environment plungers tend to bind when dirty and moving it "inboard" makes better sense.

Mike
 
Last edited:
Interesting- I’ve had a few OM’s where the trigger plunger felt “notchy”. One I polished out and the other I replaced the grip frame. A NM frame and one of Ronnie’s conversion triggers would do the trick…
 
45 Dragoon,, that's an interesting modification you've done. MANY thanks for sharing it & especially taking to time to post pics & add the details.
Now I understand "why" and the "how!" as well!
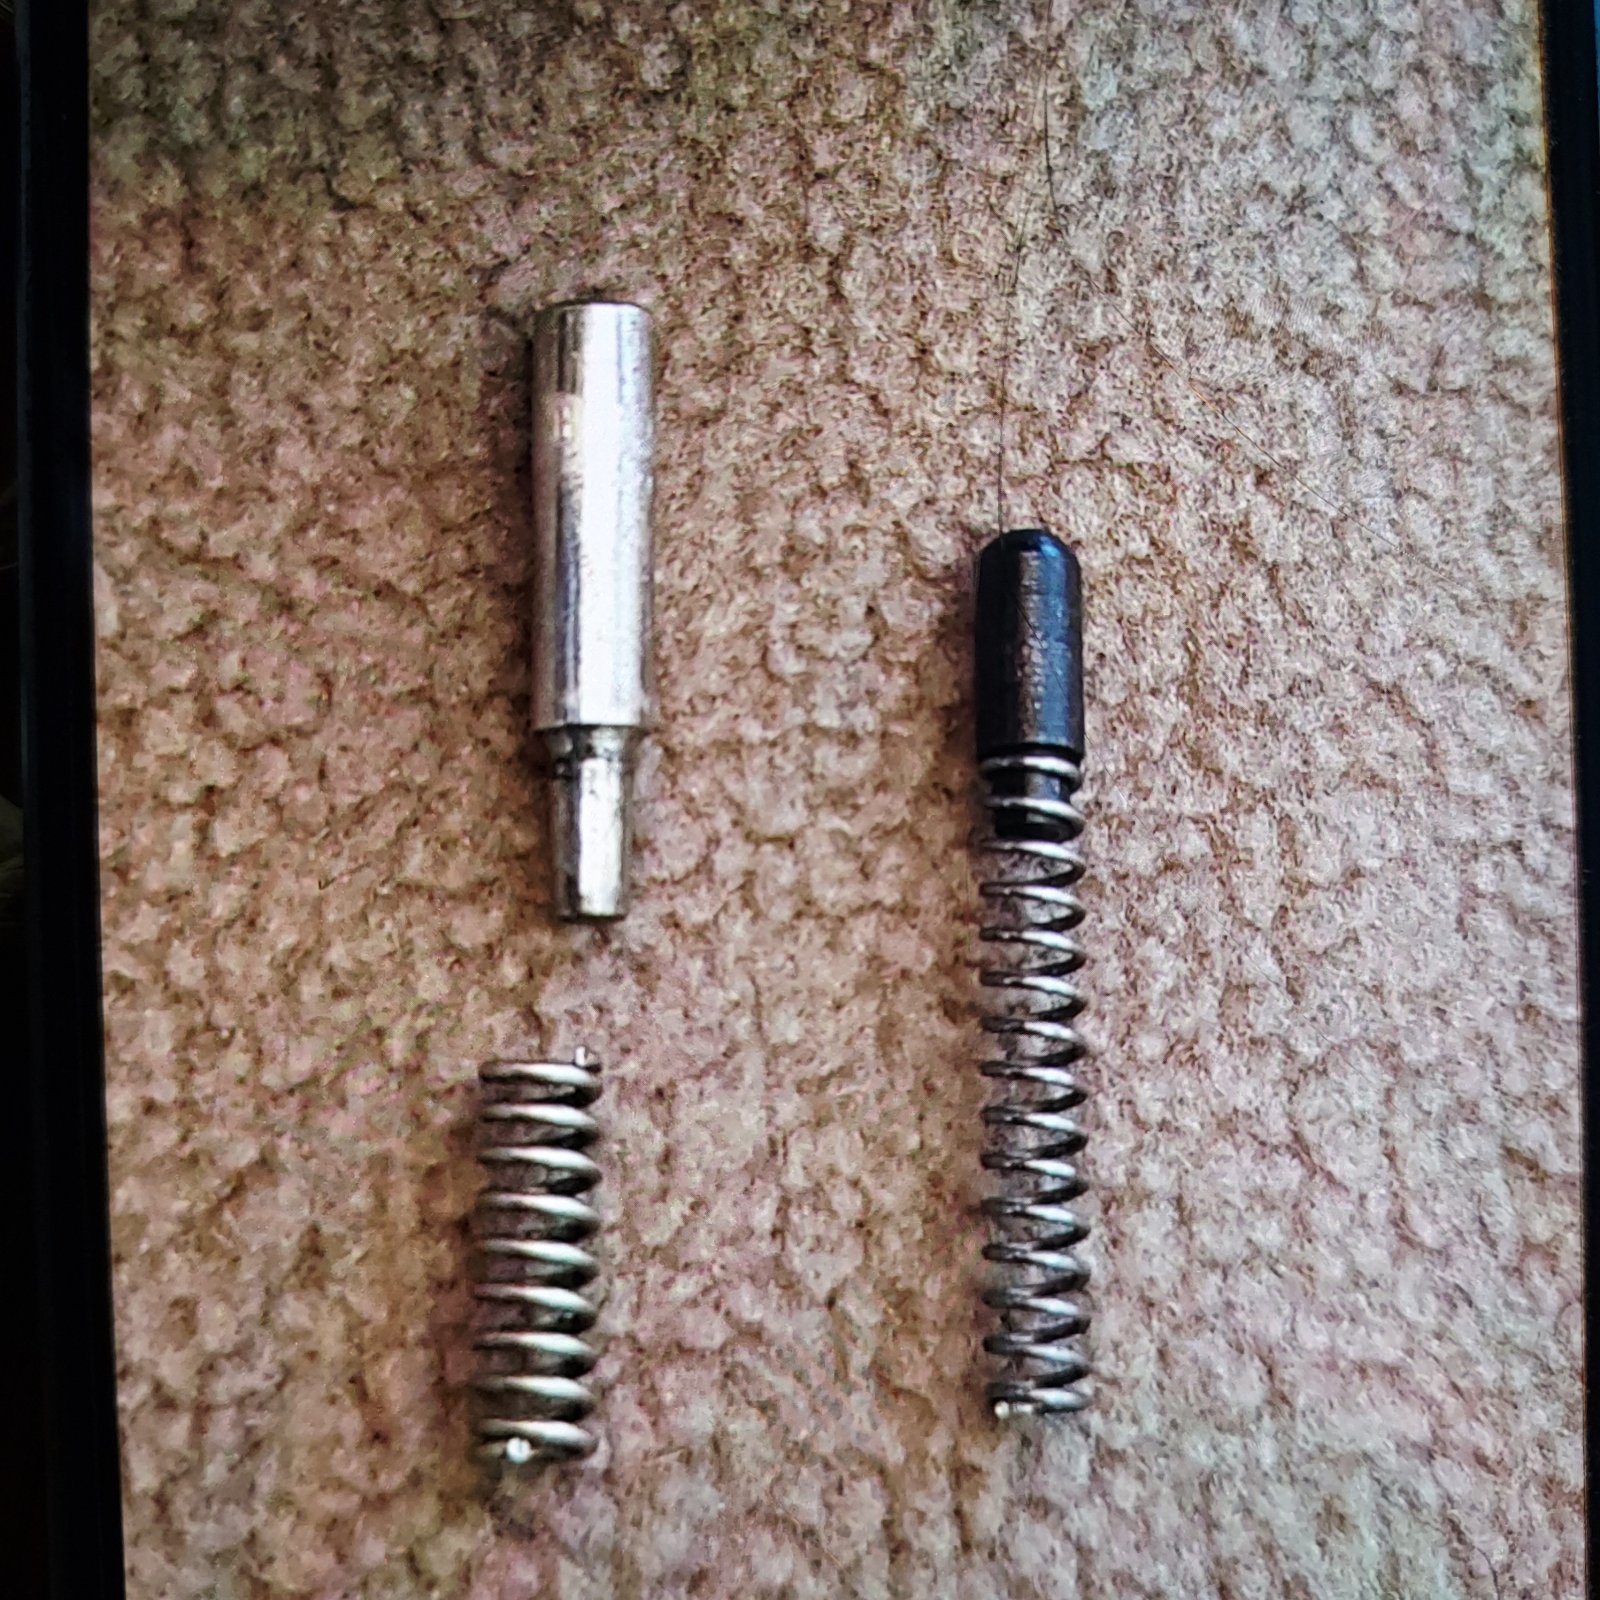
Thanks contender! To help "stave off" a "beauty ring" on the cyl, I also install a larger hand spring plunger and a stronger spring.
20221117_155445.jpg


and an adjustable action stop -
20220112_203824.jpg


Mike
 
Thanks contender! To help "stave off" a "beauty ring" on the cyl, I also install a larger hand spring plunger and a stronger spring.
View attachment 73305

and an adjustable action stop -
View attachment 73306

Mike
Mike, can you explain the mechanics of how the hand spring plunger helps with the turn ring? I thought that was a function of the hammer plunger length- thank you!
 

Latest posts

Back
Top