Single Six rescues

Yes, that's fitted. Normally return shipping is paid by them. They send a shipping ticket, which you pay for. last I sent it was $58.00, I don't know what Californias firearms shipping laws are, Ruger would know. We can ship a firearm direct to factory for repair without going thru FFL and receive it back direct ship with signature required. So unless things at Ruger have changed, $208.00 for a brand new properly fitted and installed cylinder is still not a bad deal. I have a base pin I could send him, or pay a bit extra and have Ruger provide it.'

I have an om cylinder that is supposed to be delivered Monday. Have no idea what the length is. I have a .22 mag cyl that is 1.620, a .22 cyl that is 1.615, probably too short. That is the problem ordering on-line, a lot of sellers are selling merchandise, and don't know what they have. There are 2 or 3 I can send requests on ebay and feel confident I will get what I ask for. It's worth a phone call, and the .22 may be on the lower end of the cost spread.

Ruger used to have a service division in Arizona. If it is still there, I would request it be sent there. Ship time would be reduced a bunch. Last time I called the Ari center switchboard routed me to Connecticut.
 
Last edited:
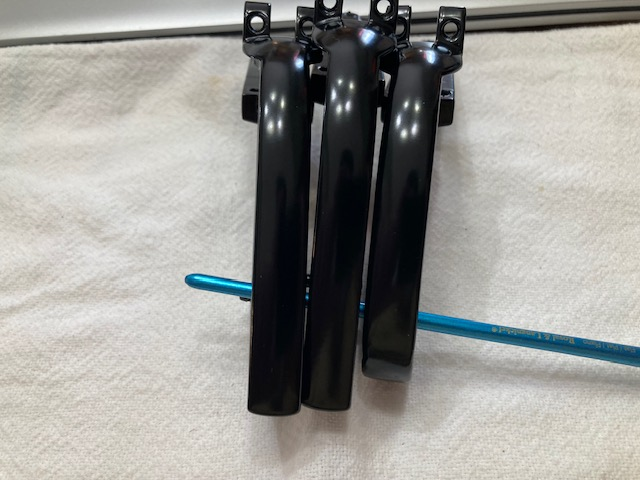
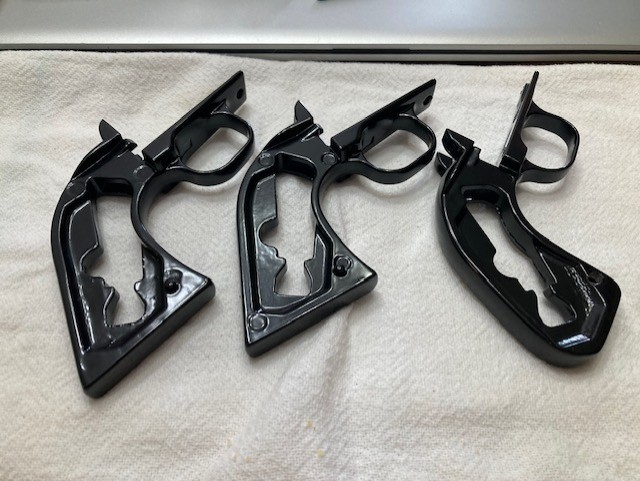
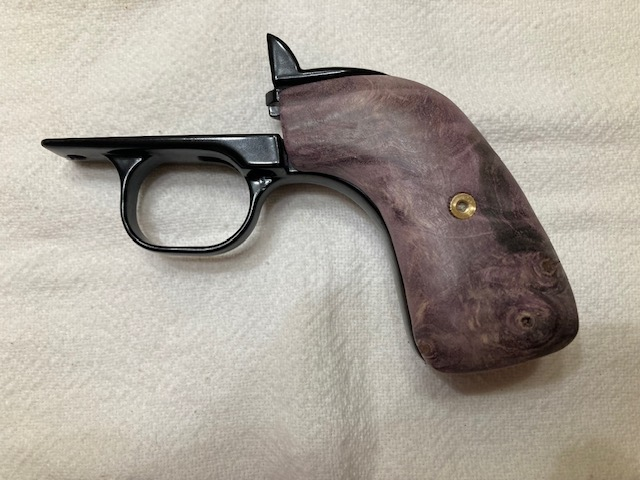
Got my grip frames back from the powder coaters, and they look great!!! Got all three done for $65.00 asc. Thank you Hondo for recommending powder coat.
1769536779319.png
1769536827859.png
 
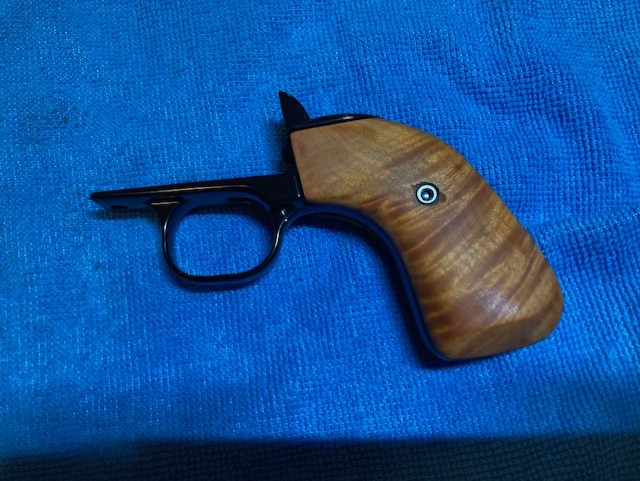
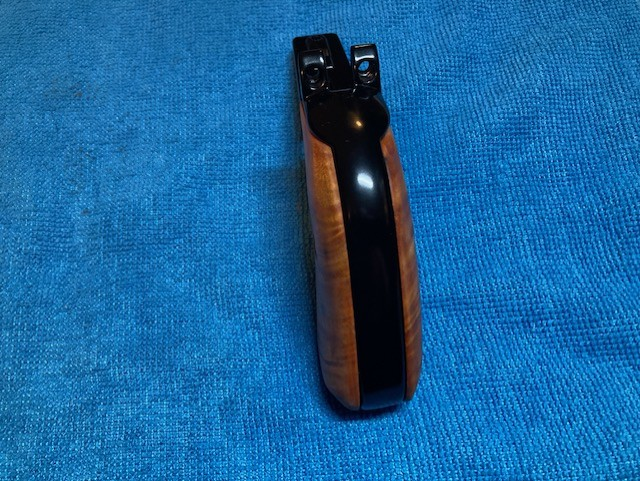
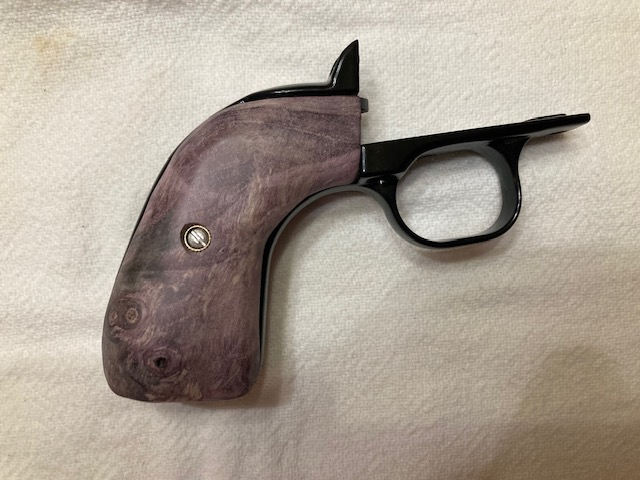
Powder coat tends to build up on surfaces and can interfere with fitment, screw holes etc. I assembled the gf to the cylinder frame to check this. Had to push the gf in several times to relieve the ears so they would fit. Also had to ream 1 rear gf hole to allow the screw head to seat properly. I put the grips on to assure they would still fit, which they did. One thing that concerned me about the cut down gf was hand/finger placement. My pinkie naturally goes under the bottom of the gf, feels pretty comfortable, hope the weight of the barrel/cylinder doesn't change that. Someone like Randyzzz might have problems. Not that Randy has big hands............. Yes, it is because Randy has big hands!!
1769557886657.png
 
Powder coat tends to build up on surfaces and can interfere with fitment, screw holes etc. I assembled the gf to the cylinder frame to check this. Had to push the gf in several times to relieve the ears so they would fit. Also had to ream 1 rear gf hole to allow the screw head to seat properly. I put the grips on to assure they would still fit, which they did. One thing that concerned me about the cut down gf was hand/finger placement. My pinkie naturally goes under the bottom of the gf, feels pretty comfortable, hope the weight of the barrel/cylinder doesn't change that. Someone like Randyzzz might have problems. Not that Randy has big hands............. Yes, it is because Randy has big hands!!
View attachment 93813
You know what thy say- Big Hands-


Big gloves. 🤣
 
Those grip frames really look good! Ruger made a good decision when they switched from anodizing to powder coating.

When I shop for a cylinder I don't purchase until I receive an overall length measurement with a dial caliper.
 
Thanks much, Hondo. I like the looks of the powder coat. got them worked down so grips would fit. Had to take off about 4k from the grip pins to get the to go in the holes, Next time I will know to remove them!

I decided to take the sheen off my second pair of grips, Like them much better.
1769655838437.png
1769655889029.png
1769656104029.png
 
Last edited:
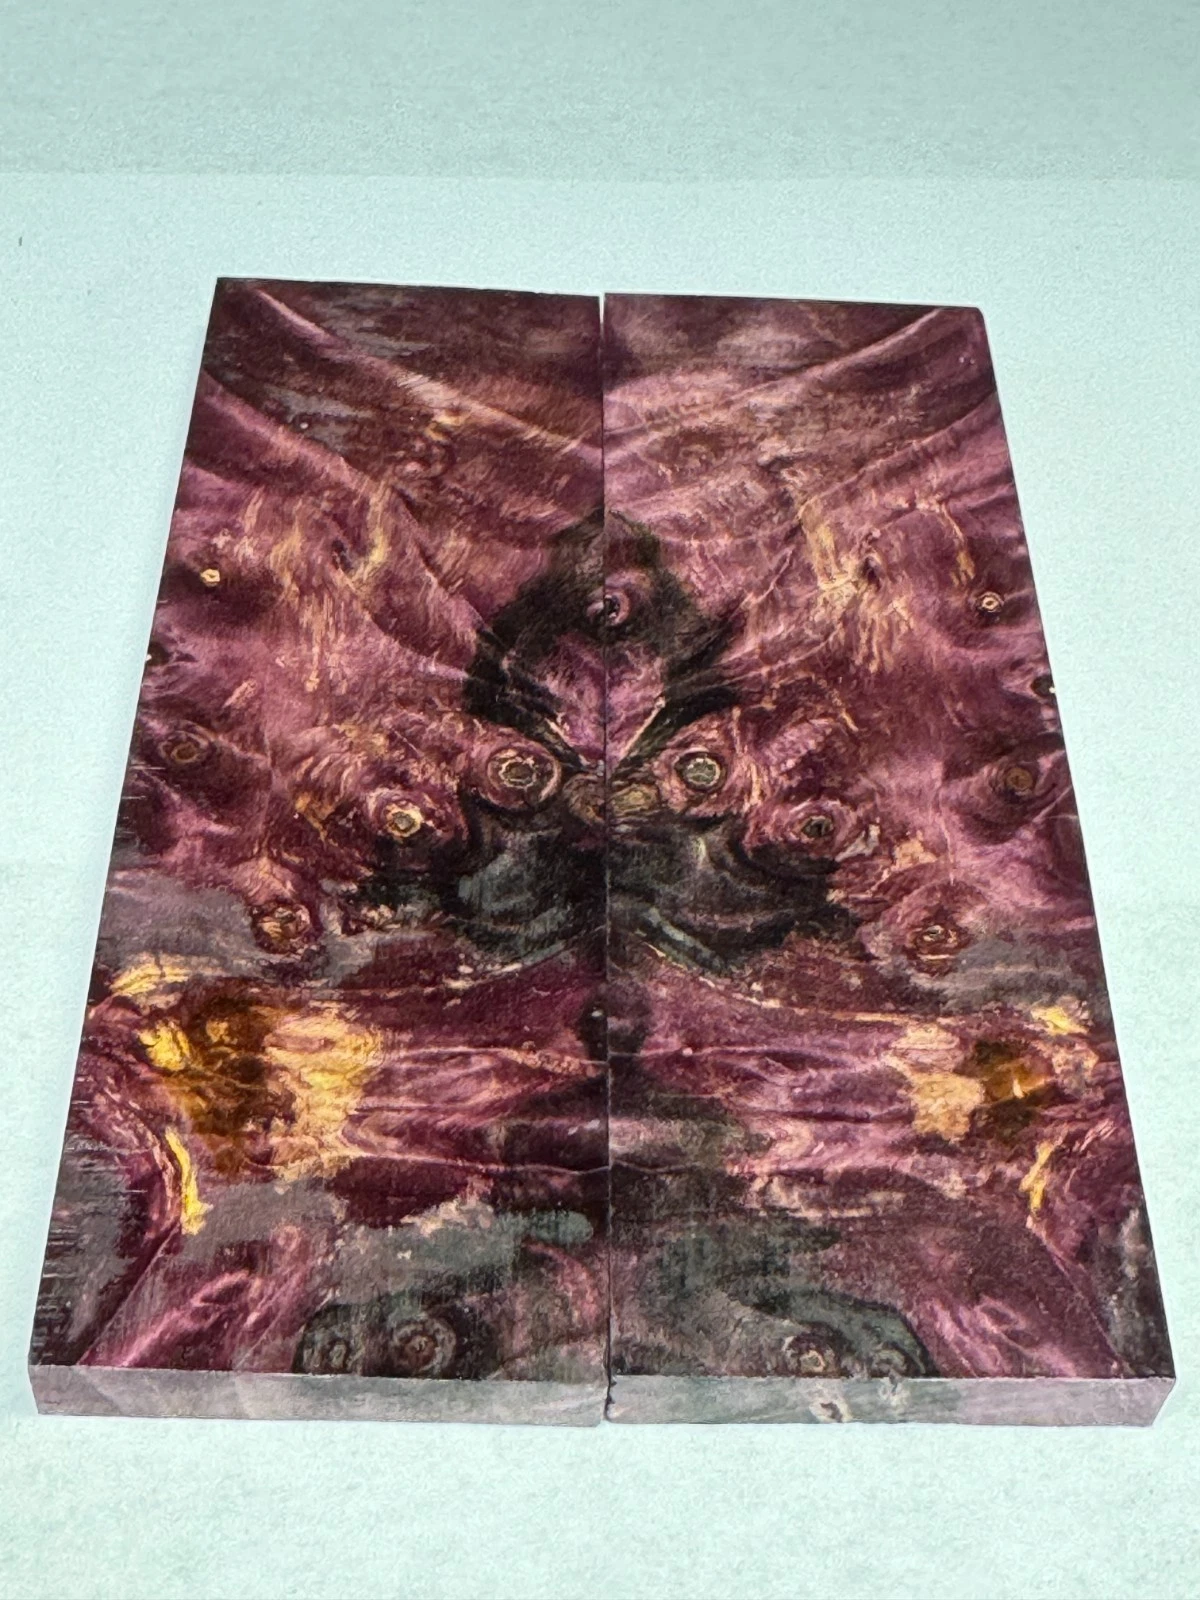
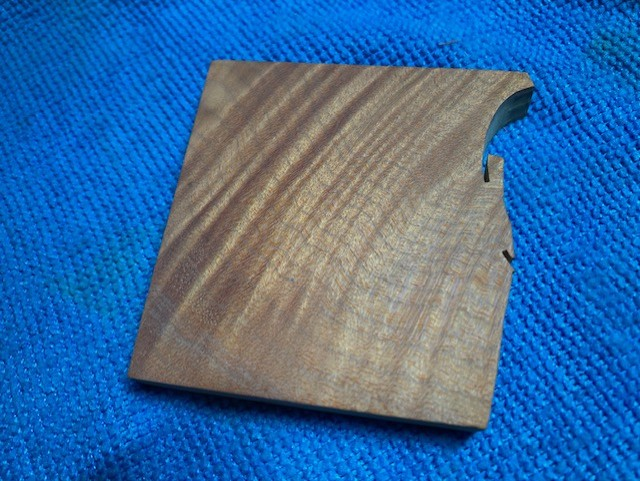
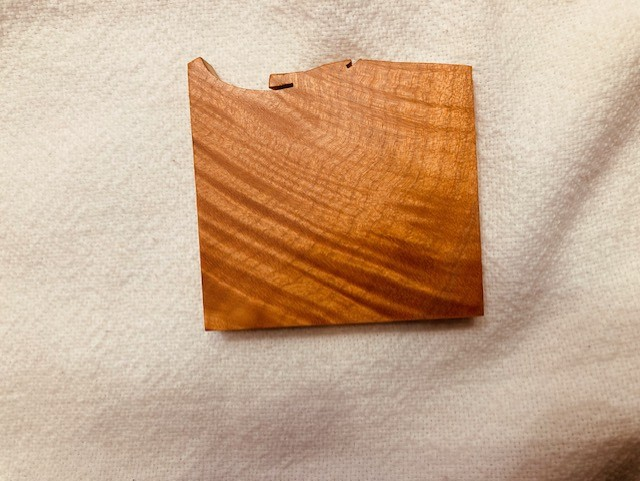
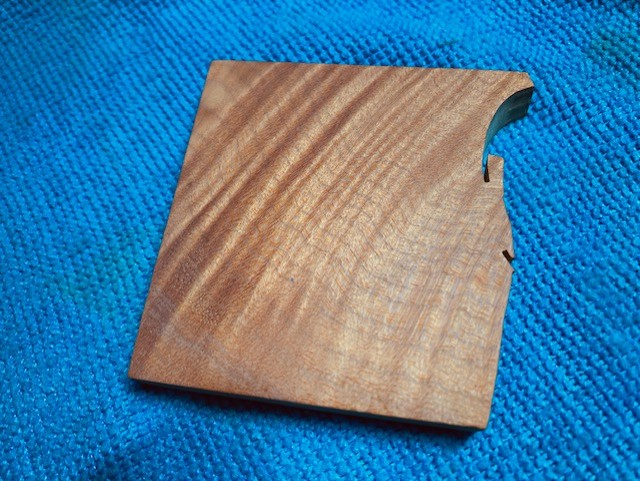
My ejector rod came in today, my front sight Monday. The 'smith's going to have some time next week, hopefully, and we can get this project on the road! In the meantime I am going to make the shorty another change of clothes out of Buckeye burl. I love the evil eyes peering out! They are going to be on the butt of the grips. I have them laid out and ready to put to the saw.....
1769656893870.png
 
After talking to John Andrews about finishing stabilized wood, I did some research on the misinfonet on it. Here is a link to what I found.
https://www.bing.com/search?q=What+...efig=697b6a3a3b6a4f7092a7a408531dbeb7&pc=HCTS
The most interesting one was ca glue. So I tried some on the drops Left from my latest venture. here are some before and after pics.
before
1769707077269.png
After
1769707143519.png

This was after 6 coats of ca sanded between coats over period of 1 hour. I am going to try this method on my next set. Wore Nitrile gloves, the acetone in the ca will eat thin latex gloves. Don't ask how I know! Applied with 2x2 cotton cloth. Found on the last 2 coats, use shop towels, save the gun swabs. Came out VERY smooth, and with just a bit of sheen. I like it much better than the hg poly I put on the grips. And the cure time is minutes, instead of hours/days!!
 
Last edited:
Here is a better representation of the before.
1769708424494.png

I tried ca on the rough sawn side of another drop, 4 coats sanded between each. That even came out smooth! The ca left flash spots in the grain.
 
Last edited:
Tamiya extra thin first 2 coats and Tamiya medium 4 coats, bought it a couple years ago for a plastic model I have yet to build!! I am going to try a couple other brands on the drops off next set, see what looks best.
 
Got'em all but finished. Gotta drill and install grip screw ferals, decide how I'm going to finish them, and my second effort will be complete. As I said on my first set, don't look too close. Made some rookie mistakes on these as well, only different ones. They are wet to show what the end result will hopefully look like.
1769736589465.png
 
Those look like a good "user" set of grips. ALL of us who make grips were rookies at one time.
I prefer to drill my screw holes well before I finish them. It's one of my early things I do before shaping & all.
PS; I still consider myself a rookie when it comes to making grips.
 
Thanks much, Contender.

What I do first is get the top angles right. I then drill for the pin holes to hold the grips in place. This is done without the pins installed. After drilling the holes I install the pins and get the grips roughed in. Next canes the grip contouring/shaping. I don.t drill the screw holes until I have the grip fitted and shaped, in case I have to mahe an adjustment during the fitting. Read make a mistake!. I got a Brownells grip hole drilling tool, really makes drilling the screw holes a breeze. It drills the small hole for the screw and then the larger hole for the inserts. I then do the finish shaping and sanding. This set I chose not to finish them. Just polished them. The blanks were a bit small, 2", I thought they would work with the modified frame, caused some fitting issues. 2 1/4" minimum for the modified.

Maybe some time in the distant future I will progress to the presentation grade! Right now I am just enjoying the experience!. Here's a pic of the escutcheon drill.
1769786512835.png
 
I have the same tools, for the grip escutcheon. But I found it easier to fit the basic slabs to the frame including the locator pin holes. Then, while the slabs are still flat,, they allow the grip escutcheon cutter to be square on both sides. I use my drill press for this. Then I start shaping.
 
I see what you are saying, Tyrone. I will try that on the next set. Do you just drill the screw holes and do the escutcheon hole after shaping, or both at the same time?
 
I usually do both,, but know I might have to "touch up" the escutcheon hole a little after shaping a bit. However,, a little trick can prevent doing it that way.
A measurement of the depth of the screw hole to assure you have material to hold everything,, added to the depth needed for the escutcheon flush with the finished panels,, is a good way to only do it once. I have also gently hand turned the final depth down,, NOT using any power tools.
But the best way I finally settled upon just how deep to drill,, is I marked my tool with a steel scribe line on the screw hole portion. I set it to where I can cut my depth,, AND look in the gap of my drill press vise,, to see that shiny line as it comes out the bottom.

Some folks just drill the screw portion & then cut the final escutcheon part after shaping. All methods will work.
 
Thanks for the info, Ty. I will make use of it.

Earlier this week I repaired a xr3 wood grip that I had just gotten on an om. Not sure if I did it or if it came this way, but the threaded escutcheon had blown out the back of the grip by being over tightened. I didn't take any pics, probably should have. The repair came out real good, and is probably stronger than the rest of the grip. The xr3 wood grips with skinny feather medallions are hard to comm by and I am glad I was able to repair it.
 
Last edited:
I put them in all my SA's that they will fit in. I've seen too many busted grip panels that breaks my heart.
How about a set of factory stags that got busted out on the inside because of that.
 
While I appreciate the compliment,, I'm not a pro. I just enjoy tinkering,, and have been trying to learn a few things over the last 4-5 decades. I do not hang out a gunsmithing sign nor ever claim to be one.
 
No problem sharing knowledge. My dad used to say; "An education is something nobody can steal." And I added to it; "But it's a crime if you don't share it!"
 
Well it's slowed down to a crawl on the shorty. Life happened to the 'smith and then happened to me. My truck broke, gotta get it fixed. Oh well.......

I did call Ruger today about re-bluing Rust Bucket. Was all set to pay the shipping and proceed. She told me she would have to check with a tech to see if a gun from this era could be blued. Said their bluing won't take on some of the older guns due to metal composition. Never heard of that. I knew early on Ruger had problems with bluing, but thought they had taken care of that. If anyone can enlighten me, I would appreciate it. Plan on calling tomorrow, see what they decided. I will post their decision.
 
They can re-blue it,, BUT,,,, if it's one of the older frames where the metal mix was "off" a bit,, over time,, it may start turning a plum color. Now,, MANY OM collectors like the plum coloring,, and do not consider it a problem. But they may be covering their work with an exclusion for fear of having the gun turn & you complain.
 
Back
Top