Hi Ed,
You're very welcome.
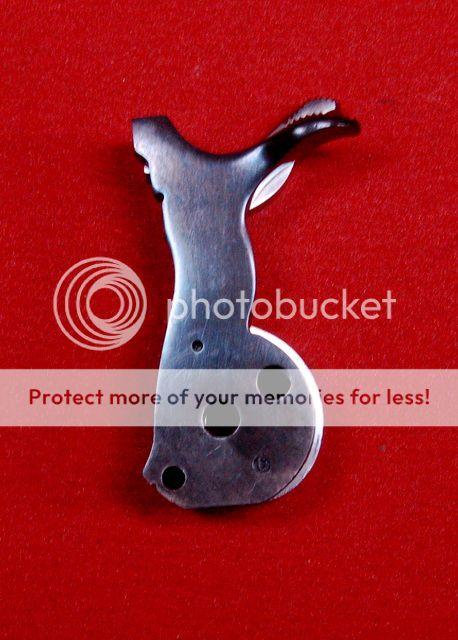
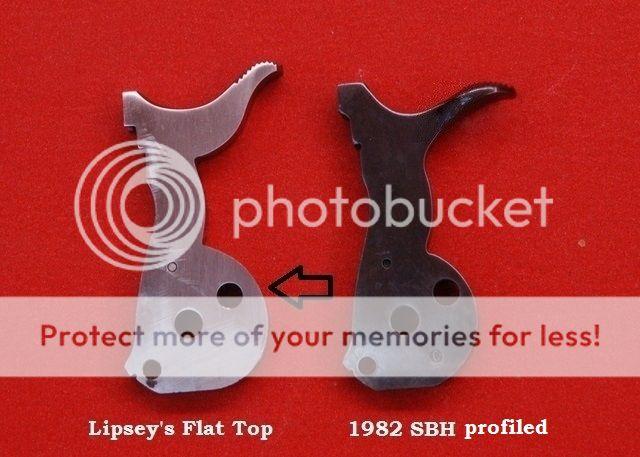
HAMMER: You may want to consider a replacement hammer. Mr.deerstalker has two for sale here for "make offer": http://www.rugerforum.com/phpBB3/viewtopic.php?f=41&t=243094
I would measure yours from the upper hole to the back of the hammer base and ask Scott for the same dimension on his two. I suspect they'll be the same as your however, unless the base on your hammer is uncommonly small. My old model hammer bases measure between .065" to .082" with .075" the norm. And I've generally been able to trim back the ears on the Old Army grip frame to match the early hammers and maintain a proper contour. The old model grip frame ear contours due appear slimmer than the later new models and more authentic to the Colt SAA that they copied, which are more to my taste than the later new model ears that are far too large for my taste.
Are you planning for a wide SBH trigger for the wide slot in the steel old army trigger guard?
CYLINDER: I believe the wear on the cylinder and the flame cutting on the top strap is just indicative of many, many rounds fired thru the gun. That is not a particular issue I would worry about once you take the remedial action you propose. To increase your headspace, you could recess the chamber mouths a few more thousandths to correct that. I would think replacing the shim behind the ratchet every time you pull the cyl could be tedious, unless you soldered it in place. Or solder the shim on the front of the cyl. Since you have a lathe. The best correction is to drill out the gas bushing, turn a new one, and install. I use 4140 which is the same Ruger uses for the cyl.
If the flame cutting is serious enough, which I doubt, you could always run a bead with a tig welder, especially if re-bluing is part of your project plan.
BARREL: here's my primer on Ruger barrel work you may find helpful.
CUT, AND/OR CHANGE BARREL
Ruger SAs Blackhawks and Super Single Sixes (adj sights) are the absolute easiest barrel in the world to cut! Drill and tap one hole to reposition the sight, no bluing needed and no special tools. But you need a little craftsmanship and desire, but only you know what you have in that dept. One quick tip; drill and tap the new front sight screw hole before you cut the barrel. It's much easier to locate the hole correctly by lining it up with the original hole.
SINGLE ACTION ONLY BARREL REMOVAL AND REPLACEMENT W/O FRAME WRENCH:
There is the professional way to remove/install barrels with expensive equipment. But for more than a hundred years the home shop method has also worked with professional results when carefully applied.
One of THE FINEST Gunsmith's around, Hamilton Bowen of Bowen Classic Arms has written a "How To" for all of us homeboy 'smiths. In addition to that, I've included much more detail that I determined to be helpful as well.
Bad link:
Bowen Article
I've also included installing a different barrel for reference which is where this sometimes becomes more challenging than simply replacing the original barrel. It may seem complicated once you see what's involved, however it's really a fairly simple operation, it just takes a lot of text to explain it. But you may need a lathe.
REMOVING AND REPLACING BARREL:
1. When removing the 1st time, Ruger barrels are very tight, don't give up! Colts are not as tight. Make an index mark on top of the barrel and frame (with fine point black indelible ink pen) where the barrel meets the frame. Make your line about 1/32" wide, before removing if the same barrel is to be reinstalled. Soak barrel joint with penetrating oil.
2. You will not tweak/bend a Ruger SA or Colt SA frame with this method, so don't worry about that. Exception: Ruger and Colt .22 aluminum alloy frames!
3. You'll need a 3 ft piece of 2x4 with one end cut the size of the cylinder window.
4. If you don't have a barrel vise, you'll need a very big vise that you can really tighten to about 150 ft lbs. That means very tight!!
5. Take two blocks of oak or other hard wood about 3" x 3" x 3/4" , clamp in a vise and drill a hole a little larger than diameter of the barrel, thru the seam so you have 1/2 of a hole in each block when you separate them.
6. To absolutely guarantee that you don't mar the finish, spiral wrap your barrel in duct tape folded in half the long way so it's sticky on both sides. I DO NOT use rosin as some suggest, it will rub off the bluing when the barrel slips, and it will slip until you have it tight enough in the vise. And you don't find out if the barrel is clamped tight enough until you finally hear the "crack" when it breaks loose instead of slipping.
7.You will need two thick pieces of leather, 1/8" or 3/16", to pad the wood blocks.
8. Clamp the barrel w/blocks & leather making sure there is no pressure on the sight; you can pop it right off when the barrel slips in your blocks, and it will slip until you tighten the vise 3 or 4 more times.
9. Tighten vise until the barrel won't slip in the blocks when you apply pressure on the 2x4. You'll hear a crack when the barrel finally lets go. I always pre-soak with a good penetrant. A 50/50 mix of acetone and ATF fluid is the absolute best for frozen and/or rusted parts.
10. Reinstalling original barrel:
tighten until both sides of the 1/32" index mark on top of the barrel and frame align. Release pressure and before removing barrel from vise, check to verify that marks still align and that there was no 'spring back'.
11. Installing a different barrel:
Lubricate barrel threads. Turn in and hand tighten as far as you can, then reverse until the new barrel and sight are straight up and down. Make an index mark on top of the barrel and frame (with fine point black indelible ink pen) where the barrel meets the frame. Make your line about 1/32" wide. Now hand tighten until it won't tighten any further and see how it 'clocks' (is the sight straight up, right or left of center?) If the barrel hand tightens about 1/8th of a turn short of the sight being at 12 o'clock, you're good to go, it will turn enough to tighten in the vise so the sight is straight up.
PLAN A:
Normally the shoulder of the barrel must be faced off in a lathe if it tightens up more than 1/8" turn before the sight is at 12 o'clock. But if it's close, just a little more than 1/8 turn short, the simplest way to fit it, is to draw file the front of the frame (unless the gun is new, of course, then go to Plan B). Polish and touch up w/OxPho Blue from Brownells or Nu Blue. Use a hair dryer to heat up frame too hot to touch, for each of four coats. The beauty of this method is you won't have to modify the Ejector rod housing length.
To determine how much metal to remove:
The following example is for mid size & most full size Rugers and 3rd gen Colt barrels with 24 TPI (1st and 2nd gen Colts are 20 TPI; you'll need to count the threads per inch of other barrels).
A barrel thread with 24 threads per inch is .0416" of barrel length per thread, one complete turn of the barrel.
PLAN A cont'd:
Let's say it's ¼ turn shy of straight up, you need to remove material to get it within 1/8 turn from straight up. A 1/8 turn is 1/8 of .0416" or .0052", it must be' faced off' from the barrel shoulder in a lathe.
Next measure how far the barrel sticks thru the frame and add the .0052" to it because once you cut the shoulder or draw file the frame the barrel still stick thru that much farther. Now compare that measurement to the new cyl-to-frame spacing and you'll know what the b/c gap will be. If the barrel is too long and B/C gap is too tight or no gap you'll know how much to take off of the barrel forcing cone shooting for about a .005" + or - B/C gap. If the barrel is not long enough to get that tight of a gap or something close to it, you have to go to PLAN B.
PLAN B:
If the barrel throat is too short (barrel/cyl gap excessive) or the barrel doesn't hand tighten until the sight goes past 12 o'clock you'll need to 'face off' enough metal from the barrel shoulder to turn barrel almost another revolution. For example if the barrel doesn't tighten until it's 1/4 turn past 12 o'clock, the barrel will have to turn in another 3/4s of a turn for the sight to come around again and be straight up when barrel is tightened. So (.0416" divided by 4) x 3 = .0312" has to come off the barrel shoulder.
You'll need a lathe to 'face off' .0312" of the barrel shoulder where it meets the frame. And you'll have to shorten the ERH the same amount. I make a brass or aluminum pilot of barrel groove diameter to drive in the muzzle to chuck up the barrel in the lathe.
(Note: if the barrel tightens up just a tiny amount past 12 o'clock, there's a short cut; gently tap the sharp edges of the last two rows of the barrel thread. This will create a slight "interference fit" of the threads causing the barrel to tighten at 12 o'clock).
Install new barrel per #10 above.
12. Don't get in a hurry.
TWEAKING BARRELS TO ZERO:
I have tweaked many barrels to get them to shoot to point of aim and changed Colt and Ruger barrels. My experience: the hardest thing to do is to move a barrel just a slight amount, especially tighter! So turn the barrel out loose and then retighten it to the new position you want.
Before you attempt to 'tweak' the barrel, to change windage or straighten up a front sight, be sure that the sight isn't just leaning to one side. If the front sight is crooked because the sight base wasn't soldered on square to the barrel, even after you straighten it by turning the barrel, it still won't look right! The blade may be straight up but the base could be off center on the barrel.