David,
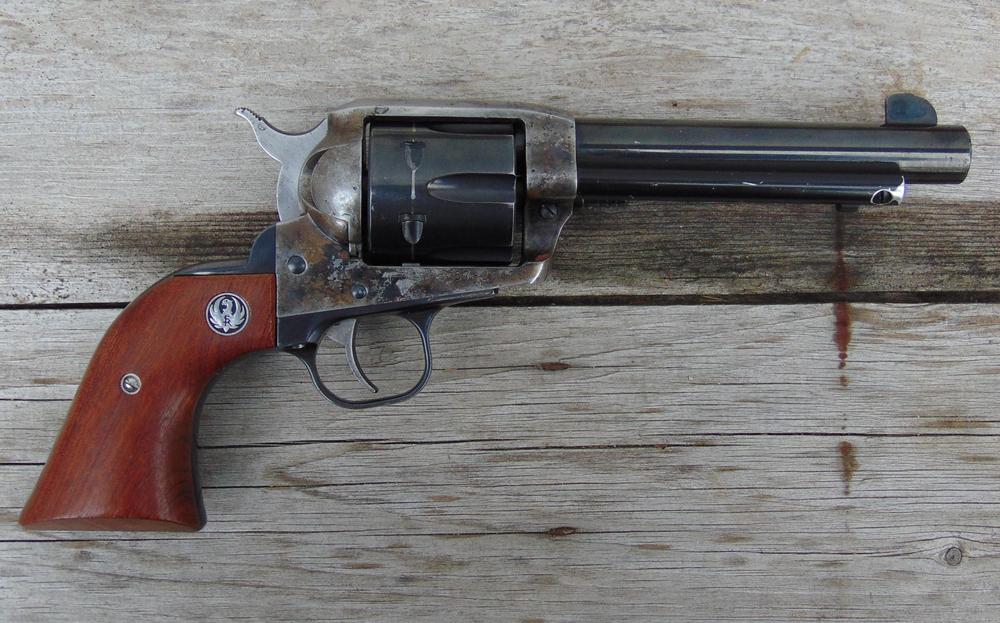
I can tell by looking at your Vaquero that you'll have the same fitting of the ears problem described by bnewberry above. Your frame slopes down from the recoil shields on both sides of the hammer; it's a pre 1997 short rear frame surface as described under B. below. The way to resolve it and save a lot of work is to flatten the two frame surfaces where they meet the recoil shield to provide a smooth curve transition to the top of the Bisley grip frame w/o having a 'kink' where the GF mates to the frame. Then touch up with cold blue to blend in with the case colors
A few notes on changing grip frames.
A. GENERAL INTERCHAGEABILITY OF GRIP FRAMES:
In general: all Ruger SA grip frames including SBH Dragoon, Blackhawk, Single Six, Old Army, Bisley and Birdshead (excluding Bearcats of course) will interchange from the standpoint of the screw pattern from Single Six to Super BH, Old Model to New Model, and even NM to OM. New purchased steel and stainless grip frames are only partially finished and will need fitting, and bluing or polishing if stainless steel. "Take off" grip frames from a finished gun are much less work.
All the screws (but excluding Bisley grip), springs and pins can be transferred over from existing GF. Including those with internal locks, but not the lock itself and a standard spring seat is needed, see #3 below.
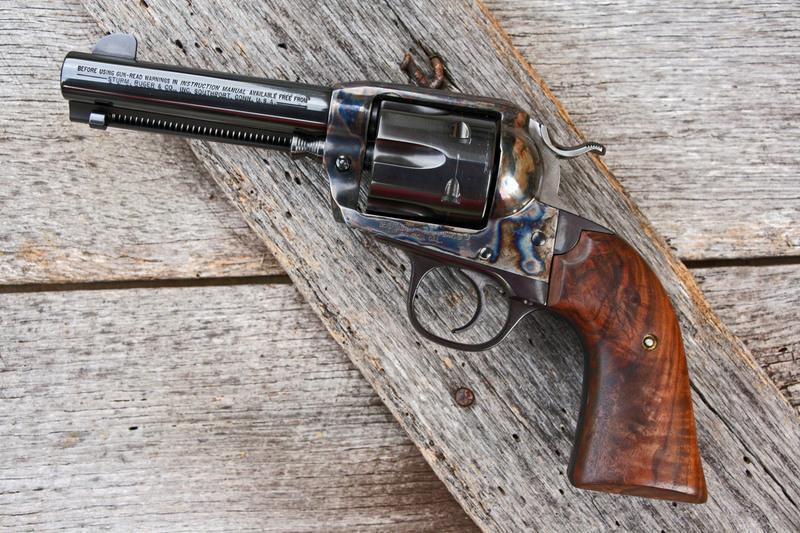
BISLEY GRIP FRAME exception is that you need the two hex head cap screws besides the hammer and trigger for installing a Bisley GF. Or two regular screws if removing a Bisley GF.
B. Grip Frame Ear Changes to be aware of:
The ear height around the base of the hammer varies on all grip frame ears slightly due to hand fitting at the factory, but there was one specific big height increase. To simplify production in 1997, Ruger increased the height of the standard cylinder frame mating surfaces on both sides of the hammer 1/16" to match the Bisley model frame ears so any style grip frame could be assembled to any main frame. Therefore the ears on all other standard grip frames after 1997 had to be made ~ 1/16" taller as well. So there's basically two sizes of the STANDARD grip frames: as short as .530" pre 1997 and as tall as .590" after 1997 (for example: Original Vaqueros above serial range 56-XXXXX). Measure from the very top edge of the grip panel to the top of the ears. That's why standard grip frame swaps are simplified if any acquired grip frame matches the vintage of your Ruger that you want to put it on. This also affects the standard hammer base fit to the grip frame ears on plow handle grip frames, except new hammers designed after 1997, like the New Vaquero and New model flat top Blackhawks.
The grip frame 'ears':
C. MY SHORTCUT FOR REMOVING JUST HAMMER and/or PAWL on NEW MODELS:
Recognize, when JUST NEEDING to remove the hammer and/or pawl, you do not need to hassle with the PESKY LOADING GATE SPRING, pull the trigger pin, OR trigger/transfer bar. Once you remove the grip frame, the hammer pin is the only other part you need to remove. After that, just pull the hammer back and all the way down, then depress the hammer plunger up into the base of the hammer with a small tipped screwdriver to clear the trigger extension with hole in it where the transfer bar connects to it. Let the hammer & pawl fall back, down and out. Reinstall the hammer and pawl back in the same way they came out. Push the plunger in by pushing it against the trigger extension just like you did with the tip of the small screwdriver, and the hammer will slip by the trigger extension. Piece o' cake.
NOTE: Occasionally a hammer change that doesn't cock or just barely cocks is because it's hitting the back of the slot in the grip frame. I have had to slightly lengthen the slot with a few file strokes.
If either the trigger or hammer pin are snug fits, after they're removed the first time, it's the opportunity to polish them so they're slip fits to put back in and remove the next time.
")
