deac45
Single-Sixer
Nice work! I happen to prefer little or no bevel on the bottom.
deac45
deac45


knuckles":s7h2qc5q said:Heck' they look as good as factory... nice!


29 Wheelgunner":yicm0m3y said:Excellent job, are you sure that they are your first?
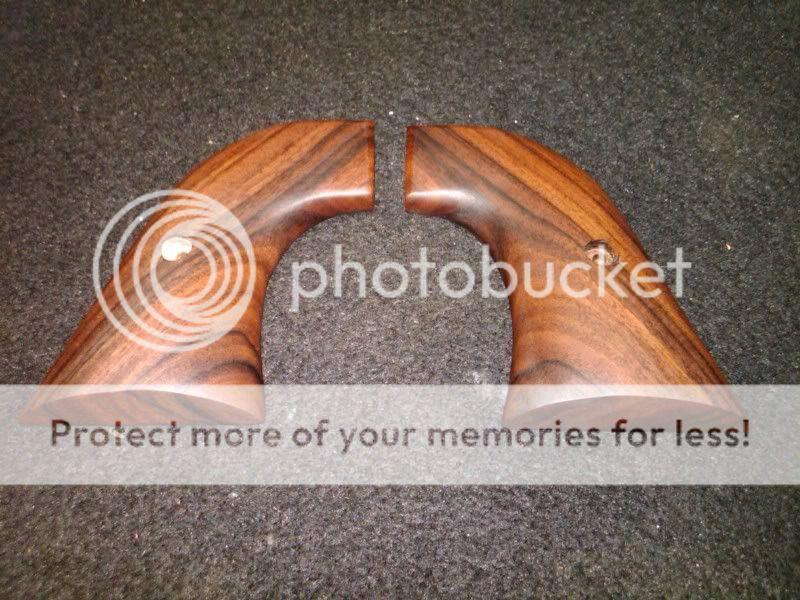


JSimpson65":1euz9eev said:29 Wheelgunner":1euz9eev said:Excellent job, are you sure that they are your first?
Thanks, I'll take that as a compliment.