New Project: Custom 10/22 Target Rifle

Help Support Ruger Forum:

TINCANBANDIT

Single-Sixer
Joined
Jan 3, 2014
Messages
216
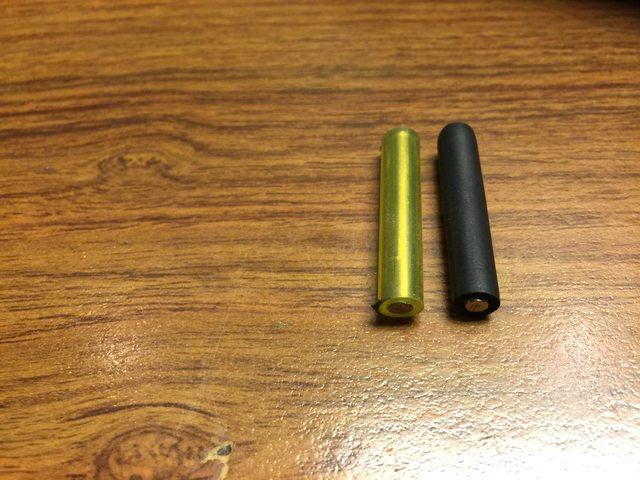
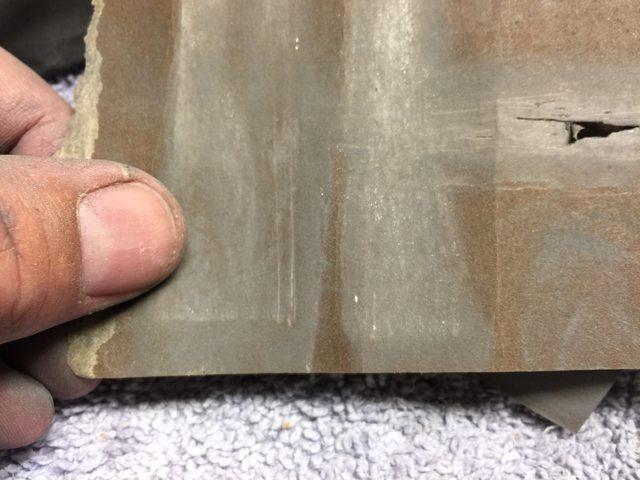
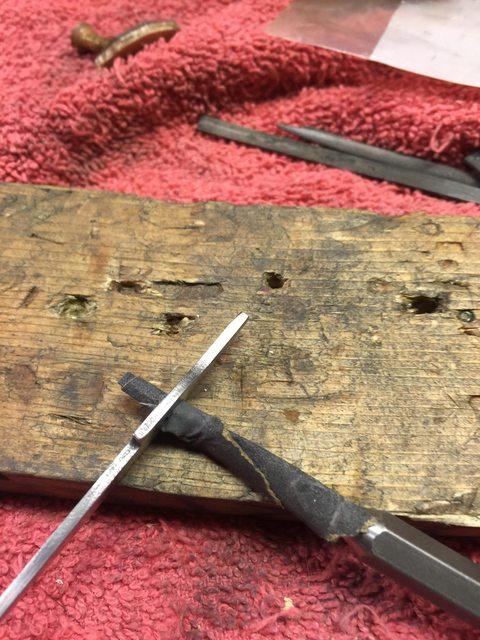
I just started another 10/22 project, this is my third one in a series of projects that mostly involve custom stocks modified from Ruger factory wood stocks

http://tincanbandit.blogspot.com/2016/03/1022-projects.html

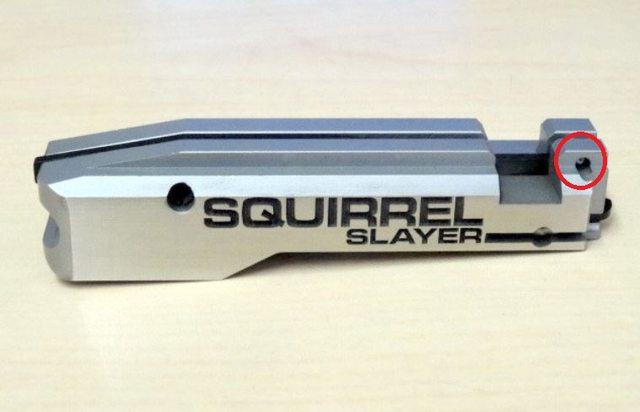
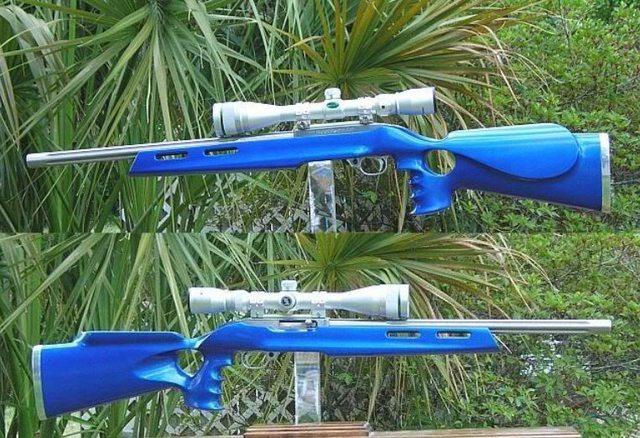
This one will be mimicking the gun below (from the rimfire central forum)

4wQZViHl.jpg


My plan is to:

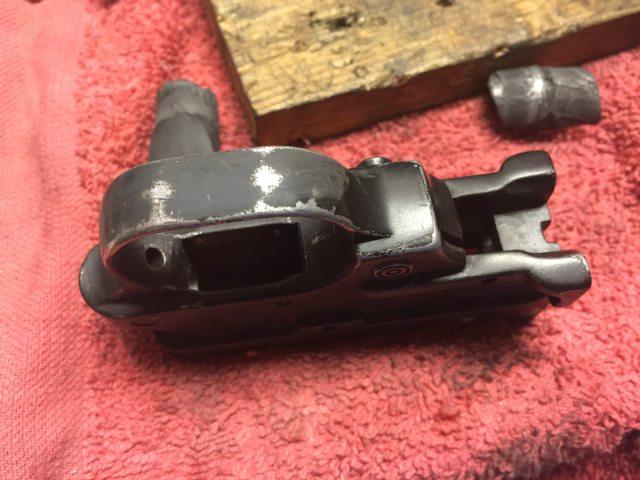
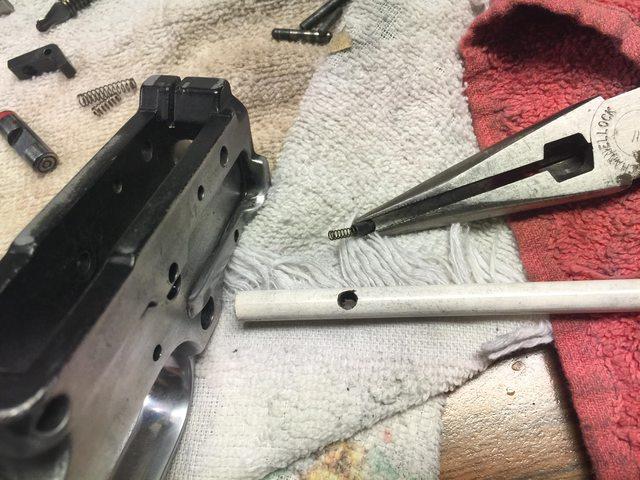
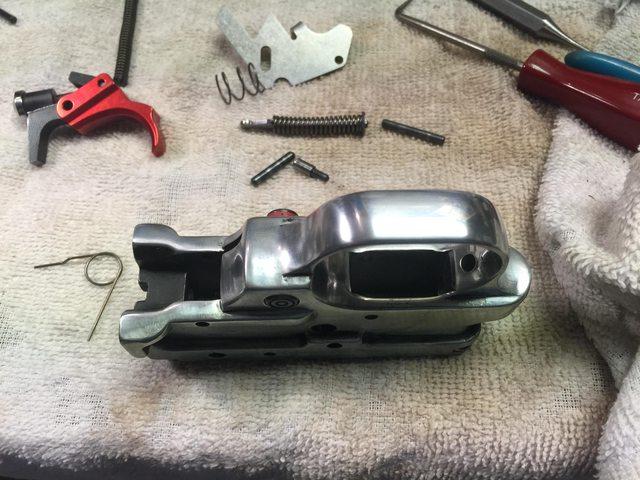
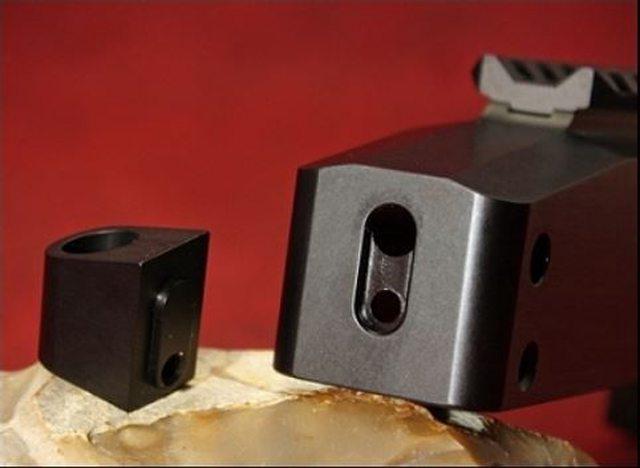
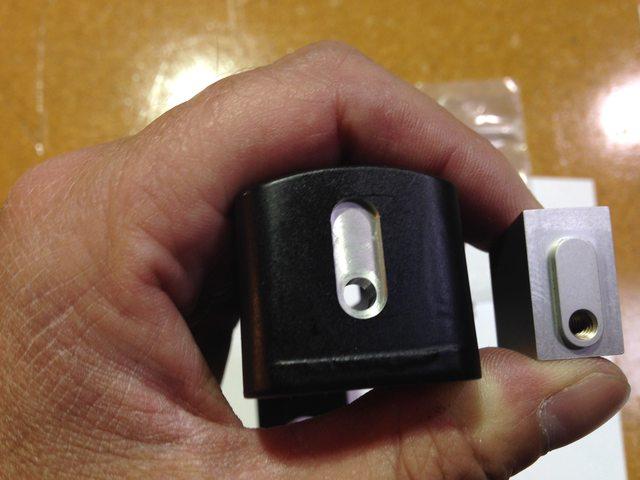
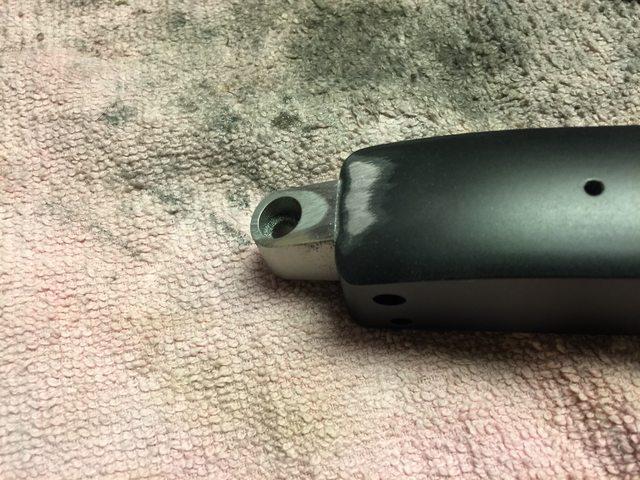
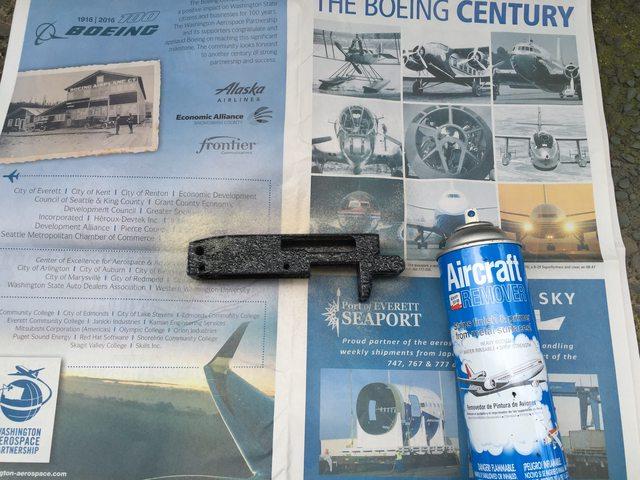
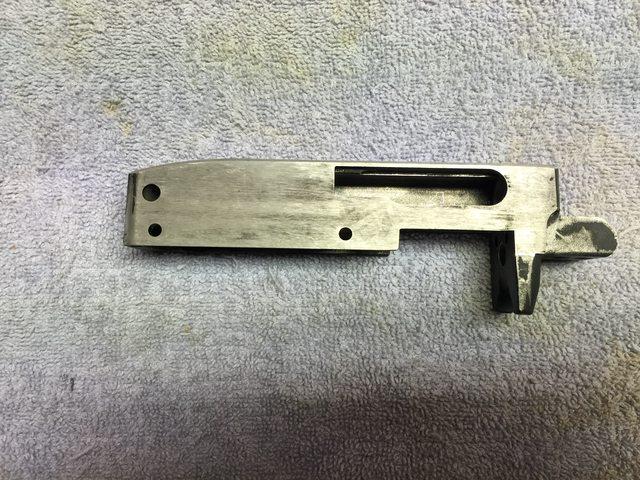
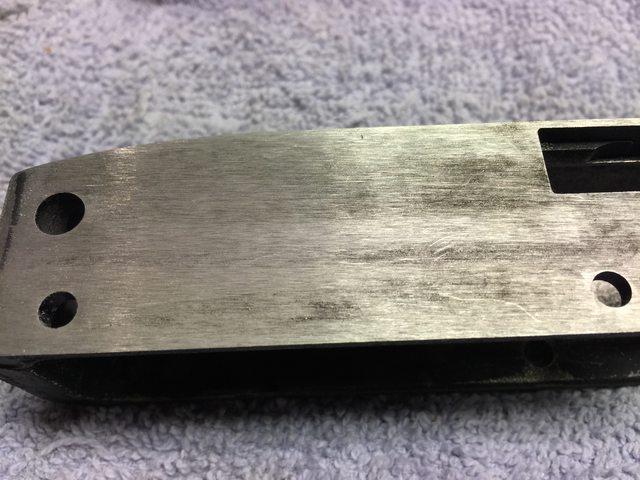
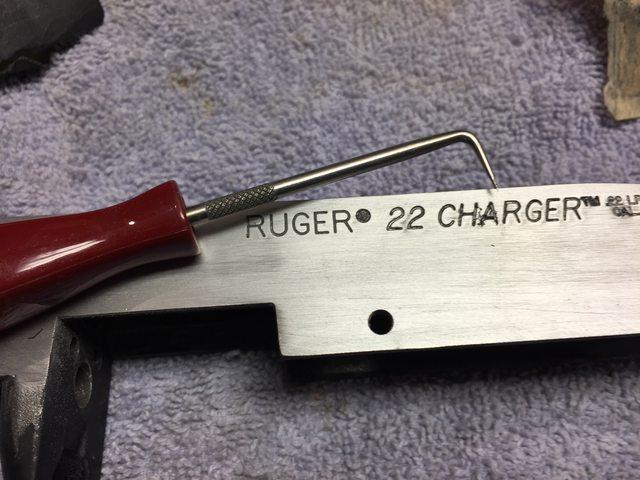
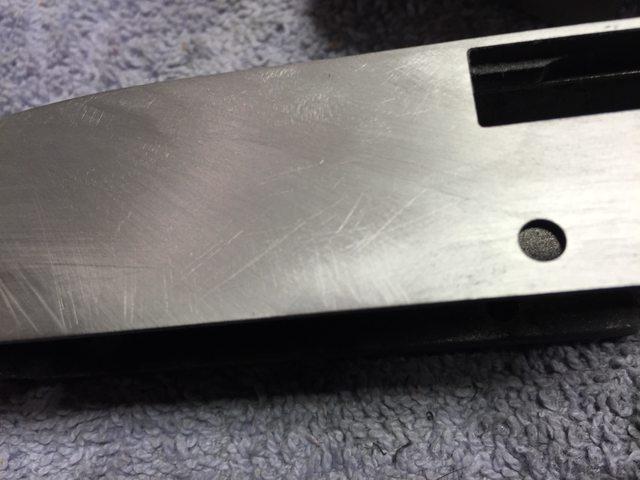
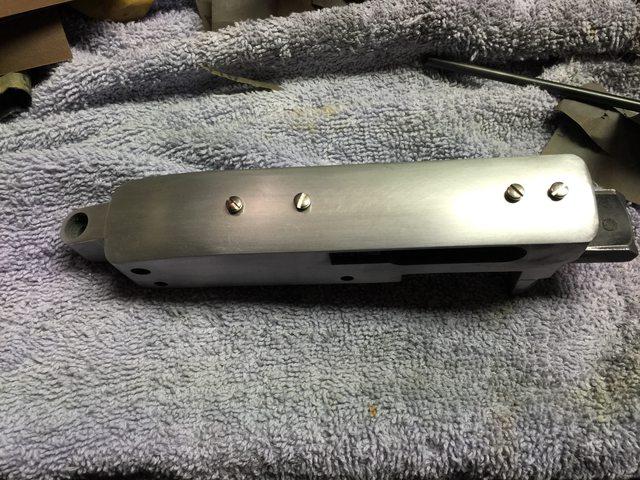
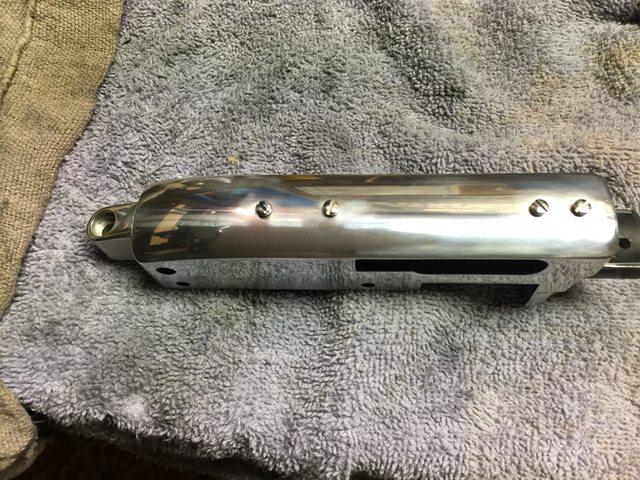
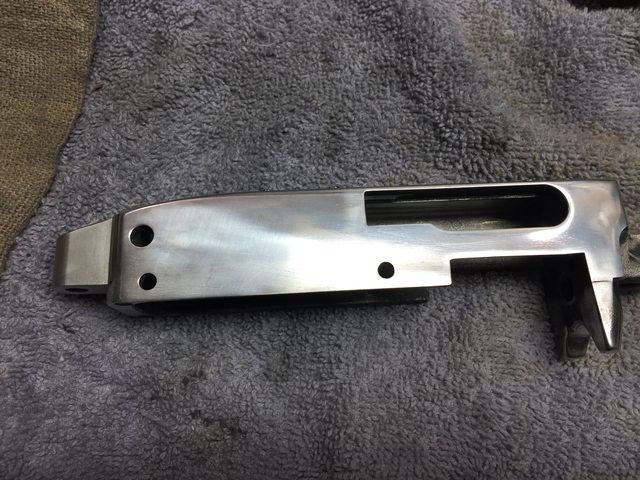
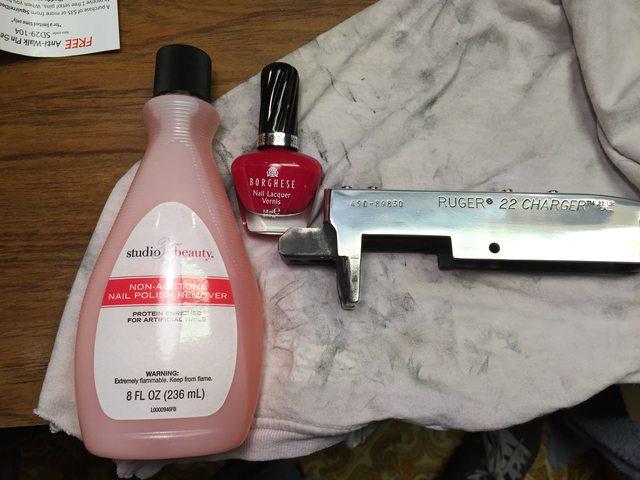
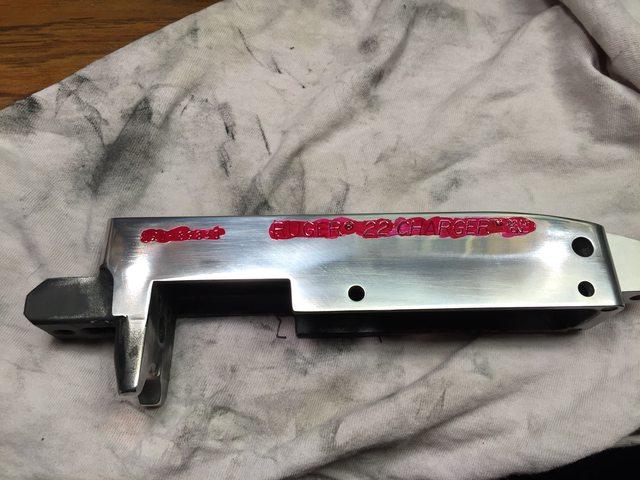
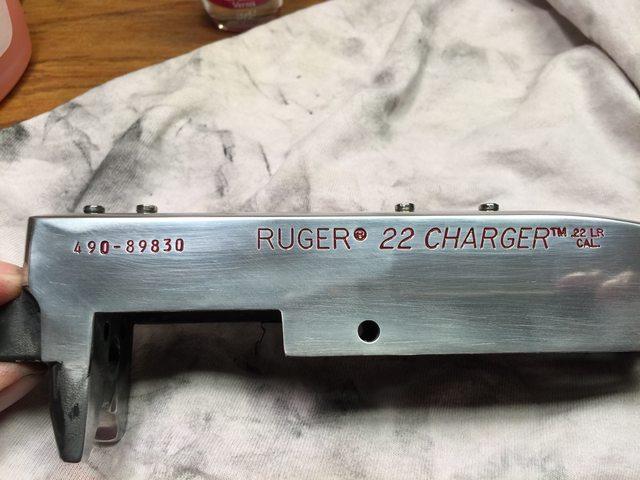
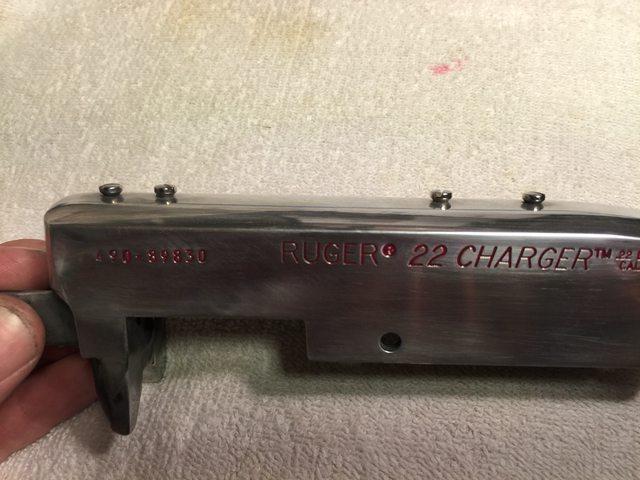
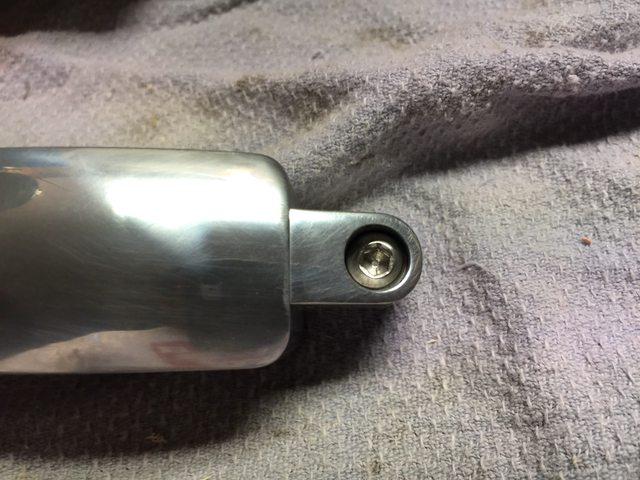
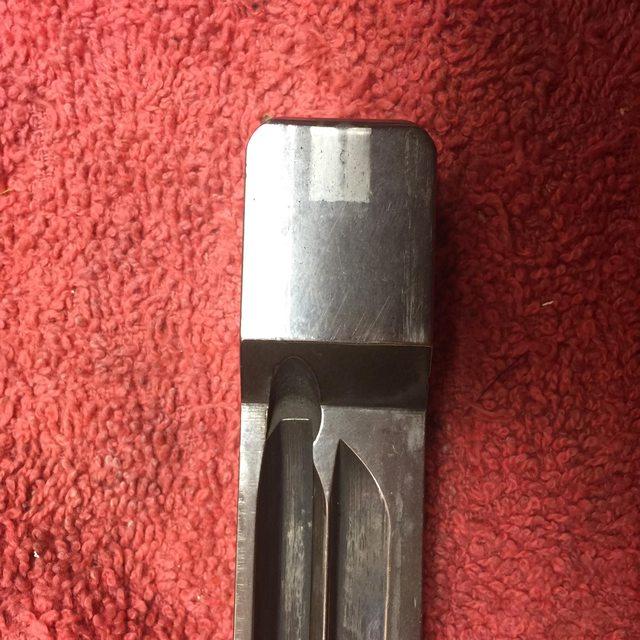
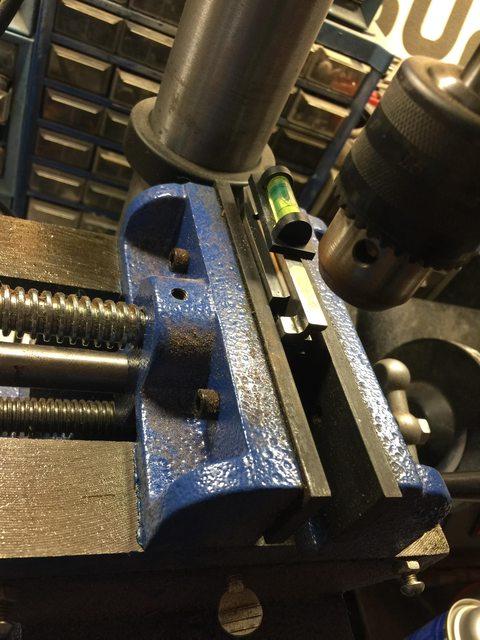
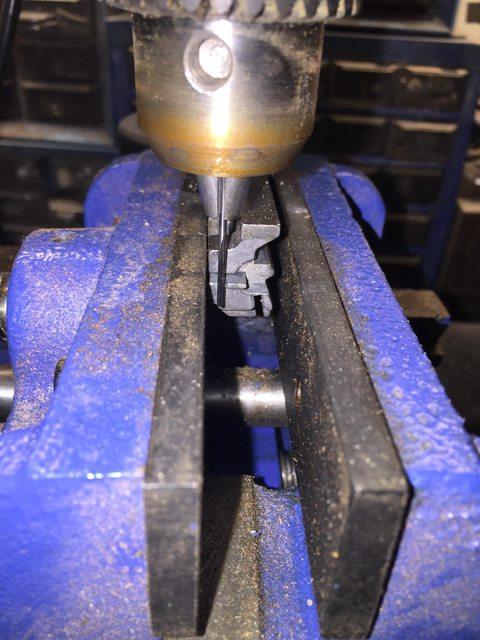
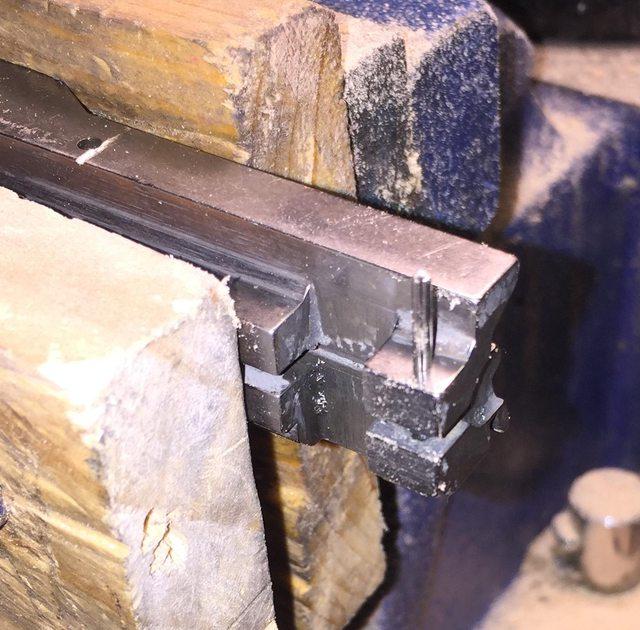
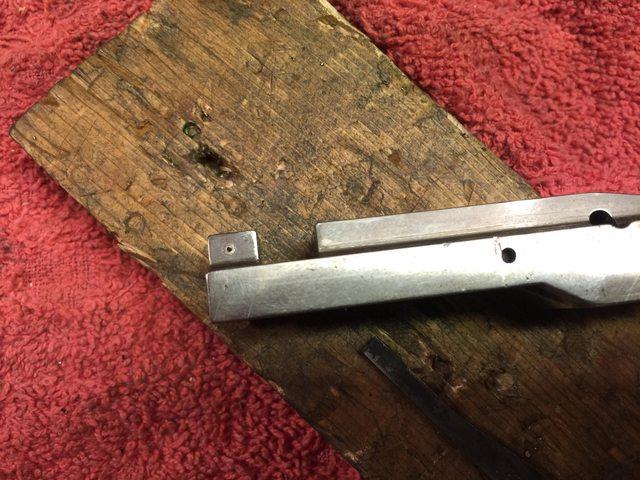
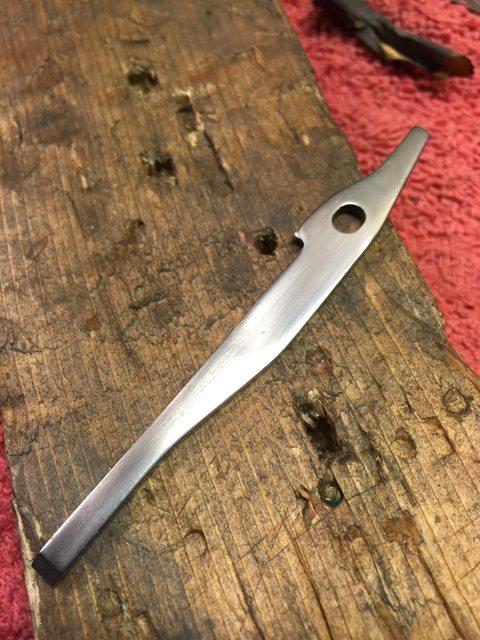
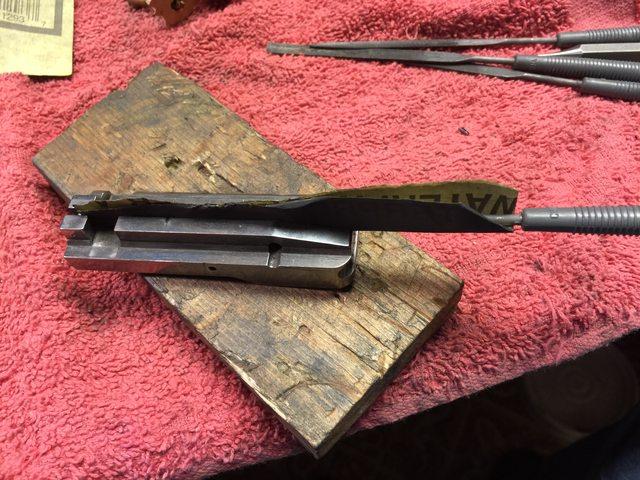
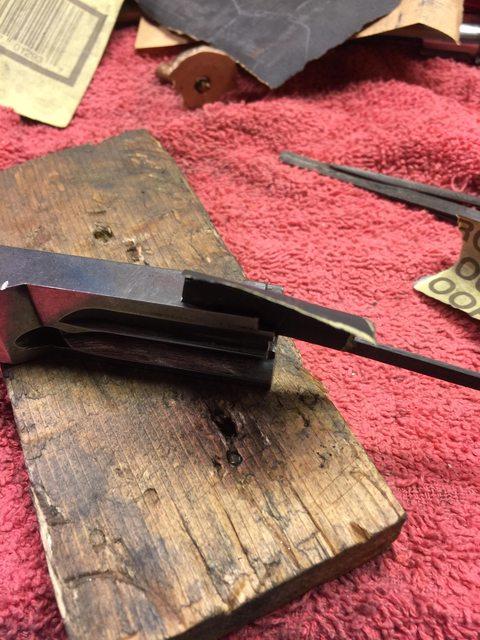
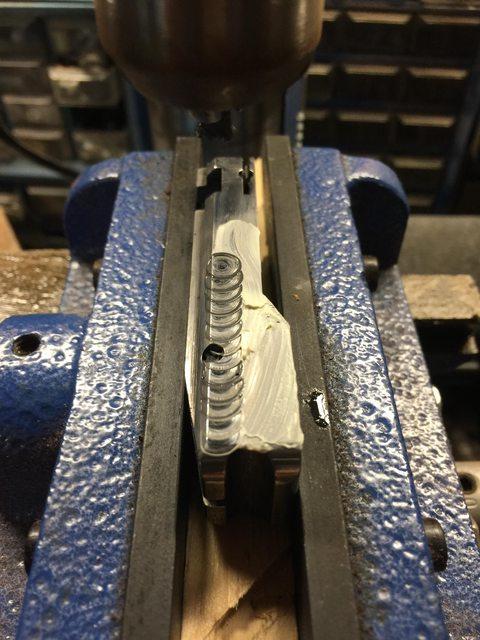
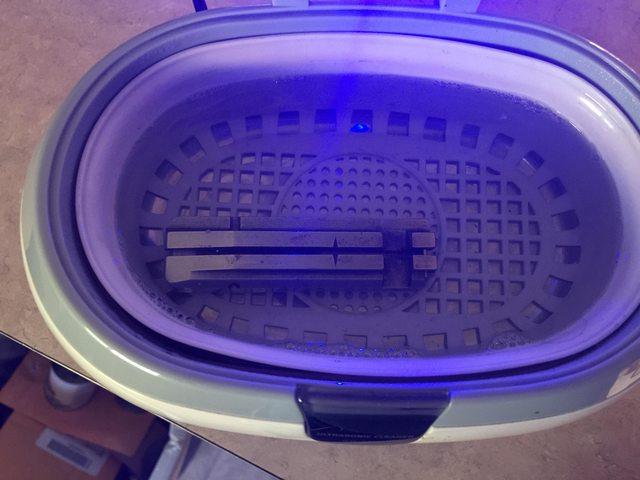
* Strip and polish a factory 10/22 Charger receiver and add a KIDD rear tang
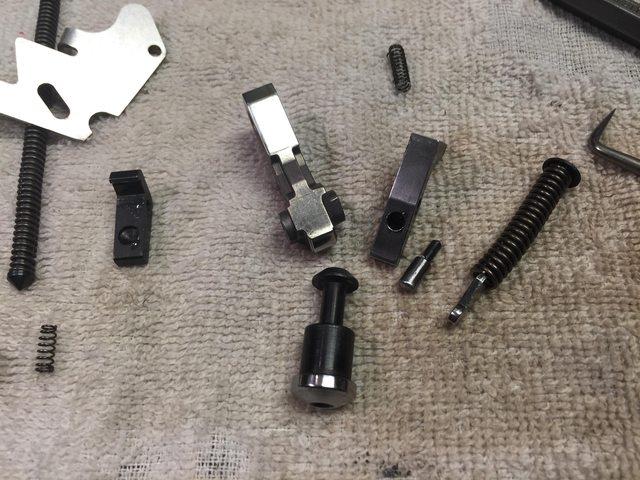
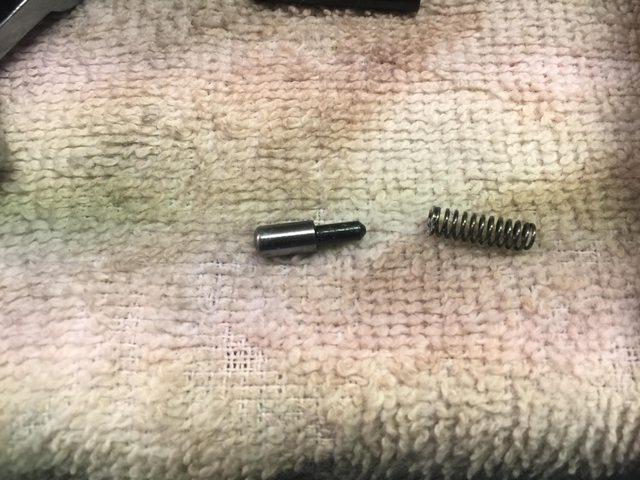
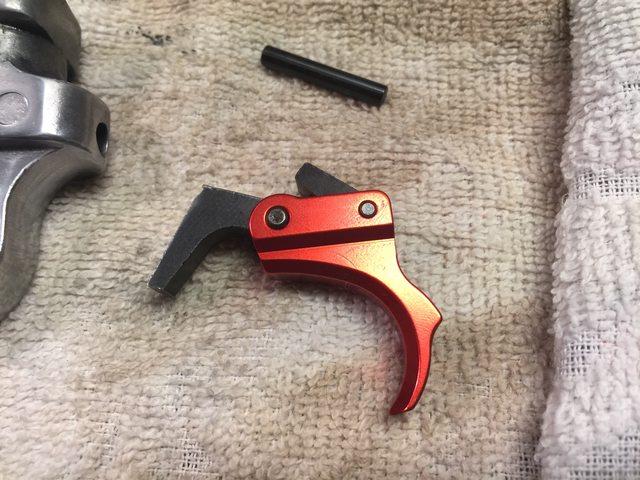
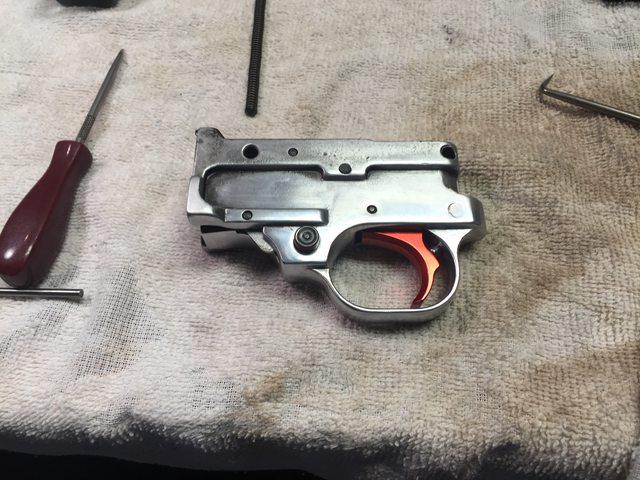
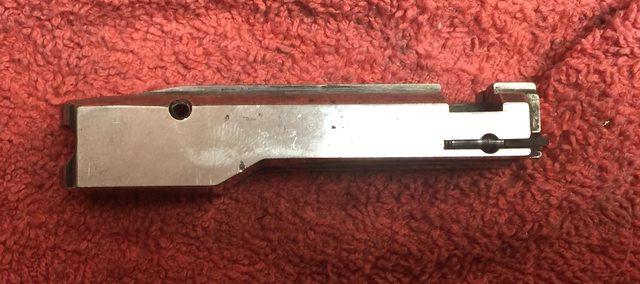
* Strip, polish and perform trigger/action job on a factory 10/22 aluminum trigger assembly
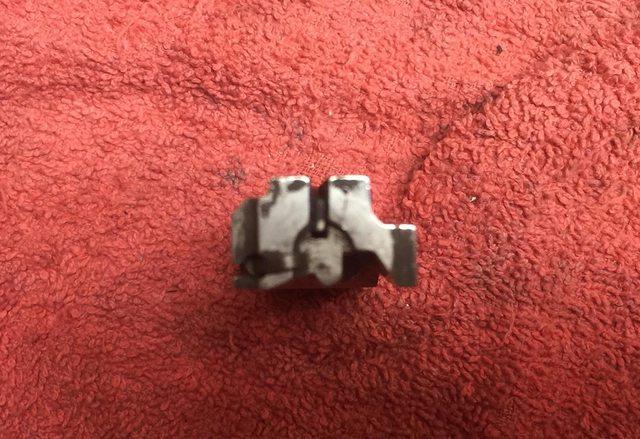
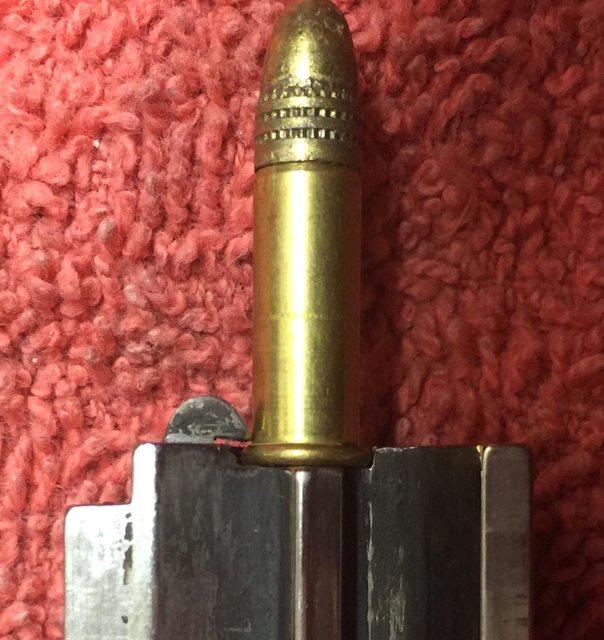
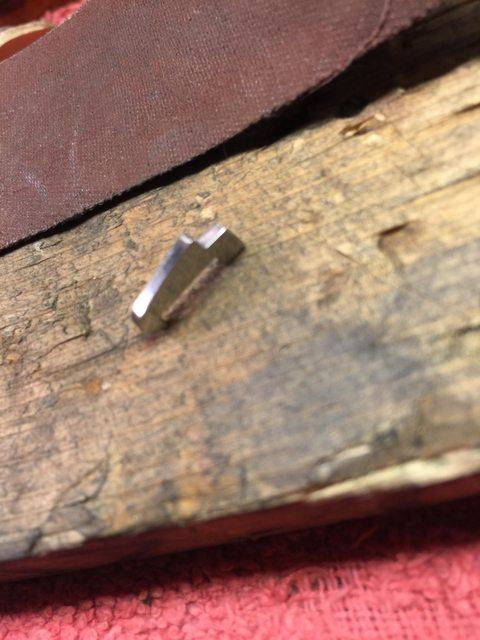
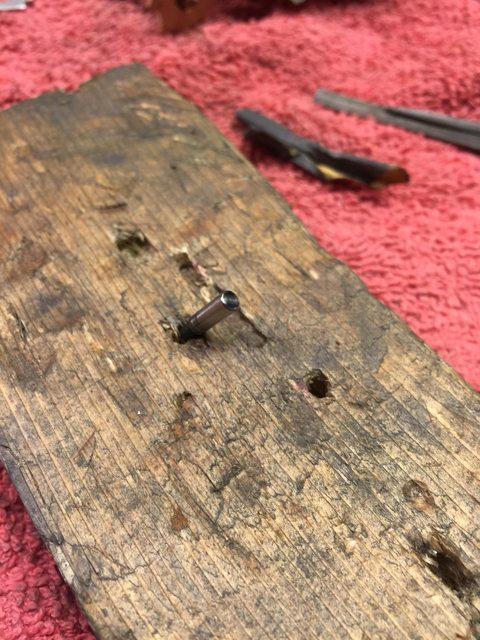
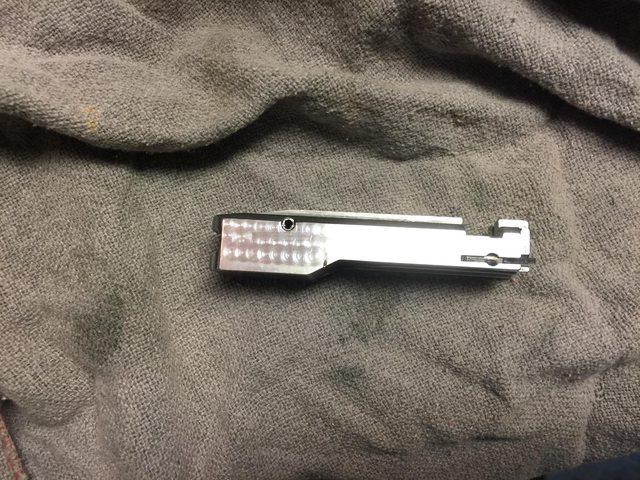
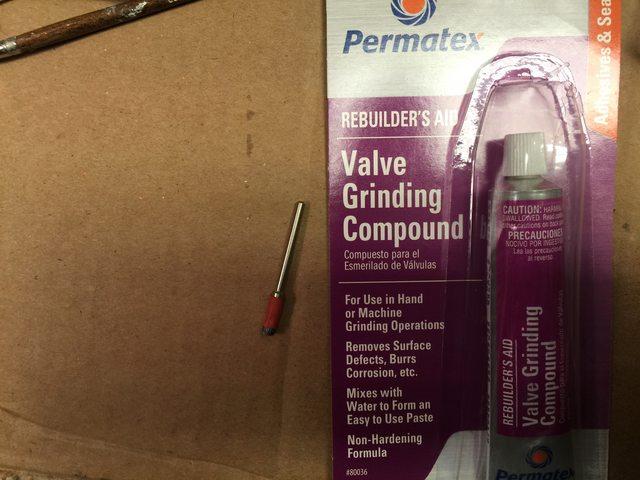
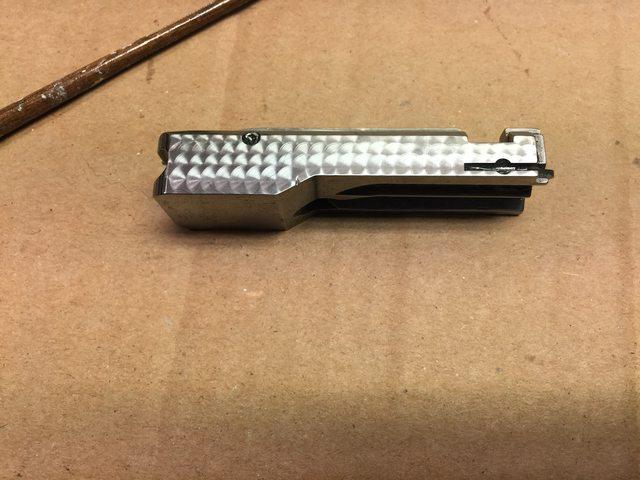
* Perform some accurizing mods to a factory bolt then polish and jewel it
* Polish a factory stainless barrel
* Add a 50mm scope
* Build a custom thumb-hole stock using a factory beech wood stock as the basis

and do all of this on a $400 +/- budget

Here is my 1st blog post, I would post the pictures here individually, but I am lazy and that takes a lot of time

http://tincanbandit.blogspot.com/2016/07/the-1022-target-rifle-project-part-1.html
 

mhblaw

Blackhawk
Joined
Jan 15, 2009
Messages
943
Location
North Dakota
Can you legally install a rifle barrel on a Charger receiver? Think the Charger is classified as a handgun?
 

TINCANBANDIT

Single-Sixer
Joined
Jan 3, 2014
Messages
216
mhblaw said:
Can you legally install a rifle barrel on a Charger receiver? Think the Charger is classified as a handgun?


yes, you can go from pistol to a rifle and back, but if the firearm started life as a rifle, you need a tax stamp to put a barrel shorted than 16" on it.
 

TINCANBANDIT

Single-Sixer
Joined
Jan 3, 2014
Messages
216
Part II

I perform trigger/action job and polish the aluminum trigger housing

http://tincanbandit.blogspot.com/2016/08/the-1022-target-rifle-project-part-2.html

Like all my 10/22s I had planned on giving this gun a full on trigger and action tuning, by polishing the parts and installing a reduced power trigger spring.

We will also install a KIDD auto bolt release and aftermarket billet aluminum trigger.

We will finish it up by polishing the whole housing to a bright shine.

We start by sanding the finish off the aluminum housing

0VEKh2Ol.jpg


Sandpaper, Dremel, buffer multiple items were used to get the aluminum shiny. I found the aluminum to be quite soft. 220 grit paper would leave deep scratches, I had to stick with 320 and higher grits.

I wanted to give the interior a serious cleaning, so I removed the safety while I was polishing the housing. To fit it back in I used a cheap trick, I drilled a 1/4" hole in a pencil and used it to hold the spring and plunger in place while I inserted the safety

u9eHjgtl.jpg
 

TINCANBANDIT

Single-Sixer
Joined
Jan 3, 2014
Messages
216
I didn't bother with the top portion of the housing, it will be hidden by the stock, I may go back and polish it more later

793XbAEl.jpg


Next I performed an action/trigger job by polishing the internal mating surfaces including:
Hammer strut
Hammer sear engagement and the top where it engages the bolt
Trigger sear
Trigger spring plunger
Magazine catch
Magazine catch pocket

k54JDRzl.jpg


I used the 2 1/4 lbs spring (the white one) from the KIDD spring kit

2TStbLsl.jpg
 

TINCANBANDIT

Single-Sixer
Joined
Jan 3, 2014
Messages
216
The KIDD spring kit came with a "slave pin" to assist in installing the trigger/sear/dis-connector assembly

This is an Atomic Arms billet trigger

qMtFJOjl.jpg


A little oil and some patience and we have a complete trigger assembly. I checked the trigger pull and inexplicably it came in at around 5 lbs??
It may be the mixing of old and new parts, I will do some additional investigating to see if I can get it down below 3lbs

TI3eZQWl.jpg
 

TINCANBANDIT

Single-Sixer
Joined
Jan 3, 2014
Messages
216
http://tincanbandit.blogspot.com/2016/08/the-1022-target-rifle-project-part-3.html

Part 3 of this build, we are now working on the receiver.

If you remember, I purchased a new Charger receiver on Gun Broker. It has the standard satin black powder coat finish.


We will strip the factory powder coating back down to bare aluminum and polish it to a high shine

We will also perform some machine work to install the KIDD rear tang.

Before getting to the polishing and machine work we'll tackle an easy task:
One of my 10/22 cheap tricks I covered in March, was building your own bolt buffers using chain saw fuel line and stainless steel round stock. Since this is a DIY type build I decided to make my own bolt buffer.
The materials are perfect for this application. The fuel line is made from Tygon which as you would expect is oil (and gas) resistant and designed to remain flexible for years. Stainless steel is......well there is no need to explain stainless steel.

I ordered up a foot of 1/4"OD x 1/8"ID synthetic Tygon fuel line and two 6" pieces of stainless 1/8" rod. Both pieces were acquired from ebay vendors.

7bH3bgUl.jpg


The total outlay was $8 and I can make at least 9 of them, if I am careful with my cutting, which makes the cost of the bolt buffer about a dollar and 5 minutes of time.

I marked the 1/14" on the rod and inserted it into the tubing

GhbkbpVl.jpg


Then cut to length

Wtb1VP5l.jpg
 

TINCANBANDIT

Single-Sixer
Joined
Jan 3, 2014
Messages
216
A test fit showed it to be a tad long

zUJQqQ3l.jpg


A touch with the belt sander and the fit is flush

vUAdzvAl.jpg


Here is my homemade buffer next to one I bought earlier.

C6UqI0yl.jpg
 

TINCANBANDIT

Single-Sixer
Joined
Jan 3, 2014
Messages
216
To install the KIDD rear tang, we had to machine the back of the receiver and drill a hole for the screw
ZFMfyLul.jpg


I did not take pictures of the process, but here is the end result....

shyfQeRl.jpg


The current 10/22 receivers are powder coated, so I needed to remove the powder coating before I could polish the metal.

Before polishing the receiver I wanted to fit the rear tang to the receiver. The rear tang was designed to match the flat rib on the top of the KIDD receiver.
Also if you are wondering why the hole is low in the recess, it is to make room for a the cleaning hole that many people put in their receivers (hole is inline with the bore).

The different contours left a high spot on each side

z1fKKswl.jpg


CzGTPhhl.jpg
 

TINCANBANDIT

Single-Sixer
Joined
Jan 3, 2014
Messages
216
A little filing cleaned it up and made the transition in-perceivable to the touch

qa5FTu5l.jpg


Now it is time to remove the factory powder coating so we can start polishing


I am using Aircraft Paint stripper....weird coincidence that the newspaper used is an article on Boeing's 100th anniversary


NxJqPnZl.jpg


After scrapping off the old coating with a plastic scraper we can see what the bare metal looks like


HHXsdZWl.jpg


A close up, you can see the metal is just "brushed", not very smooth.

5N253Owl.jpg
 

TINCANBANDIT

Single-Sixer
Joined
Jan 3, 2014
Messages
216
Before going too far, I clean out the lettering with a sharp pick, don't want to risk scratching the metal after I polish it.

cssUFx3l.jpg


I found the metal to be REALLY soft. I could not use anything coarser than 320 grit and I could not use hard pressure. Doing so resulted in the metal "balling" up like a snow ball in the sand paper and gouging the metal

pjkgjx5l.jpg


Scratches from the metal in the sand paper

yiMKigjl.jpg


After sanding to a 600 grit finish, I installed the scope mount screws to prevent dishing out the holes, plus they are stainless and will polish up nicely.


gvBOSgUl.jpg
 

TINCANBANDIT

Single-Sixer
Joined
Jan 3, 2014
Messages
216
almost done, I may have to go to the Mother's polish and finish by hand, my polishing compound isn't "gentle" enough to get a perfect shine on the buffer


o40eUfBl.jpg


ruMDu0Kl.jpg


I decided Ava needed some more color, so I "borrowed" some nail polish from my daughter as well as some non-acetone nail polish remover.

MtEAAcBl.jpg


After one application

6bat9Xal.jpg
 

TINCANBANDIT

Single-Sixer
Joined
Jan 3, 2014
Messages
216
0toESEml.jpg


I let the polish dry under the lamp and a while later performed another application


q4ol2Knl.jpg


One final finishing touch, I bought a some new stainless button head cap screws to replace the black one that came with the KIDD rear tang


mobeFAWl.jpg


cZl32Ijl.jpg
 

TINCANBANDIT

Single-Sixer
Joined
Jan 3, 2014
Messages
216
The 10/22 Target Rifle Project part 4: The Bolt

You wouldn't think that there would be much you could do to improve the bolt on a 10/22, but there are a few things. Here is a list of the mods we intend to accomplish:


Polish all sides of the bolt
Jewel the right side of the bolt
De-bur and polish the firing pin, firing pin groove, the extractor and the extractor plunger
Pin the firing pin in place to achieve precise/consistent hits on the cartridge rim
Finally we will clean the bolt in an ultra-sonic cleaner

Here is what the bolt looked like before we started. It appears as though someone may have polished it before


pu73oqjl.jpg


You can see where the hammer has been riding against the bolt


w1sTitxl.jpg


The bolt face is dirty, but appears to have been polished before

brHuwrrl.jpg
 

TINCANBANDIT

Single-Sixer
Joined
Jan 3, 2014
Messages
216
The head space measured at just under .050", I have read that they typically run about .055" so this one may have been machined, which might explain why it was polished.

Optimal head space is between .044 and .047. Since this one is close, we will leave it as is for now.

NDB7uYXl.jpg


One of the things often done to 10/22 bolts is installing a pin above the firing pin channel to prevent it from lifting up. By forcing the pin to travel in a straight line you end up with more consistent strikes to the rim, which is supposed to result in better precision.


Most of the aftermarket bolt makers have a pin pre-installed, like this one from JWH Custom (note the red circle)

cRNlarVl.jpg


You may ask why I didn't just buy one of their bolts with these mods already performed. I could have done that and stayed within the budget (it would have impacted our budget by an additional $60 or so), but the point of this built is to do it ourselves. After all, anyone can get out the credit card and buy a custom rifle or buy the parts pre-made.

The first step was to get the machinist vice clamped down and checked for level, then check to make sure I have the proper clearance to move the vice.
I left the level in place while drilling to make sure the bolt was not shifting.

8UlQIVPl.jpg
 

TINCANBANDIT

Single-Sixer
Joined
Jan 3, 2014
Messages
216
Checking the clearance for the firing pin, we are using a carbide Hi-Roc, straight flute 1/16" drill bit

0wUwsr1l.jpg


After drilling I installed the 1/16" x 1/2" long stainless steel roll pin (with the slot facing up, away from the firing pin).

Pa90GsJl.jpg


Then I filed the end of the pin flat with the bolt

sr0QQjql.jpg
 

TINCANBANDIT

Single-Sixer
Joined
Jan 3, 2014
Messages
216
Next I began cleaning and polishing the firing pin. I de-burred and rounded the edges, I even polished the retaining pin hole

jyGZ3M2l.jpg


I'm not sure how much this helps, but it certainly can't hurt

Mtg7Mnrl.jpg


The extractor, sanded and polished on all sides, edges de-burred

da9IuCGl.jpg


The extractor plunger was chucked in my drill and polished to 2400 grit

Hm7OO5Zl.jpg
 

TINCANBANDIT

Single-Sixer
Joined
Jan 3, 2014
Messages
216
I also polished the firing pin channel and extractor channel by wrapping 600 grit sand paper around my needle file

qsQZR00l.jpg


4ok77sQl.jpg


Then I polished the bolt on the buffer and put it back in the machinist vice so I could jewel it.

zBaUsbGl.jpg


I use a 1/4" Cratex abrasive stick and Mother's polish, after jeweling the bolt I washed it down with brake cleaner and after drying, put it in my ultra-sonic cleaner with soap and hot water.

BL9QHtSl.jpg
 

TINCANBANDIT

Single-Sixer
Joined
Jan 3, 2014
Messages
216
then re-assembled it

6WgOm1El.jpg


I wasn't happy with the depth of the "swirls" left by the cratex stick, so I started over. I bought a tube of valve grinding compound and a stainless brush for a Dremel, then I put some heat shrink on the brush to prevent the bristles from fanning out under pressure

Fr1oe32l.jpg


This time the swirls are much deeper and defined

ycH04YCl.jpg
 
Top