I know this has been done before, I just wanted to pass along my experience.
I am surprised at how much difference this simple modification made.
The pull weight went up from 5lbs 4oz to 6lbs 4oz. That's right, it increased by a pound. HOWEVER, had I not put a gauge on it, I would have sworn that it decreased dramatically. I attribute that to 3 things.
1. The P95 trigger geometry makes a lower trigger finger position on the trigger comfortable. That means more leverage and a lighter-feeling pull. The trigger gauge (which is very unlike a finger in many respects) may ride a little lower on the P89 trigger than on the P95 trigger resulting in a higher measurement for the P95 trigger--I don't know. What I know is that the trigger definitely feels lighter with the P95 trigger installed.
2. Improved comfort. I spent some time, several years ago, smoothing the contours of my P89 trigger and taking off rough edges to decrease wear and tear on my trigger finger when doing extensive dryfire practice in double-action. The P95 trigger, with no modifications is tremendously more comfortable to operate.
3. Decreased overtravel. With the P89 trigger, it was not possible for me to hold the gun steady with one hand and dryfire double-action. With the P95 trigger, I can manage it although it's not easy. With the P89 trigger, keeping the gun steady while dryfiring single-action one-handed was difficult. With the P95 trigger, it is easy.
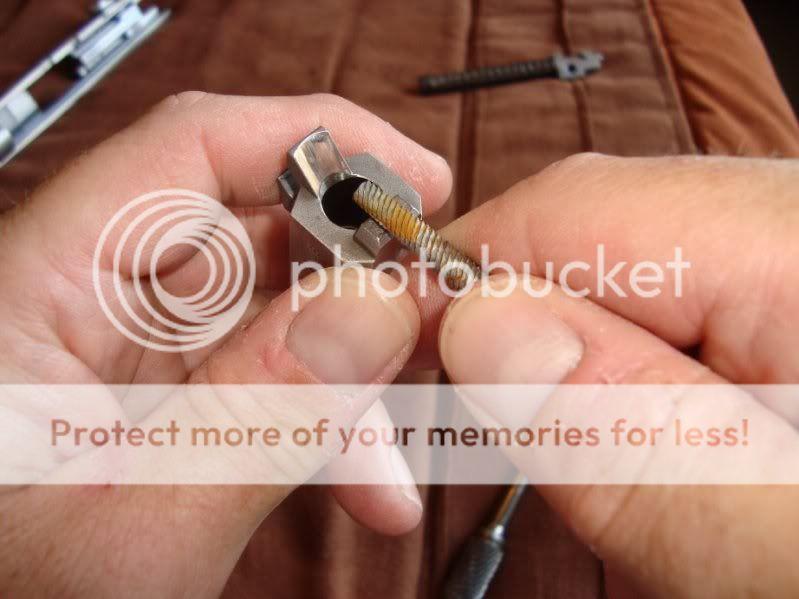
The best news? The trigger was a drop-in replacement. I was expecting to have to file on it to make it fit and operate properly, but I decided to give it a shot without making any changes.
While the two triggers do look different, the differences did not cause any functioning issues.
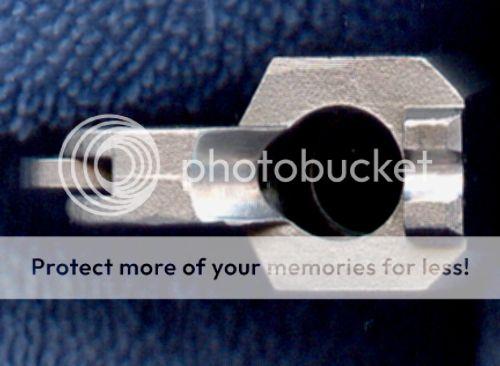
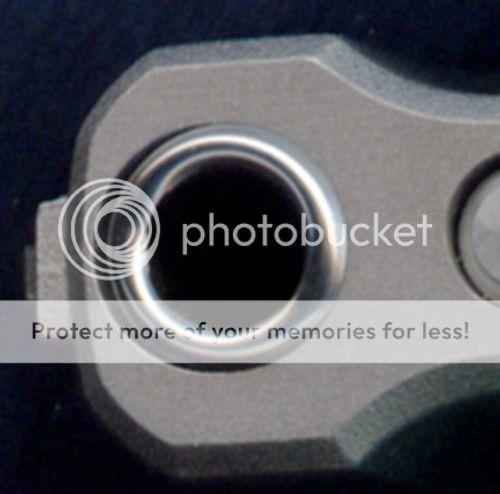
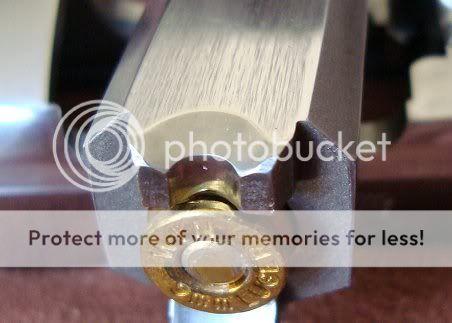
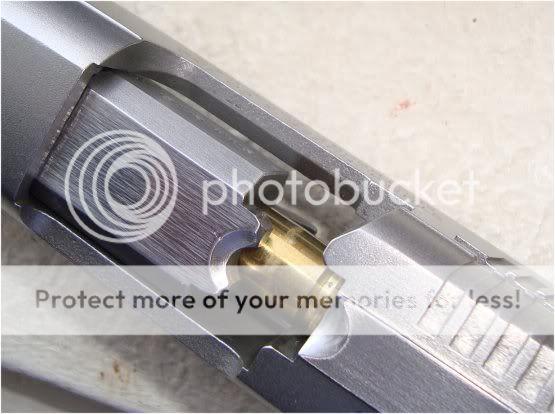
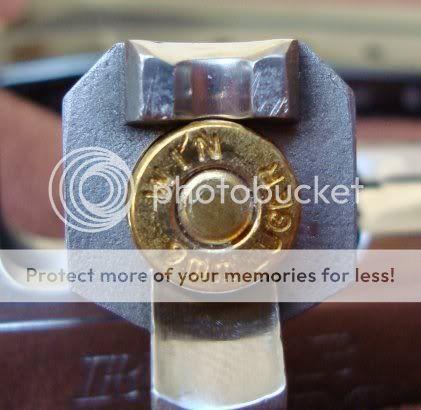
As a quick & dirty test, I installed the trigger and then installed the barrel in the frame via the barrel link (without the slide or recoil spring) and the slide stop pin and moved the parts around to see how they interacted. The barrel easily clears the addtional material in the P95 trigger. Since there was no interference between the parts, I reassembled the gun completely and it operates normally with the unmodified P95 trigger.
Here's a picture.

I am surprised at how much difference this simple modification made.
The pull weight went up from 5lbs 4oz to 6lbs 4oz. That's right, it increased by a pound. HOWEVER, had I not put a gauge on it, I would have sworn that it decreased dramatically. I attribute that to 3 things.
1. The P95 trigger geometry makes a lower trigger finger position on the trigger comfortable. That means more leverage and a lighter-feeling pull. The trigger gauge (which is very unlike a finger in many respects) may ride a little lower on the P89 trigger than on the P95 trigger resulting in a higher measurement for the P95 trigger--I don't know. What I know is that the trigger definitely feels lighter with the P95 trigger installed.
2. Improved comfort. I spent some time, several years ago, smoothing the contours of my P89 trigger and taking off rough edges to decrease wear and tear on my trigger finger when doing extensive dryfire practice in double-action. The P95 trigger, with no modifications is tremendously more comfortable to operate.
3. Decreased overtravel. With the P89 trigger, it was not possible for me to hold the gun steady with one hand and dryfire double-action. With the P95 trigger, I can manage it although it's not easy. With the P89 trigger, keeping the gun steady while dryfiring single-action one-handed was difficult. With the P95 trigger, it is easy.
The best news? The trigger was a drop-in replacement. I was expecting to have to file on it to make it fit and operate properly, but I decided to give it a shot without making any changes.
While the two triggers do look different, the differences did not cause any functioning issues.
As a quick & dirty test, I installed the trigger and then installed the barrel in the frame via the barrel link (without the slide or recoil spring) and the slide stop pin and moved the parts around to see how they interacted. The barrel easily clears the addtional material in the P95 trigger. Since there was no interference between the parts, I reassembled the gun completely and it operates normally with the unmodified P95 trigger.
Here's a picture.